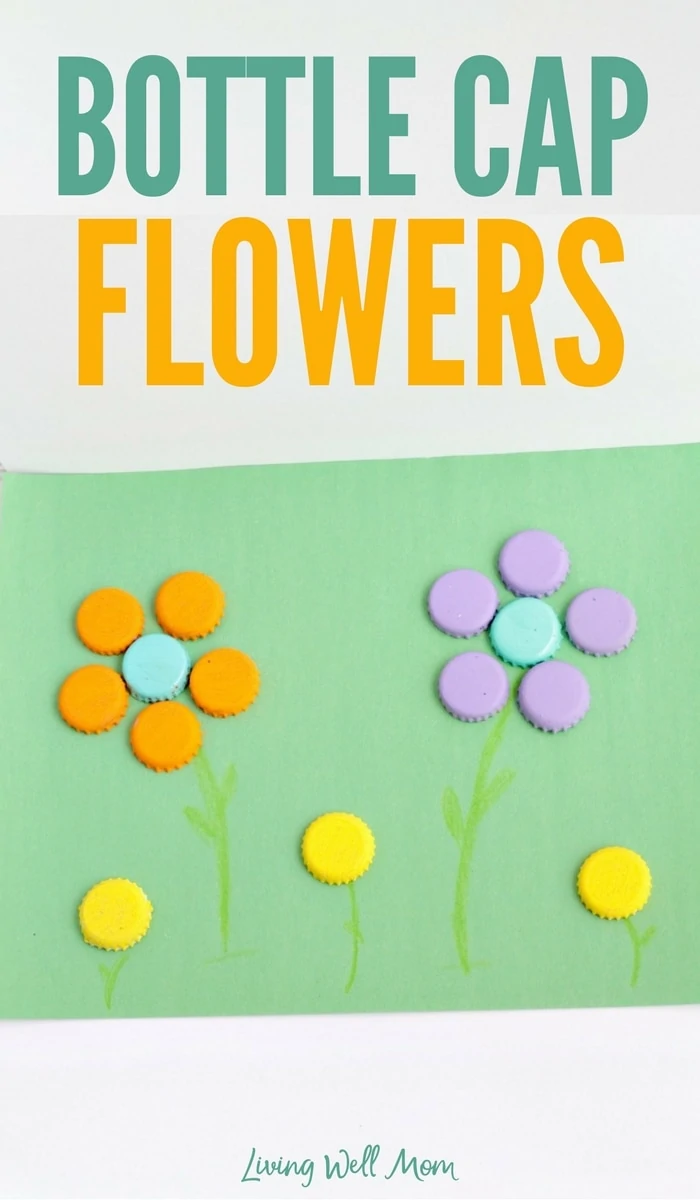
Now that spring is in full swing, my kids are asking for crafts and activities that include flowers. I came up with this fun Bottle Cap Flowers craft to make use of the extra bottle caps we have laying around.
The coolest thing about this Bottle Cap Flowers is it’s easy for kids to make and you can also glue the bottle caps to magnets if you want to make bottle cap flowers on your fridge. My kids decided to glue their bottle cap flowers to paper; this idea makes a lovely spring craft!
I have a semi-bad habit of collecting little odds and ends of supplies that I think my kids can use to make creative projects, and I’ve gathered quite a collection of bottle caps over the past few months. I wasn’t sure what I was going to do with them at first, but when I had the idea to transform them into bottle cap flowers, I knew this was the perfect way to use those old caps!
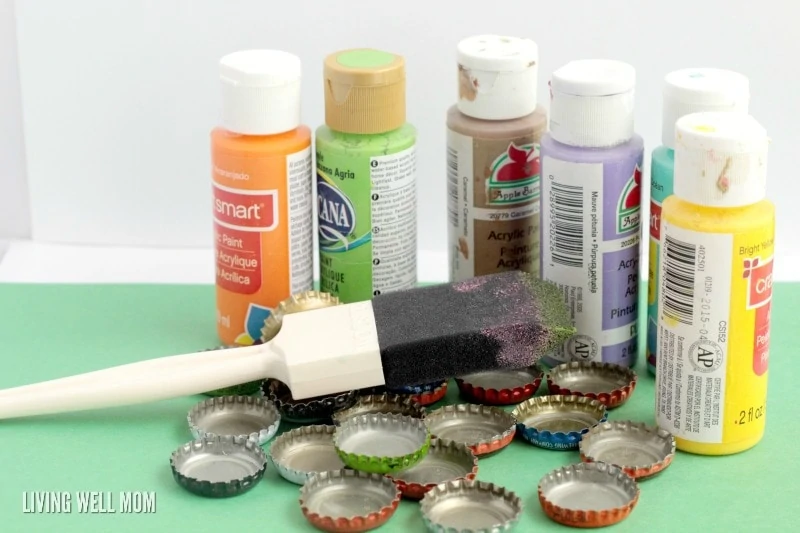
What you’ll need to make bottle cap flowers:
- Acrylic paint
- Foam paint brush
- Green paper
- Glue
- Crayon
or marker
- Magnets
(optional)
There are just a few steps to making these bottle cap flowers, and kids will love both painting the bottle caps and transforming them into colorful flower gardens.

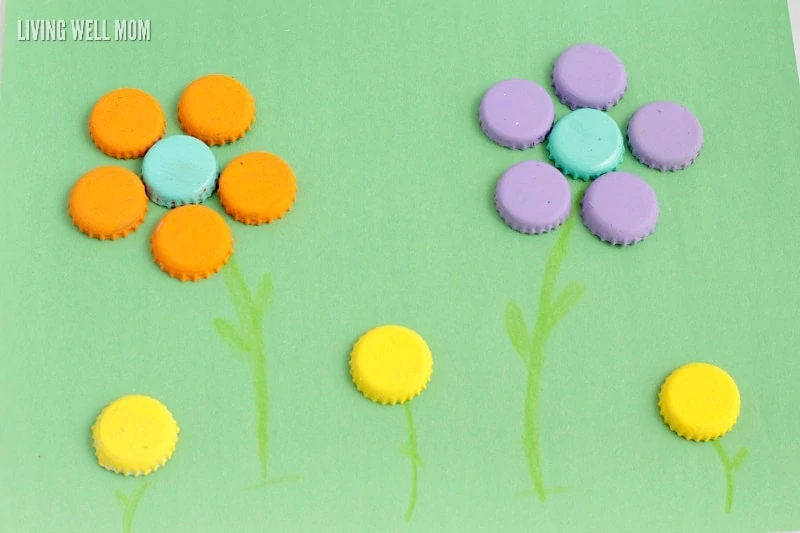
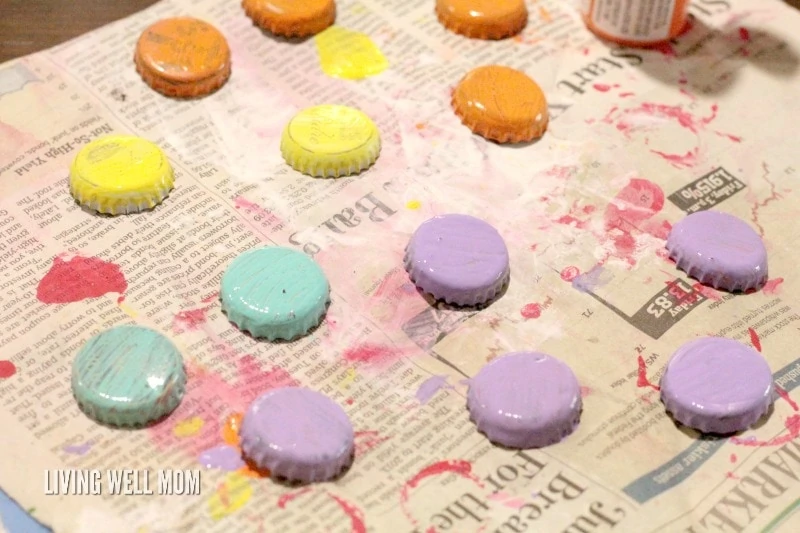
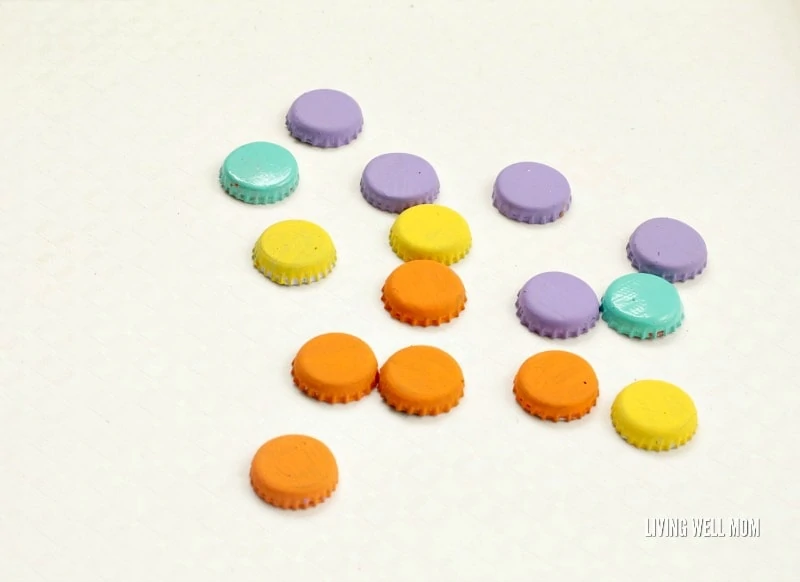
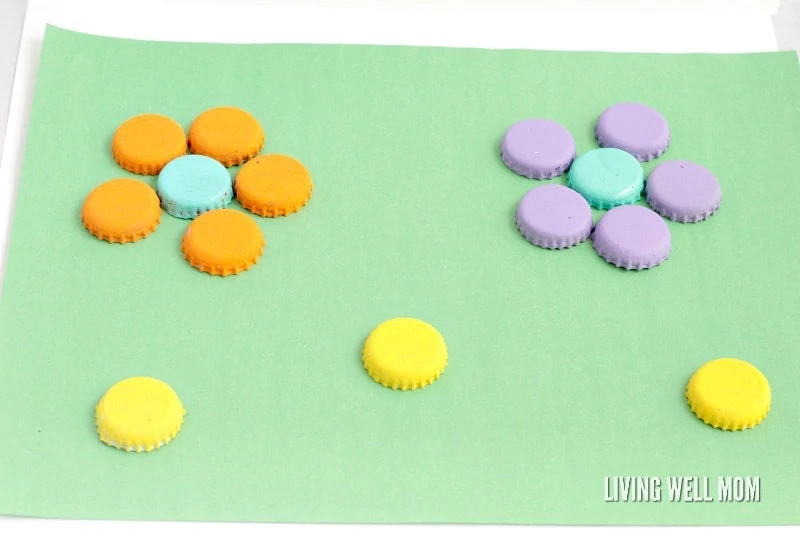
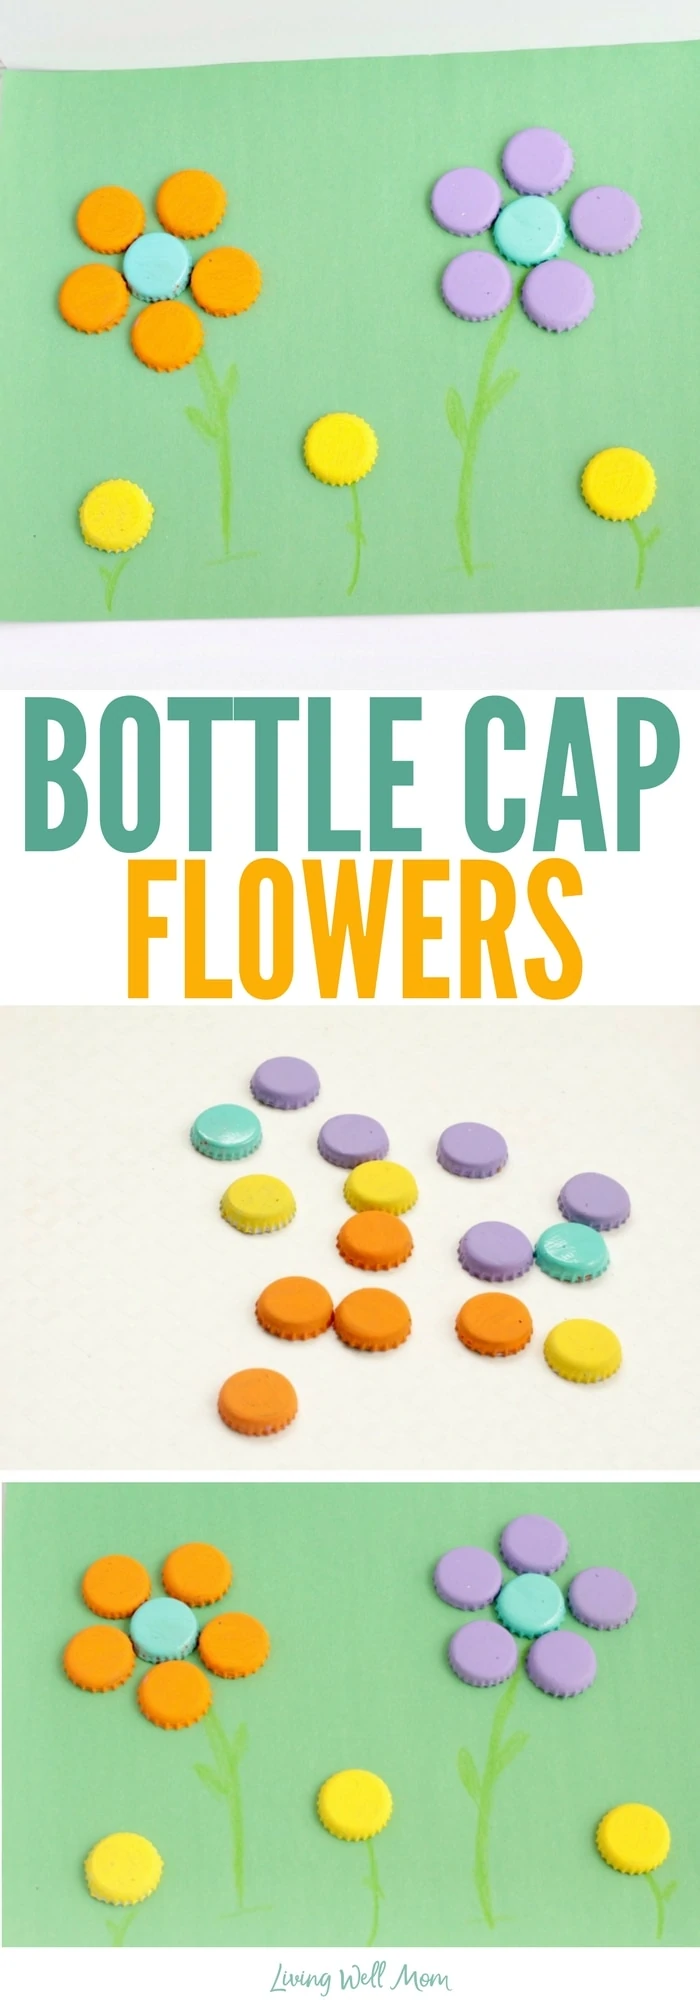
Paint the bottle caps using acrylic paint. We used one bottle cap for the center of each flower and five bottle caps for the petals. We also painted three small yellow bottle caps to represent dandelions in our garden.
It took two coats of paint to cover the print on the bottle caps. The foam brush works best to prevent streaks from appearing on the bottle caps.
Once the paint is dry, arrange your flowers into the desired pattern.
Use a crayon to draw flower stems and leaves on the paper below each flower.
Glue the flowers to the paper (or glue them to magnets) and you’re done with your Bottle Cap Flowers craft!
There are so many things you can make from bottle caps. Maybe your kids would like to make bugs, letters, candy, or even superhero faces!
Leave a Reply