I love that my little ones love to color and draw. It seems that lately they want to take their crayons and paper with them everywhere we go or maybe more accurately leave them lying around everywhere we go. This Crayon Roll Tutorial {Plus a Paper Pocket!} is a great solution for keeping crayons and paper neatly organized when on the go or out and about.
I’m Racquel and I’m new here at Musings from a SAHM. I’m a stay at home mom as well. I have an extensive background in interior home design, love baking & creating beautifully decorated treats for my family and clients. I also love cooking new and unique recipes with my family, designing and decorating on a budget, creating upcycled projects, and making kid and grown up crafts. I am excited to be here and sharing my ideas and projects with all of you!

Crayon Roll Tutorial {Plus a Paper Pocket!}
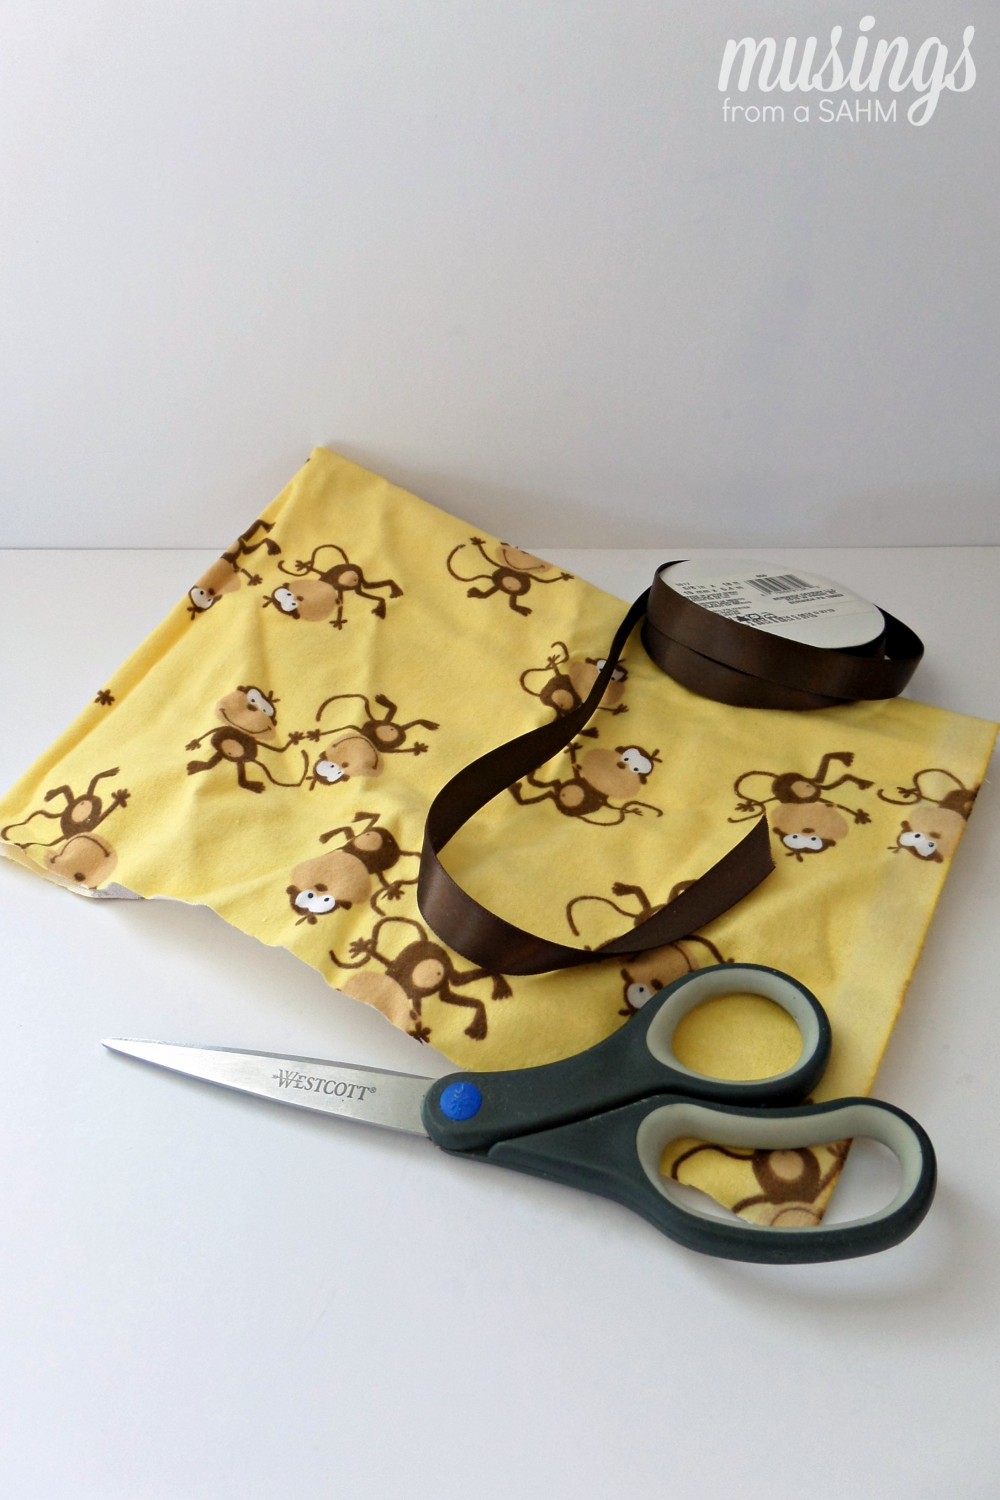
Supplies:
- 1 piece of fabric approximately 13 1/2″ x 22″ – I used flannel for a nice, soft case
- 1 piece of ribbon approximately 20″ long
- straight pins
- sewing machine, needle, thread, and scissors
Instructions:
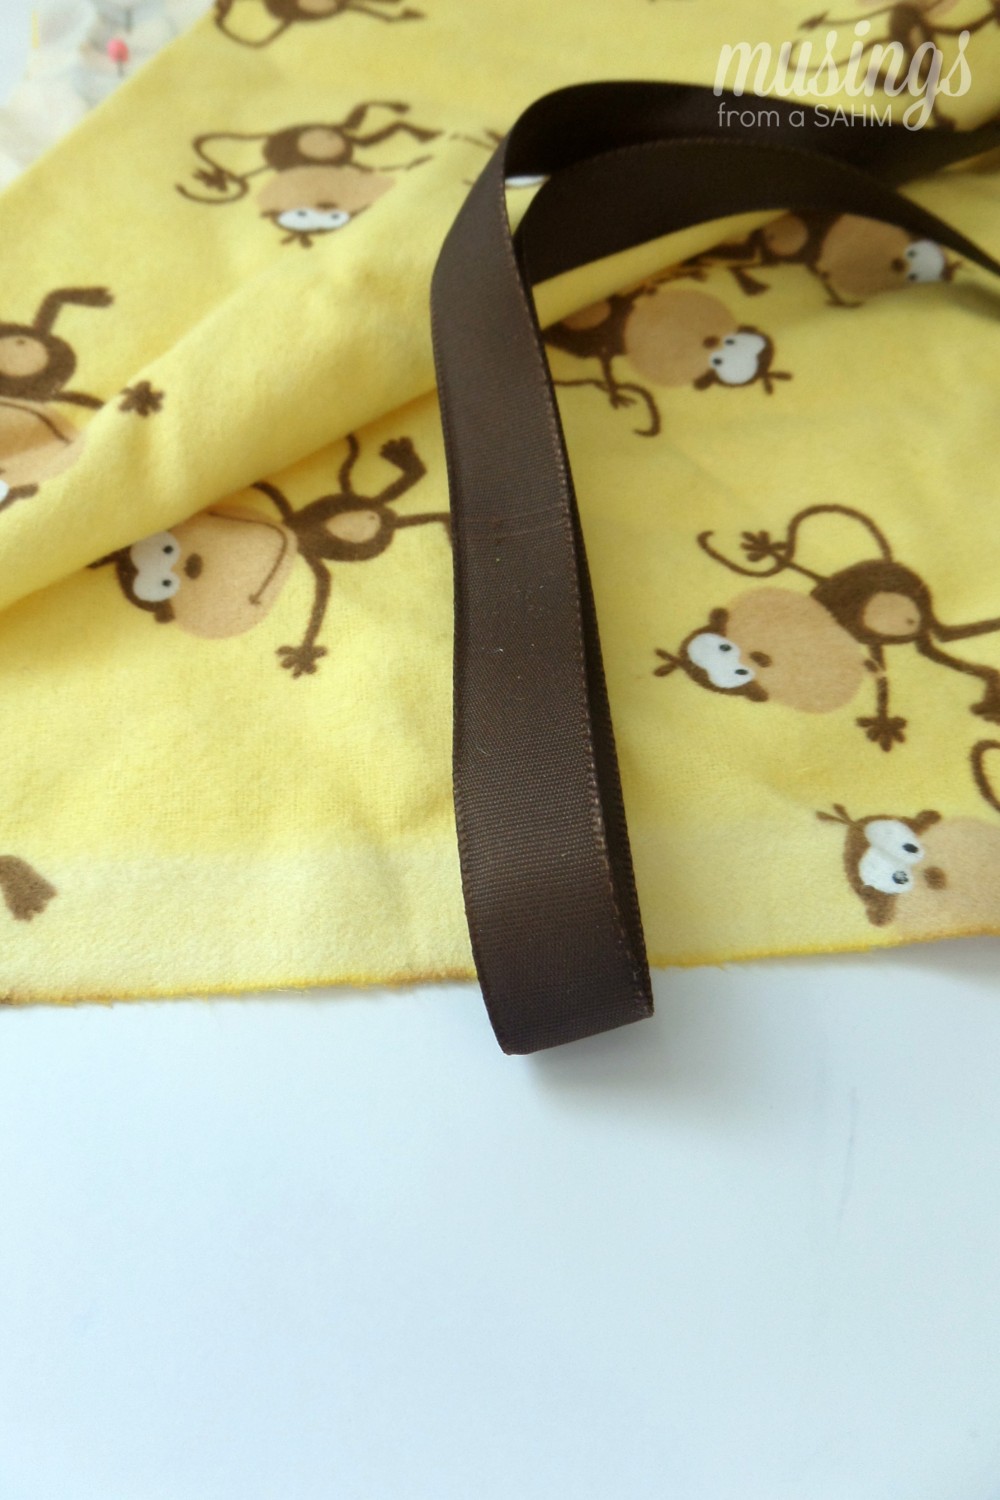
Begin by folding your fabric in half with the print facing in. Fold the ribbon in half and place it inside the fabric with the folded edge sticking slightly out of the two edges of fabric.
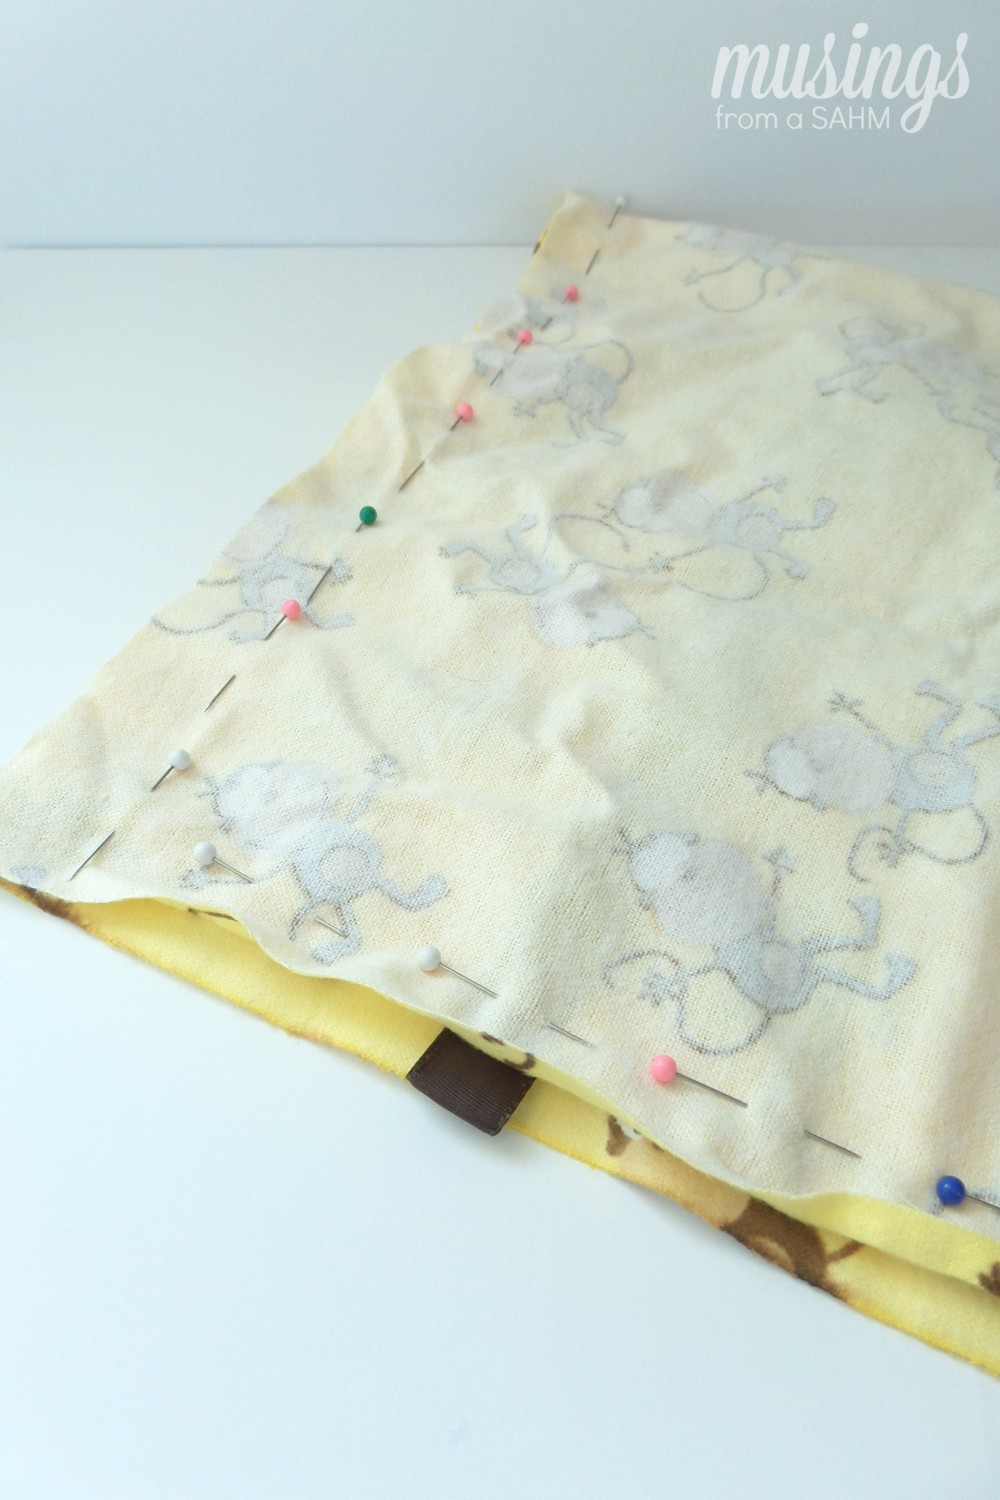
Pin the edges together using straight pins to hold the fabric in place as you sew it together.

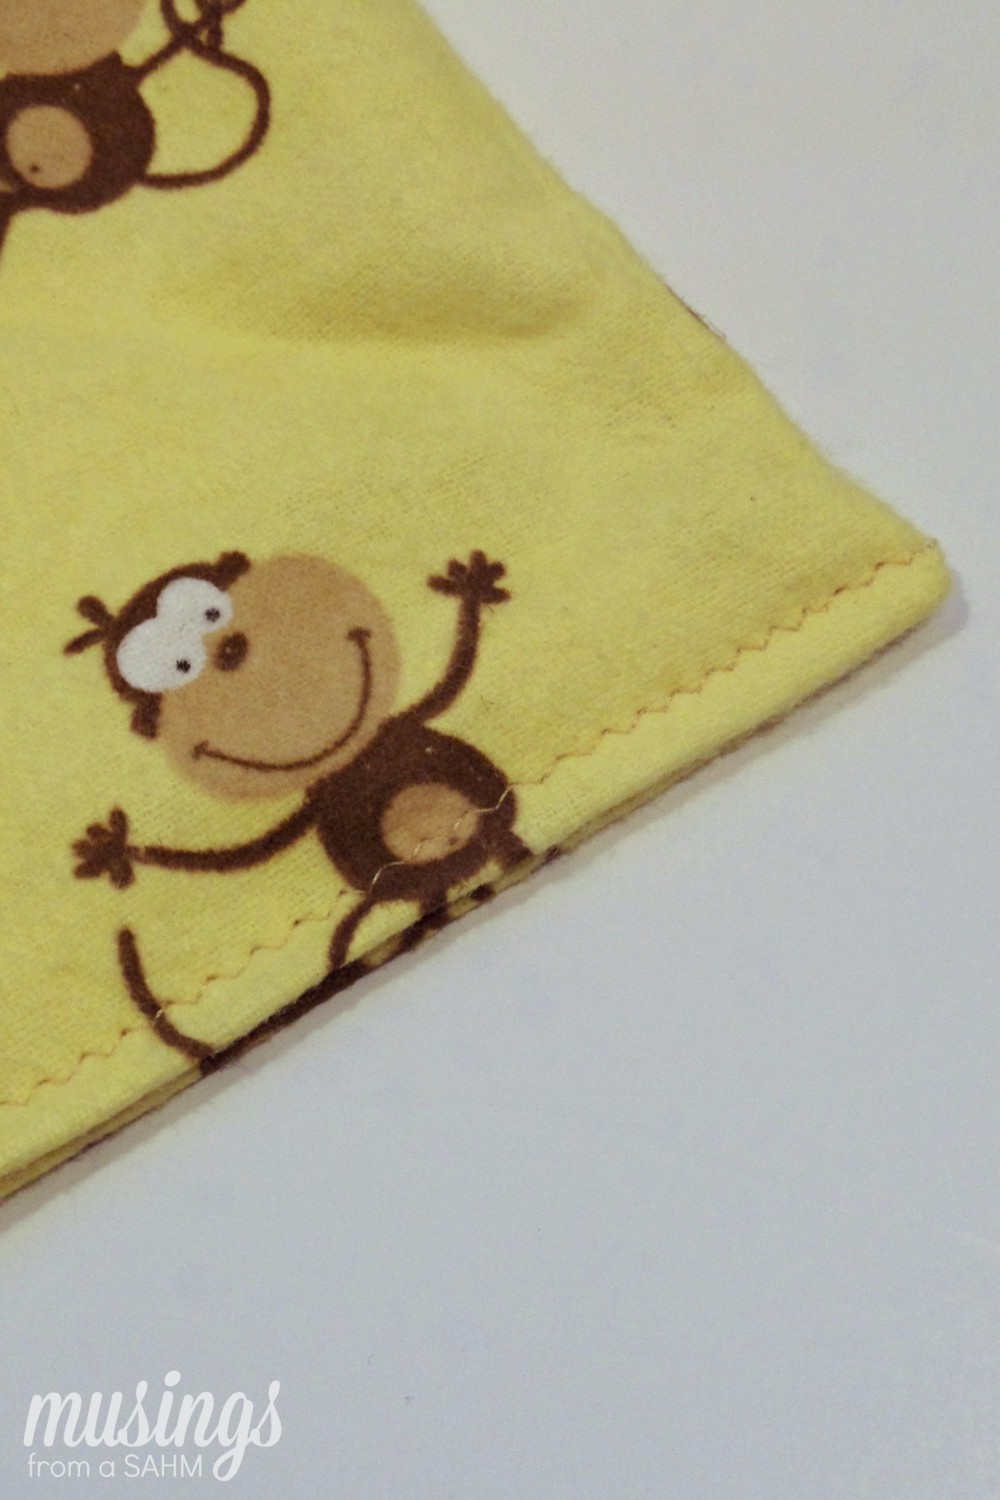
Sew the three edges together leaving approximately 3″ open. Use the opening to turn the fabric right side out. Once the fabric is right side out tuck in the edges at opening. Sew a zigzag stitch across the entire end to secure.
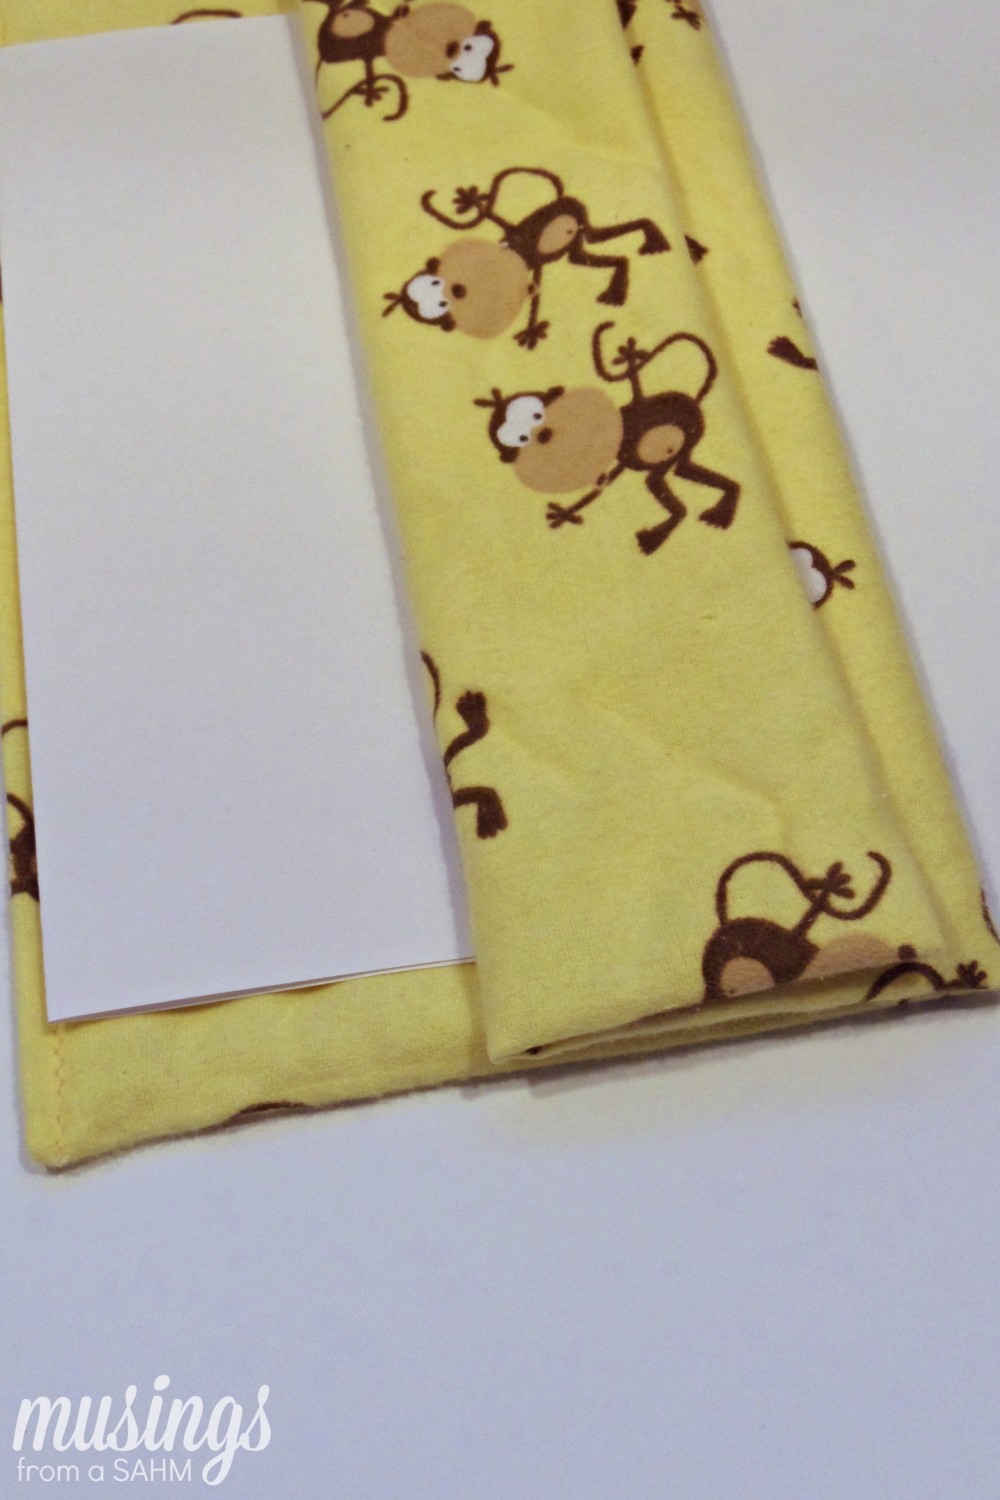
Next use a piece of 8 1/2″ x 11″ paper folded in half as a guide to determine where the crayon pockets will be. I chose this size because a full sheet of paper seems too big for little ones who like to color and much of the paper is often wasted. This is also a good size for recycling scrap paper from your home printer and such.
Place the folded paper onto the fabric so the paper has fabric around all edges. Fold the fabric up over it and then fold that fabric in half away from the paper as shown. This will become the crayon pocket.
Carefully unfold the fabric at the center making sure to keep the crayon pocket fold. If you do not unfold the fabric at the center the crayon pouches will be sewn into the paper pouch and it will not be usable. Using a zigzag stitch sew several lines to create individual pockets for the crayons. The lines should be about 1 1/2″ apart.
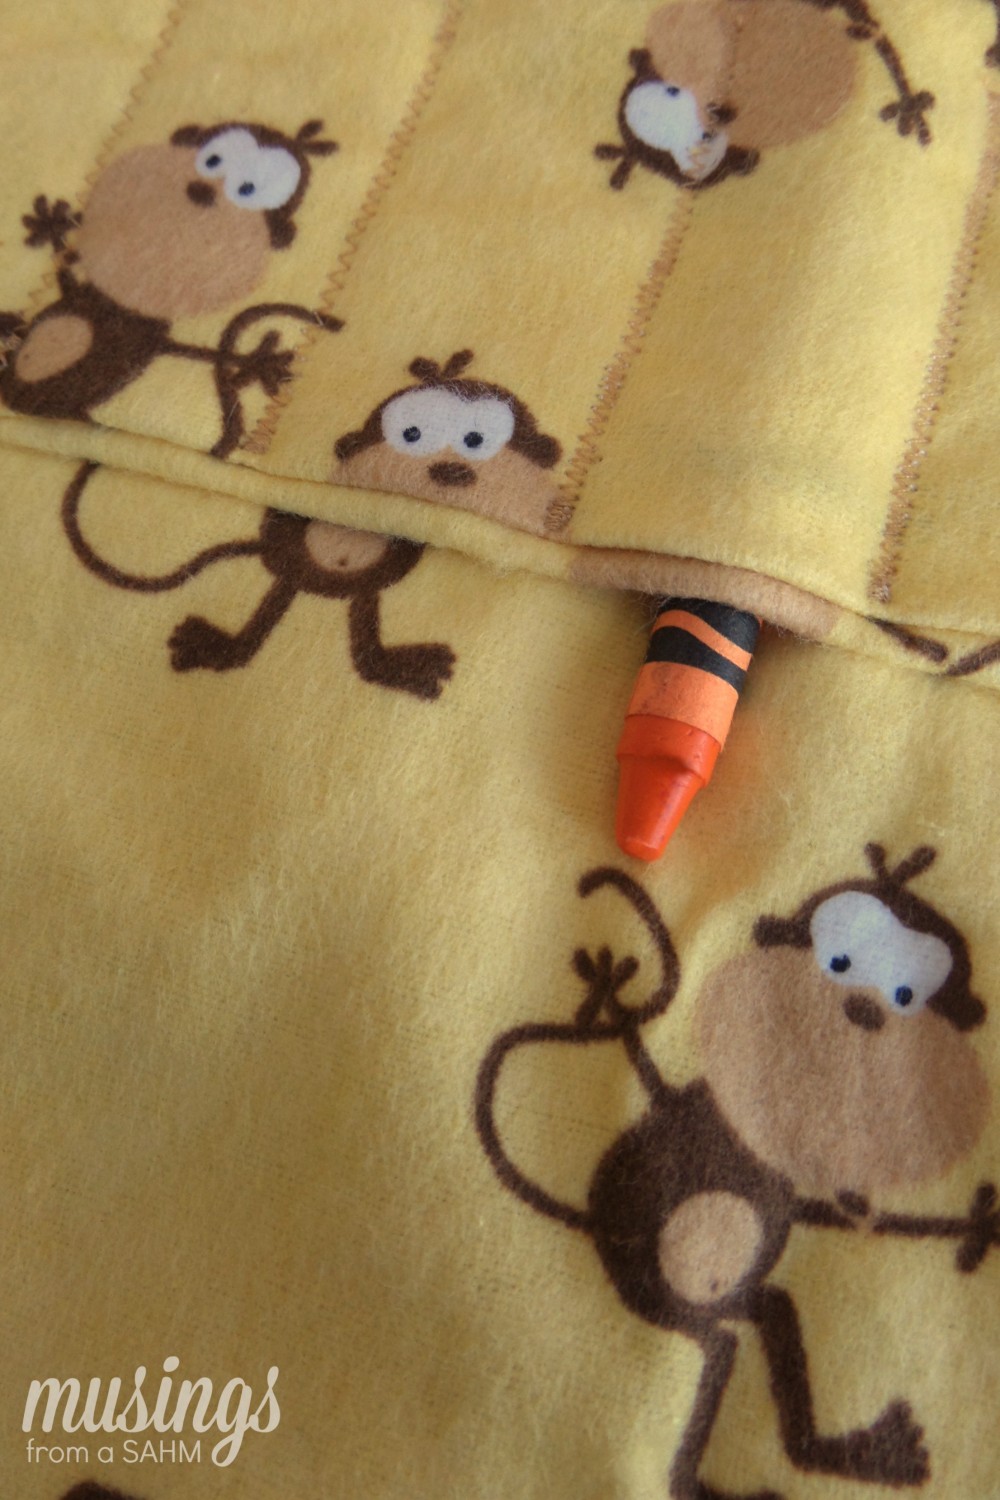
Once the crayon pockets are sewn in place fold the fabric at the center again. Sew an additional zigzag stitch at each end of the crayon pockets to secure it.
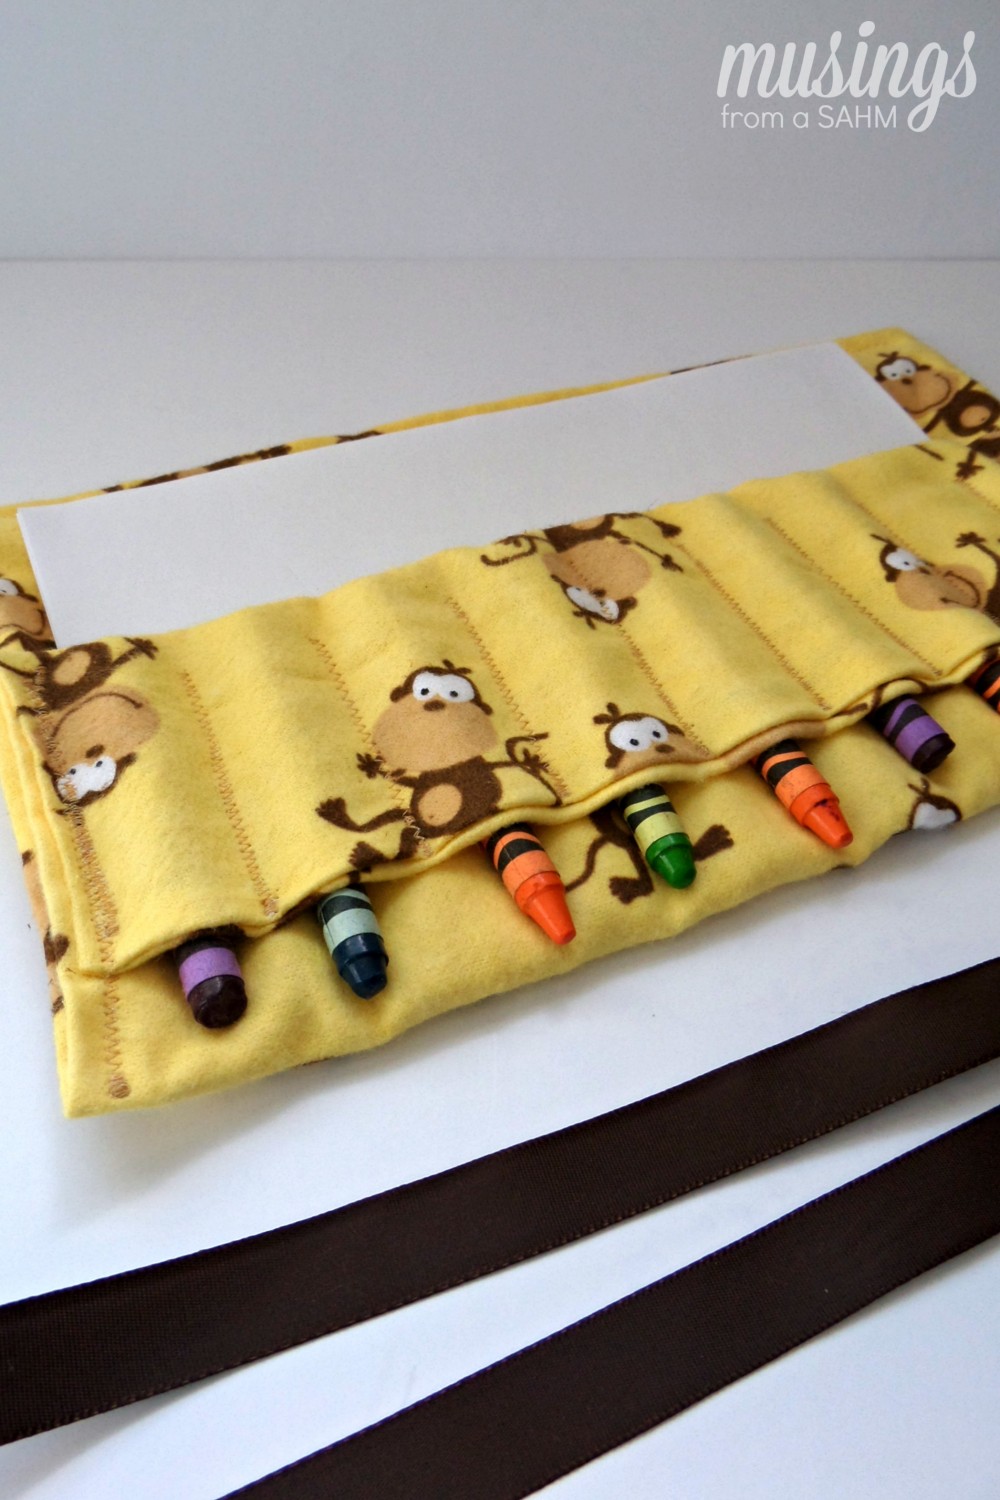
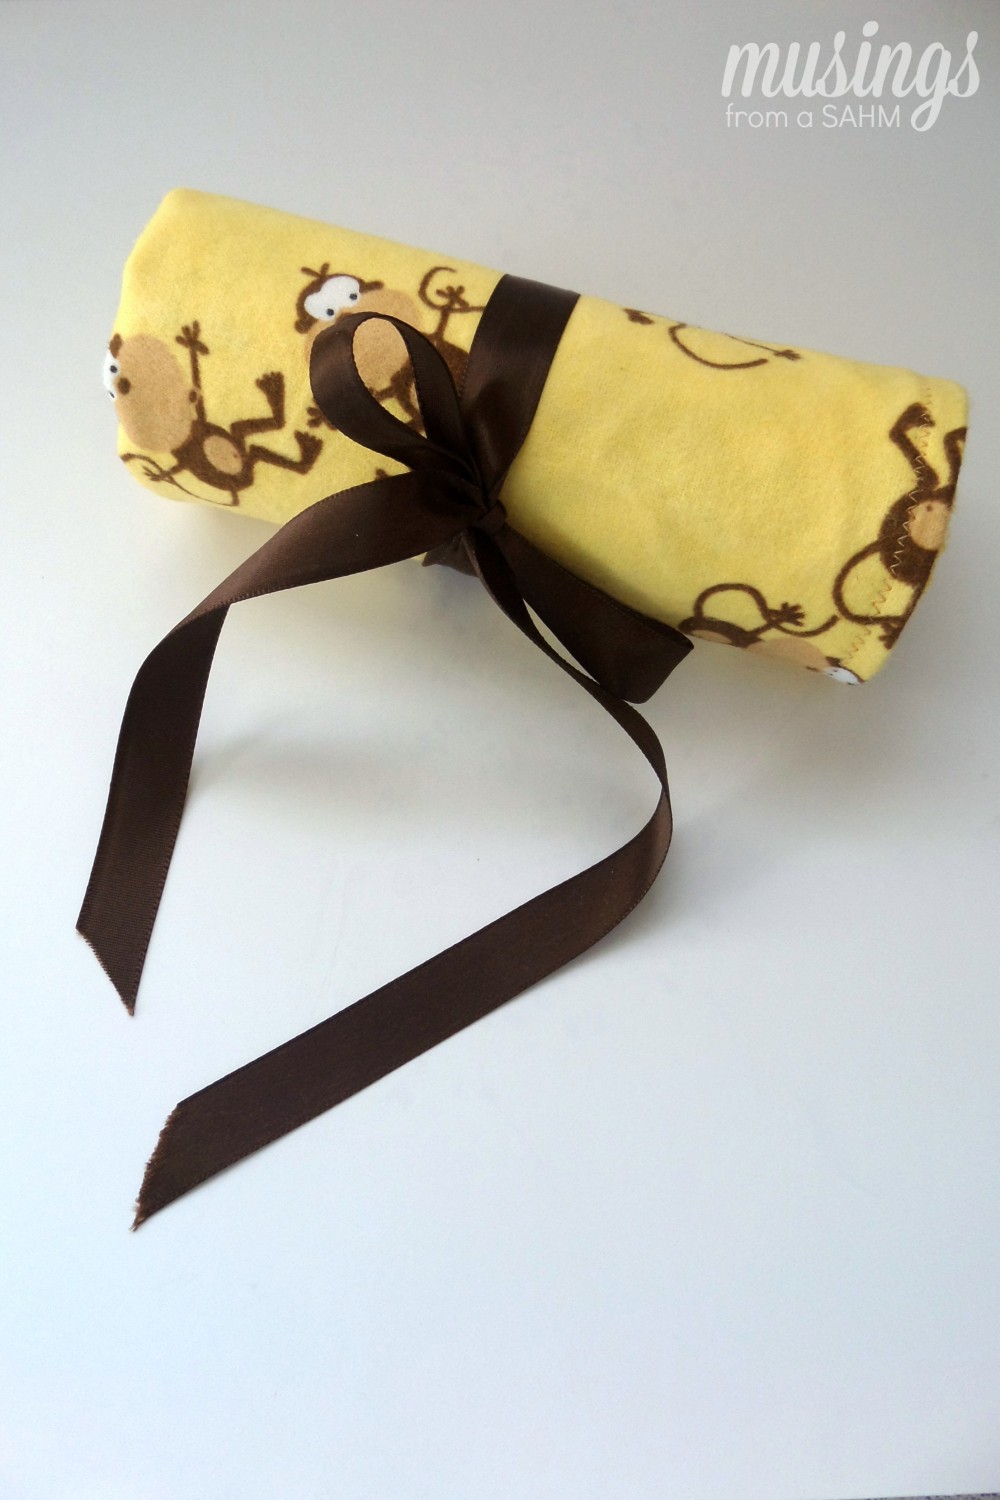
Your Crayon and Paper Travel Case is complete! Fill the pockets with crayons and the pouch with paper. Roll it up and tie it closed with the ribbon and it’s ready to go!
My big kids loved the crayon and paper case I made for their little brothers so much that they’ve both requested cases for themselves, something more grown up. These can be made to hold colored pencils, pens, notebooks and so much more!
I hope you’ve enjoyed my tutorial and that it’s been easy to follow. I look forward to sharing more ideas, tutorials, and projects with you in the coming weeks and months!
Jenn says
This is way to cute!! What a great idea for bring crayon and paper along when you go somewhere! I wish I was talented enough to sew!!
Crystal says
I have an artist in my family who is never without crayons. This is such a fabulous idea for keeping things together and having supplies ready when inspiration hits!
Monica says
I love this! Looks fairly easy to make and what a cute and very practical way to transport crayons!