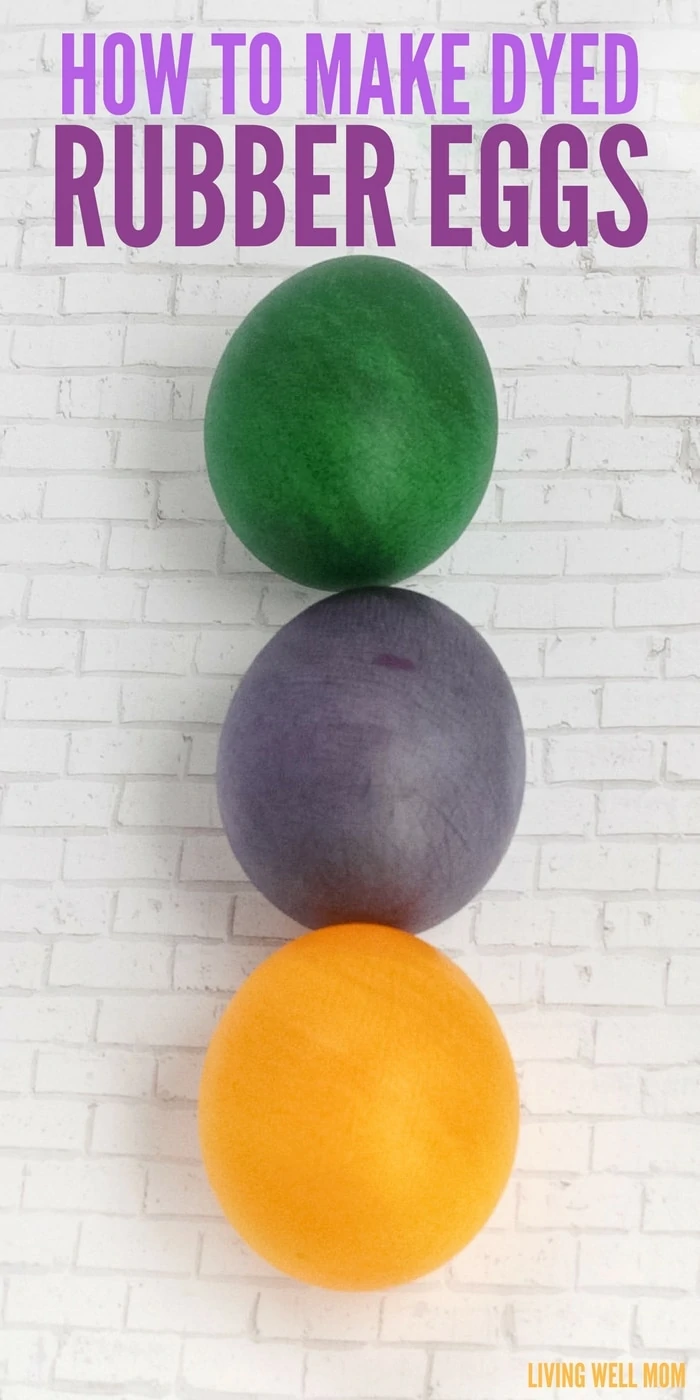
Spring is when we think about Easter, bunnies, flowers, and of course, eggs! We’ve wanted to try making rubber eggs forever, and this time, we decided to give the experiment a fun twist – Dyed Rubber Eggs.
If you’re not familiar with rubber eggs, vinegar is used to dissolve the calcium shell around the egg, but the membrane holding everything together is left. This makes the egg squishy and rubbery and so much fun to play with! You do have to be careful not to burst the egg, though!
Dyed rubber eggs are a fun colorful twist because the white of the egg absorbs the color and transforms the egg into a beautiful, rubbery egg!
This is a fun activity to do with your kids whether you want to share the science of the vinegar transforming the egg or simply make a fun twist on classic dyed Easter eggs!
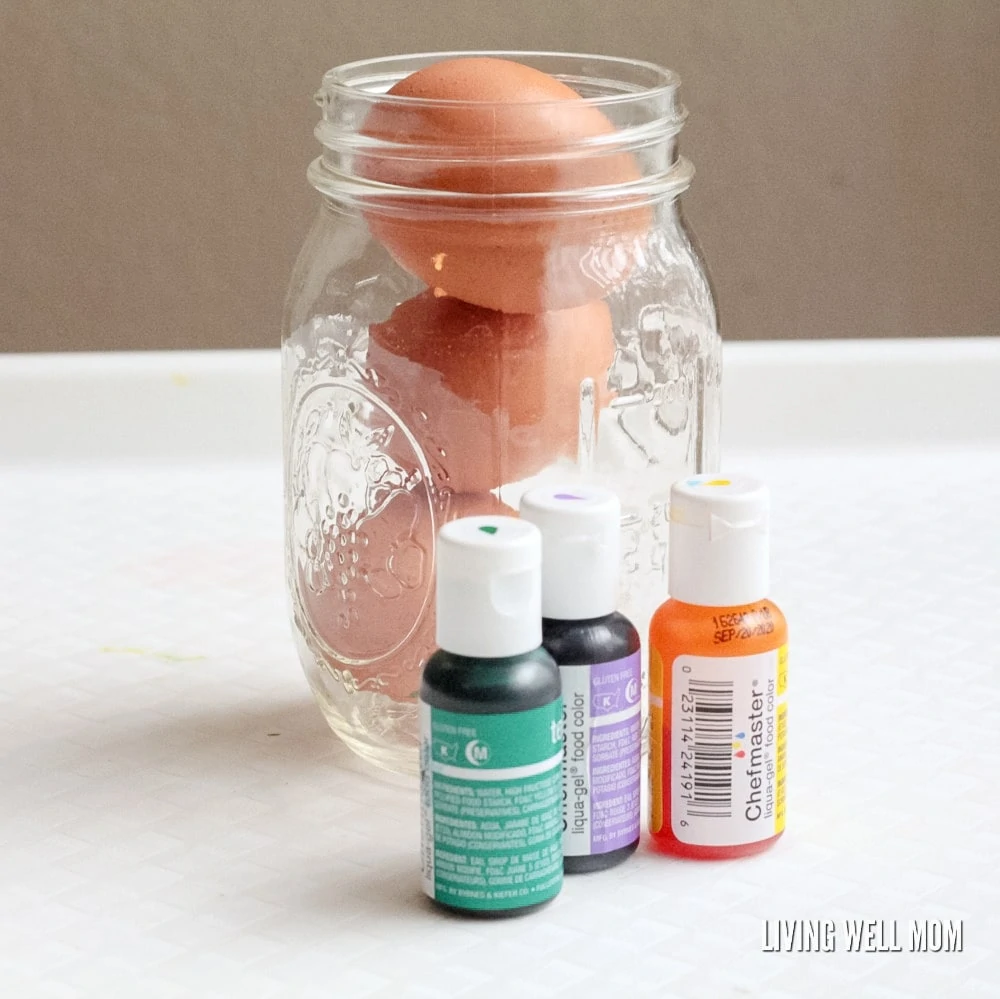
What You’ll Need to Make Dyed Rubber Eggs:
- Vinegar
- Raw eggs
- Food coloring
- Mason jars
or other containers
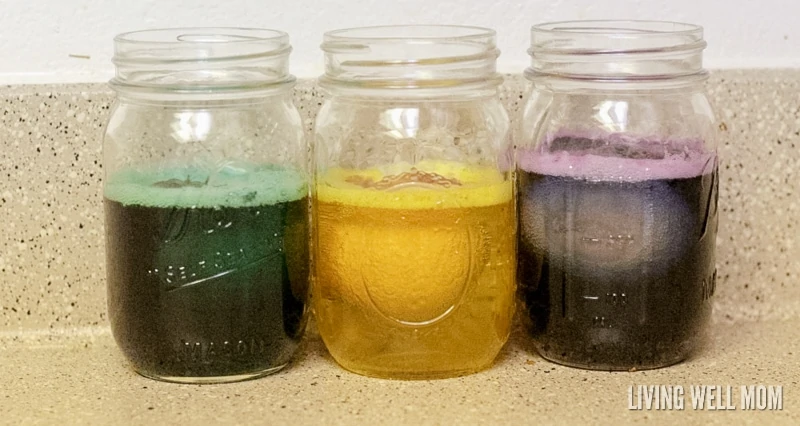 Let the eggs sit for about 3 days.
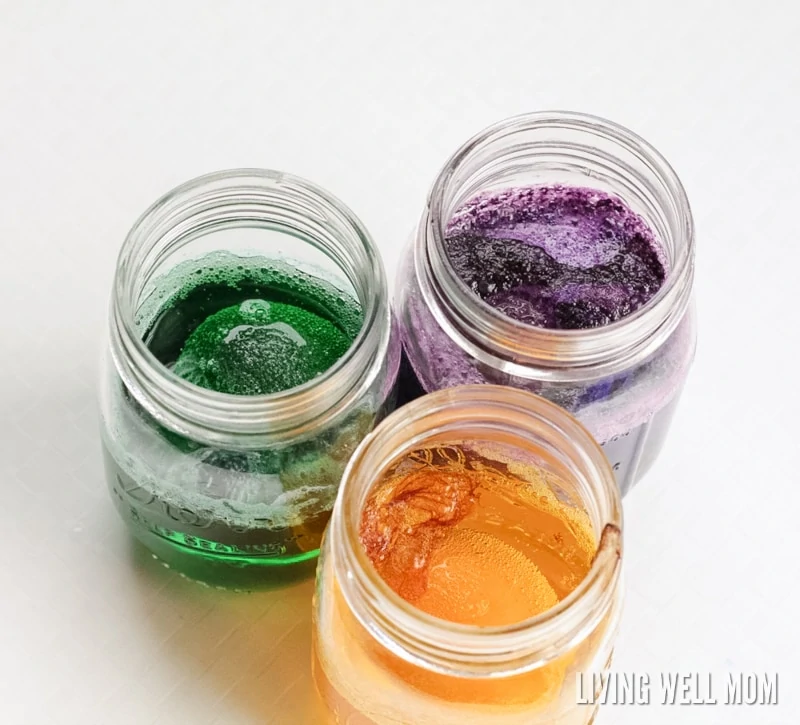

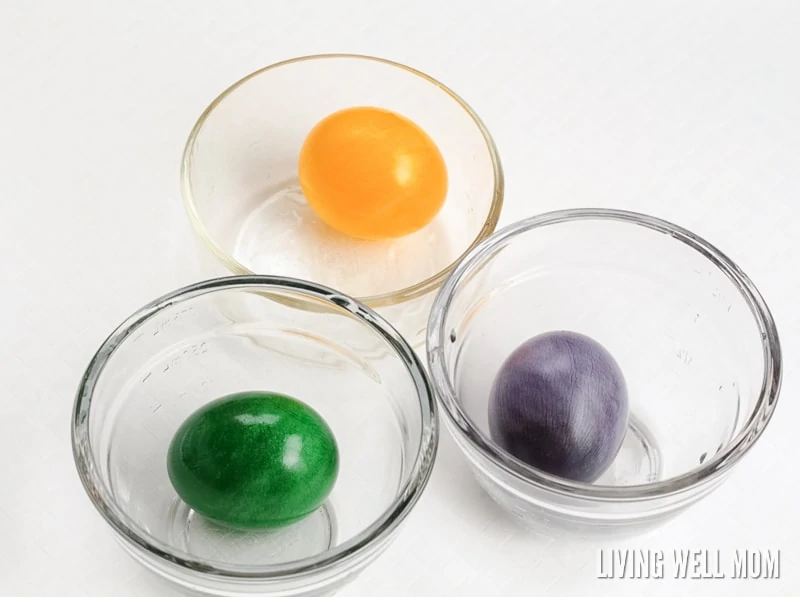
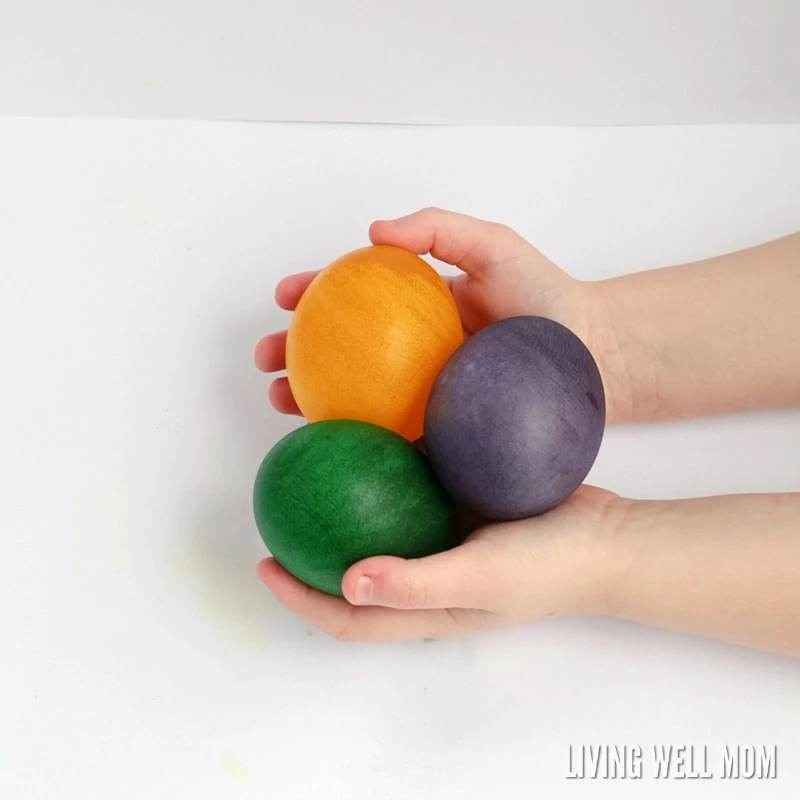
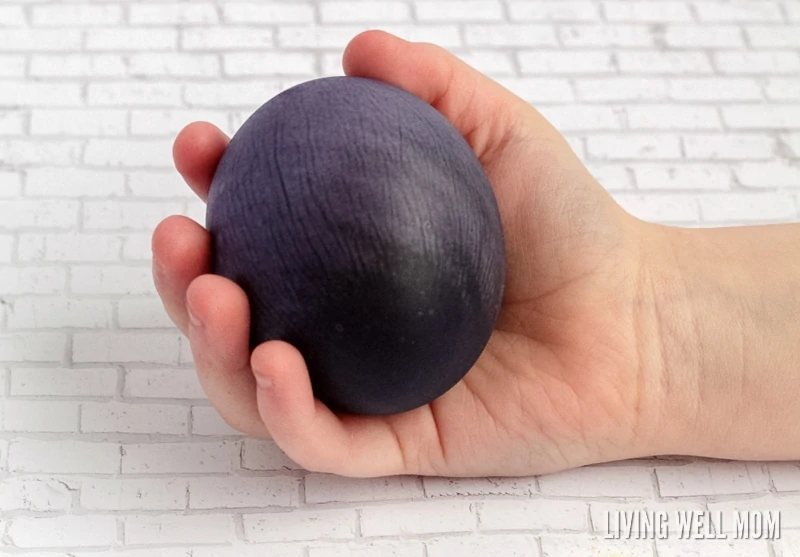
My preschooler was particularly entranced with this rubber egg project. She loved gently squeezing the egg and holding them in her hands. She loved the color patterns and the soft texture of the membrane. We found out by accident when she broke one of the eggs that the yolks don’t absorb the color!
I hope your kids enjoy this fun Dyed Rubber Eggs experiment as much as we did!
Leave a Reply