Looking for an inexpensive, simple DIY activity that will keep kids entertained for hours? Look no further than this homemade chalk recipe! If you have never tried it before, you may be surprised that learning how to make chalk is quick and easy. Here’s everything you need to know.
Coloring with chalk is one of my favorite childhood memories. I spent hours creating images on every concrete surface I could find and it seemed like my siblings and I always went through chalk so quickly.
Now, that I have children of my own, I love joining them with their sidewalk chalk. A few years ago, I discovered it’s very simple to learn how to make chalk!
Not only can you make your chalk, but you can completely customize it. You aren’t limited to the standard colors and typical cylinder shapes.
Instead, you can make this DIY chalk in a ton of colors, sizes, and shapes—the only limit is your imagination (or your kids’ demands!).
How to Make Chalk
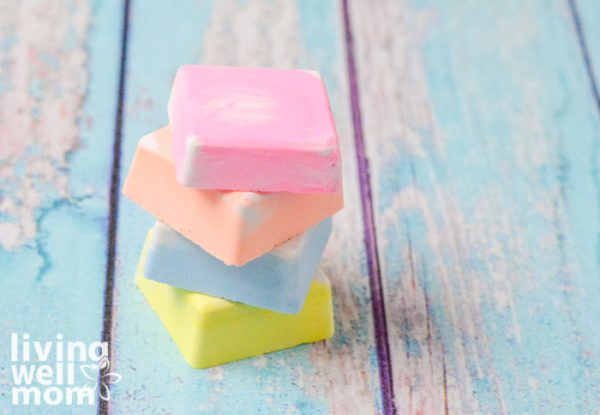

This homemade chalk recipe is so easy. Honestly, once you learn how to make chalk, you’ll wish you had made it sooner! You only need a handful of ingredients, a silicone mold, and a few minutes of your time to make it.
Supplies for Homemade Chalk
What you’ll need for Homemade Sidewalk Chalk:
- 1 cup pottery plaster
- 3/4 cup water
- tempura paint
in various colors
- a silicone mold
Pottery plaster and tempera paint can both be found at Amazon, craft stores, or Hobby Lobby (that’s where we got ours for super cheap). Get paint in whatever colors you want your chalk to be. A little paint goes a long way, so you won’t need large bottles.
You can even let your kids help you mix custom colors of their own – they’ll love it!
How to Make Chalk Step by Step
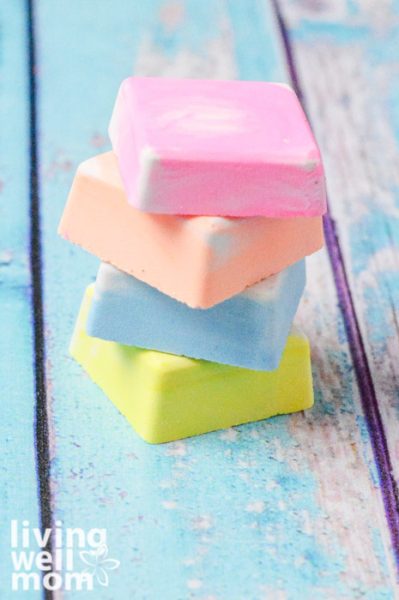
In a large bowl, combine the plaster, and water and mix them well. Once those two ingredients are combined, you’re ready to add your paint.
Add about a tablespoon at a time (no need to measure, just squirt in a little at a time) and mix well, until you’ve reached the desired color for your DIY chalk.
Be Conservative with Your Paint
Just keep in mind that the more paint you add, the longer it will take your chalk to set. I learned this lesson the hard way!
The first time I made this homemade chalk a few years ago, I made them for my daughter’s birthday party to hand out as party favors. I wanted them to be bright neon, so I used almost 8 oz of paint per batch (that’s a TON) and put it in my guest bedroom to set up overnight.
It took the chalk two weeks to dry completely and turn into chalk. TWO WEEKS! I had to get different party favors because they weren’t dry in time.
I learned my lesson! No more than a few tablespoons per batch is more than enough paint to achieve pretty colors.
Once you have the color you want, and it’s all mixed smoothly, you’re ready to pour your potential chalk into molds.
Add Chalk into a Silicone Mold
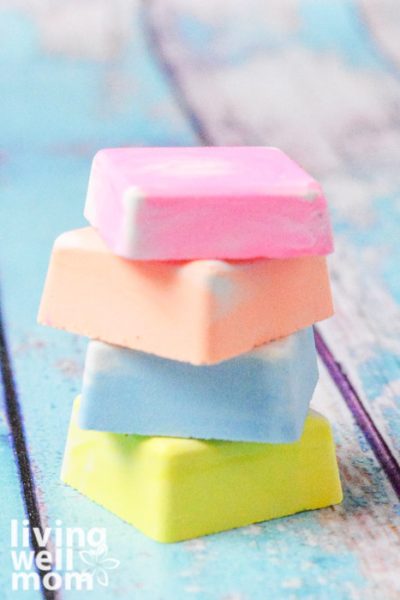
I used a cute silicone mold I found on a recent trip to IKEA. They were cheap and came in fun shapes. Any silicone mold works, and you don’t even need to spray them first with non-stick spray.
When it’s dry, the chalk will pop right out! It’s okay if you make a mess during this step, it won’t change how the chalk turns out in the end.
Your chalk won’t look pretty when it’s poured into the mold, and that’s perfectly normal. Put your filled mold in a place where it won’t be bothered for 12-24 hours.
Once your chalk is dry, you can simply turn your mold upside down, tap the bottom of the mold, and the chalk should just fall out! Once you remove it from the mold, it’s ready for immediate play and creativity.
How to Use DIY Homemade Chalk
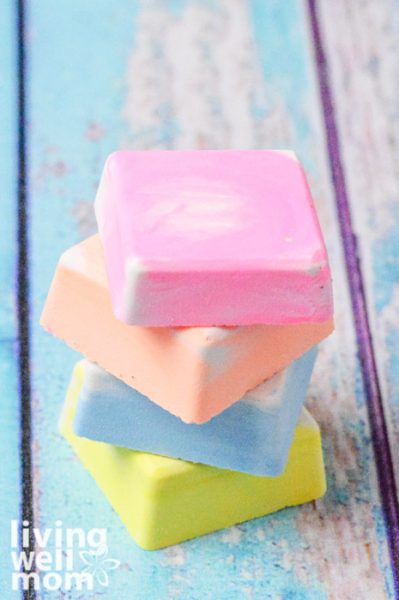
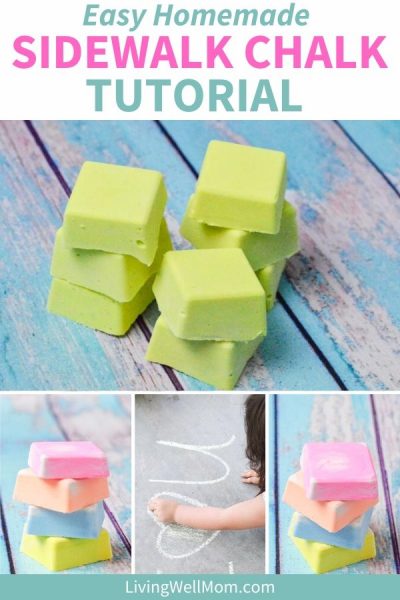
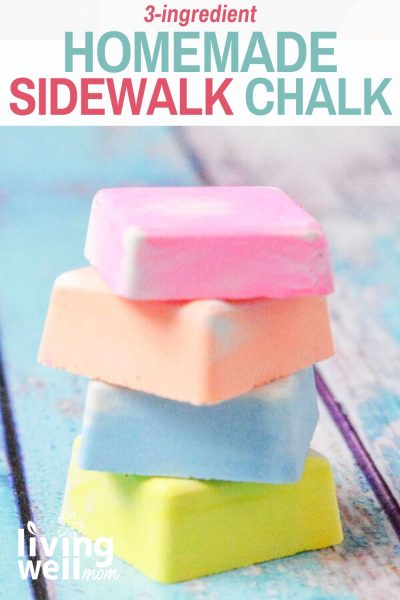
I used fluorescent colors for my latest batch of chalk. We love bright colors around here, and these seemed like the perfect colors to add color to our front porch.
I love how you can see some of the marbling of the white plaster in this batch. It just looks like so much fun!
My daughter couldn’t wait to go outside and play, so out we went.
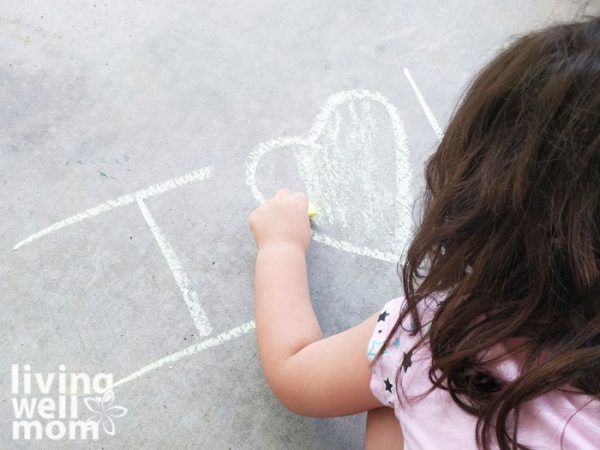
This easy homemade chalk works JUST as well as chalk you buy from the store, but I can make it in whatever adorable shapes, and fun colors I want to! And I loved that this was an easy enough project that I could let the kids help, without feeling like it was a nuisance.
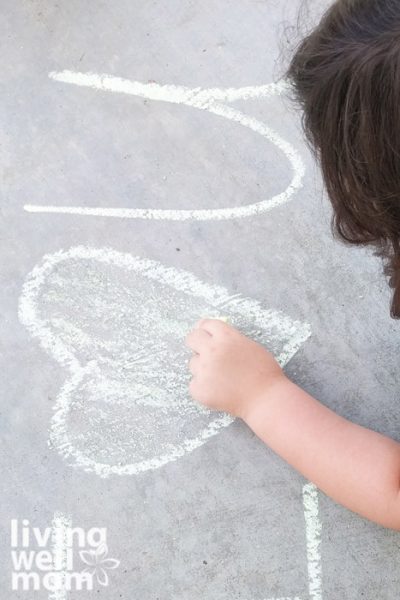
These do make great party favors too. I ended up making them the next year for my daughter’s party and they were a huge hit! Kids love to create, and this is one way to get them outside in the summer sun and use all that creative energy at the same time!
I hope you enjoyed learning how to make chalk! More importantly, I hope your children have a blast and that you get to join in on the fun and turn your basic sidewalk into a masterpiece.
Just pin it below to find the instructions later!
ang paris says
I can’t wait to try this!
Allison says
I never knew that it could be this easy to make sidewalk chalk! I love that I can also make different colors. My daughter will love this!
Kelsey Apley says
What a fun idea, I have seen where they make chalk paint, but not just sidewalk chalk like this. I will have to make this soon for my nieces and nephews to enjoy when they come to visit.
Brett says
Oh, my gosh. This is so simple, but it’s a great idea! And it’s simple enough that the kids can be part of both creating and using the chalk at the end.
Ashley says
Yes my daughter Emily loves this chalk and helping me make it
Ellen says
This is so cool. My kids loved playing with sidewalk chalk when they were little.
Crystal says
My oldest is under the weather, so I’ve been looking for fun ideas to keep my other children entertained. This sounds perfect! They’ll have a blast making it, and then creating masterpieces too!
Allison says
So fun! We should try to make some of this at home for our kids.
Rhyan says
I am going to do this as a STEAM lab activity with my third graders, and then have them spread “graffiti words of kindness” on the sidewalk outside of the school. Two questions: has anyone experienced any allergic/adverse reactions with this recipe (just want to make sure I am covered with my kiddos) and how well does this wash away (comparable to a nice rain storm, like store-bought chalk? We live in FL, so we have plenty of those). Thanks you!!
Erika says
Hi Rhyan, your kids must love you! 🙂
I’ve never heard of any adverse reactions to this recipe, but you’d probably want to check the ingredient list with the parents to be safe.
Yes, this does wash away easily like store bought chalk. We get a lot of rain here in New Hampshire too and you never know the kids had chalked up the driveway! 🙂
Have fun!