I can still feel the panic welling up inside me when I couldn’t find my 4-year-old at the fair last year. My husband thought I was watching Luke and I thought he was watching Luke.
Luke was just 4 and while he could tell someone who mom and dad were, he didn’t know either of our phone numbers.
Thankfully, the situation resolved in about 5 minutes as workers at the fair helped us reunite quickly. But I’ve never forgotten those scary few minutes.
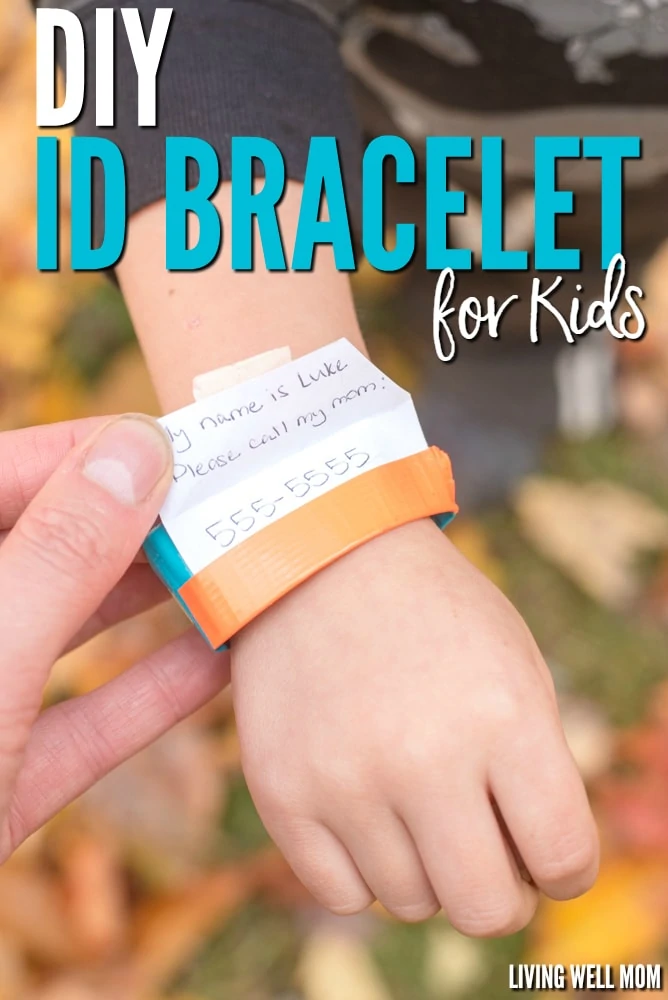
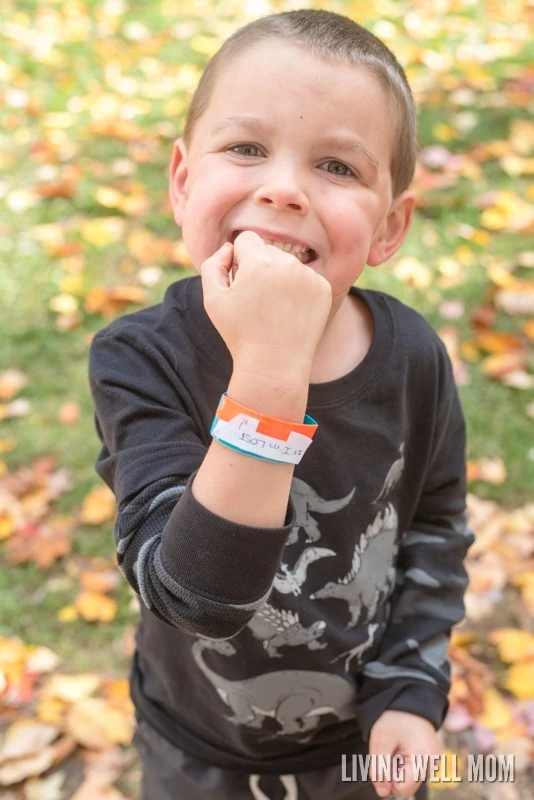
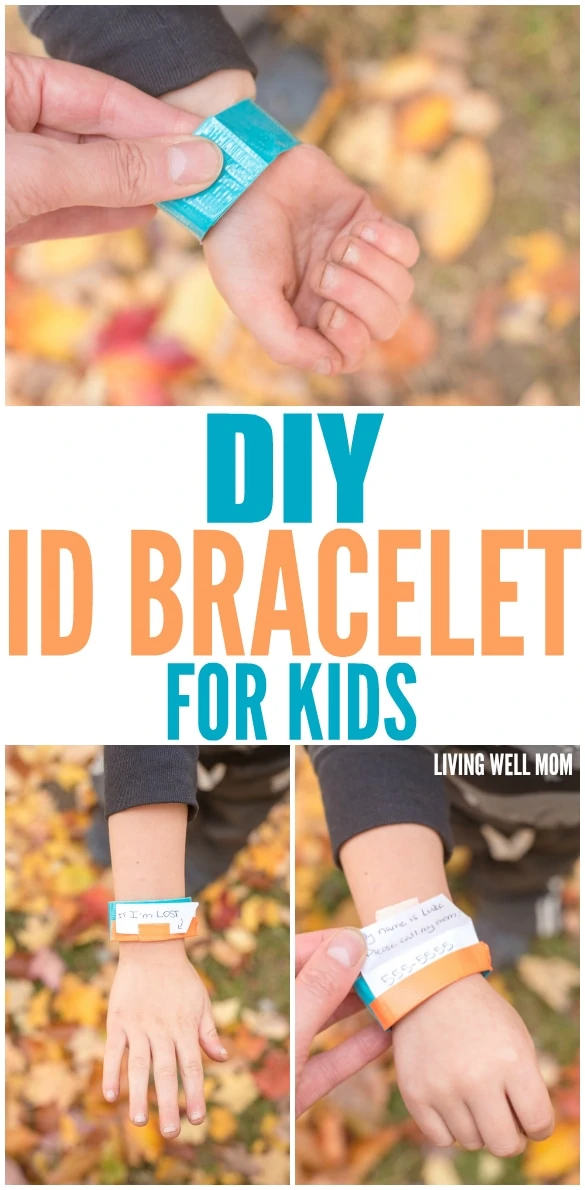
This year, I took all four kids to the fair alone because Nate had to work. With last year’s scare in mind, I decided to make a DIY ID bracelet for Luke. Thankfully we were never separated this time, but I felt more peace of mind knowing that if something were to separate us, the bracelet would provide information for someone to help connect us quickly.
I thank the Lord Luke was okay that day last year. Of course none of us ever want to lose track of our children. We do live in a scary world and never know what could happen.
An ID bracelet for kids won’t protect them from danger but, in the far more likely event a kind soul – a mom, dad, grandma, etc. – finds your child, it can help you reunite more quickly.
This DIY ID bracelet can be helpful if you have a special needs child as well or as a simple reminder that your child has food allergies, etc. You can personalize this ID bracelet however you want!
How to Make a DIY ID Bracelet:
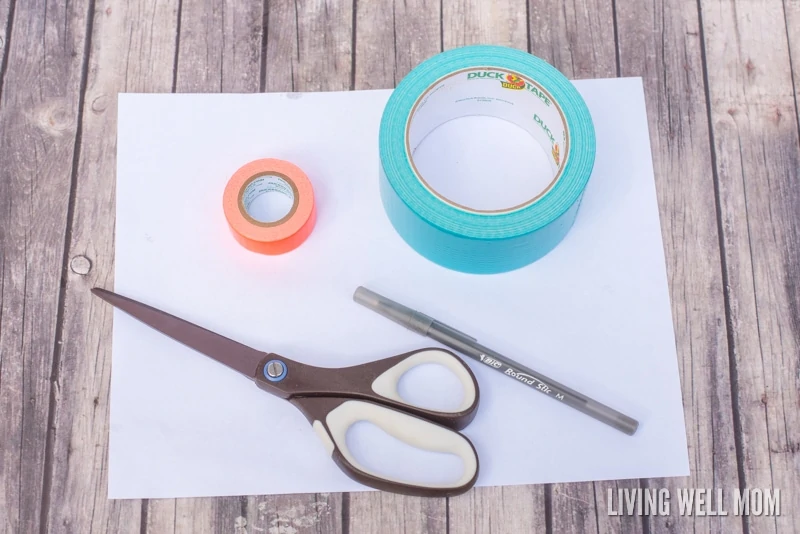
- colorful duct tape
- paper
- pen
or marker
- sticker, tape, or more duct tape
- scissors
The supplies for this DIY ID bracelet for kids are simple; you probably already have them around.
You can pick out a fun colored duct tape for your kids or use whatever you have on hand.
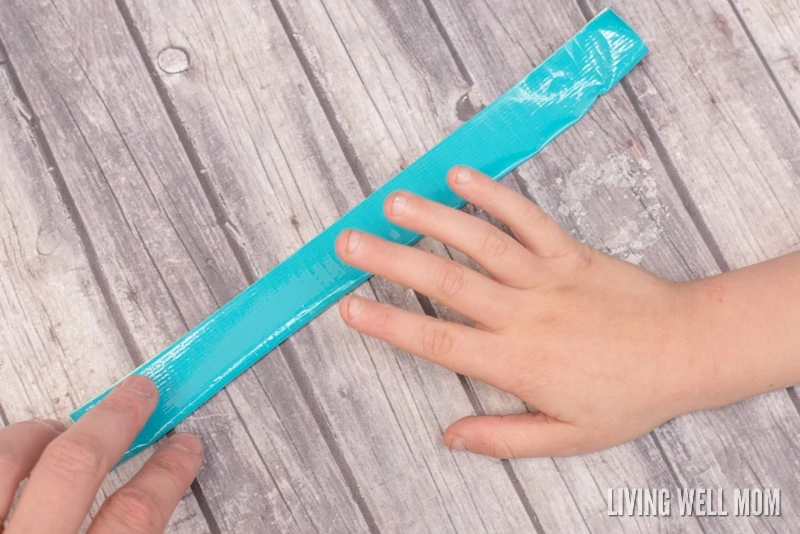
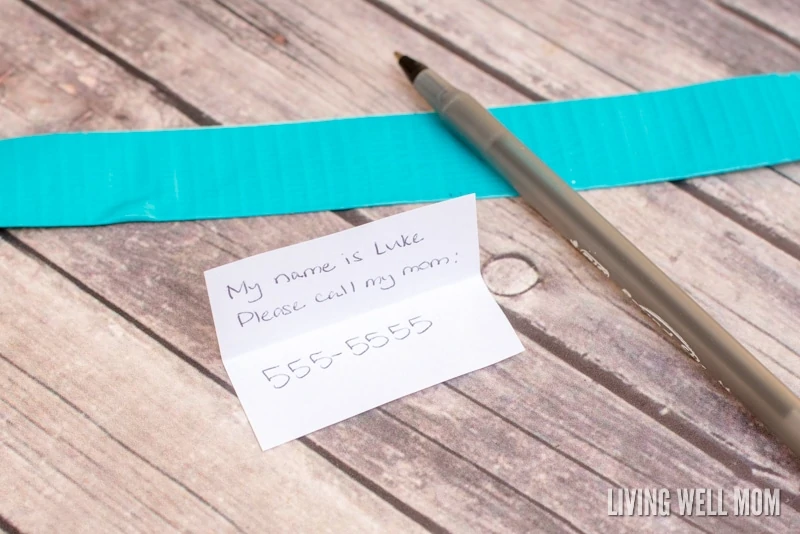
Begin by cutting a piece of duct tape long enough to reach around your child’s wrist with a little extra.
Fold the duct tape over on itself so it’s half the width, like this:

Your child can help you make his or her bracelet. Luke loved helping with his.
Next, cut out a small piece of paper and write whatever you prefer on this. Make sure it will fit on the ID bracelet. You can fold it in half so more information will fit.
I chose to put Luke’s name and my phone number.
Obviously that’s not my real number in the photo below. 😉
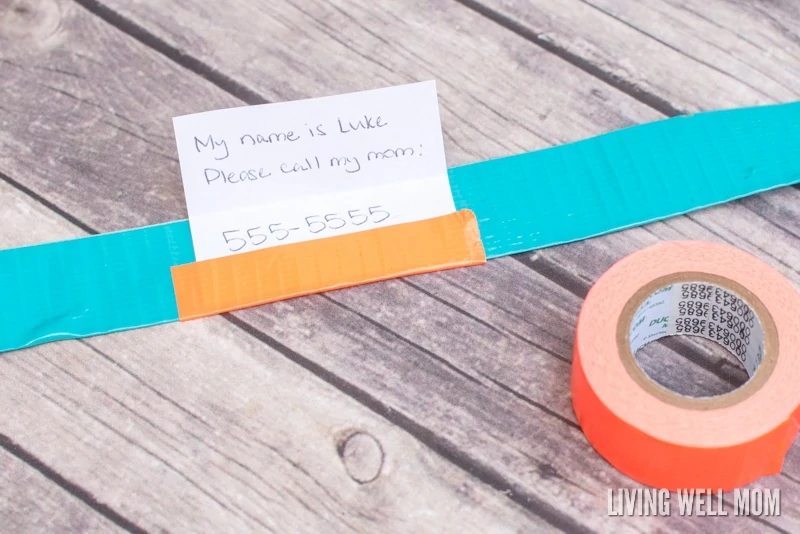
Attach the paper with some duct tape.
You can use another small piece of tape or a sticker to attach the top so it’s not flapping.
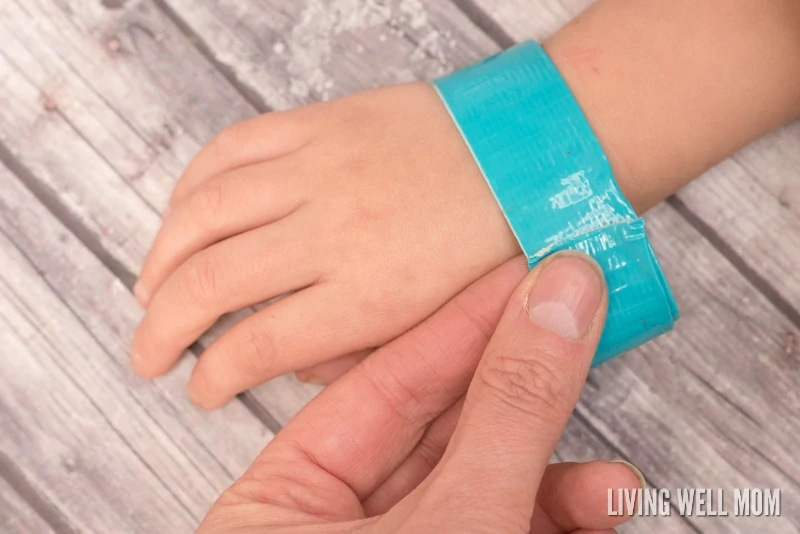
Next you can fit the ID bracelet to your child’s wrist. In my case, I used too long a piece of duct tape so I cut some off. Make sure the bracelet isn’t too tight, but you don’t want it to fall off either.
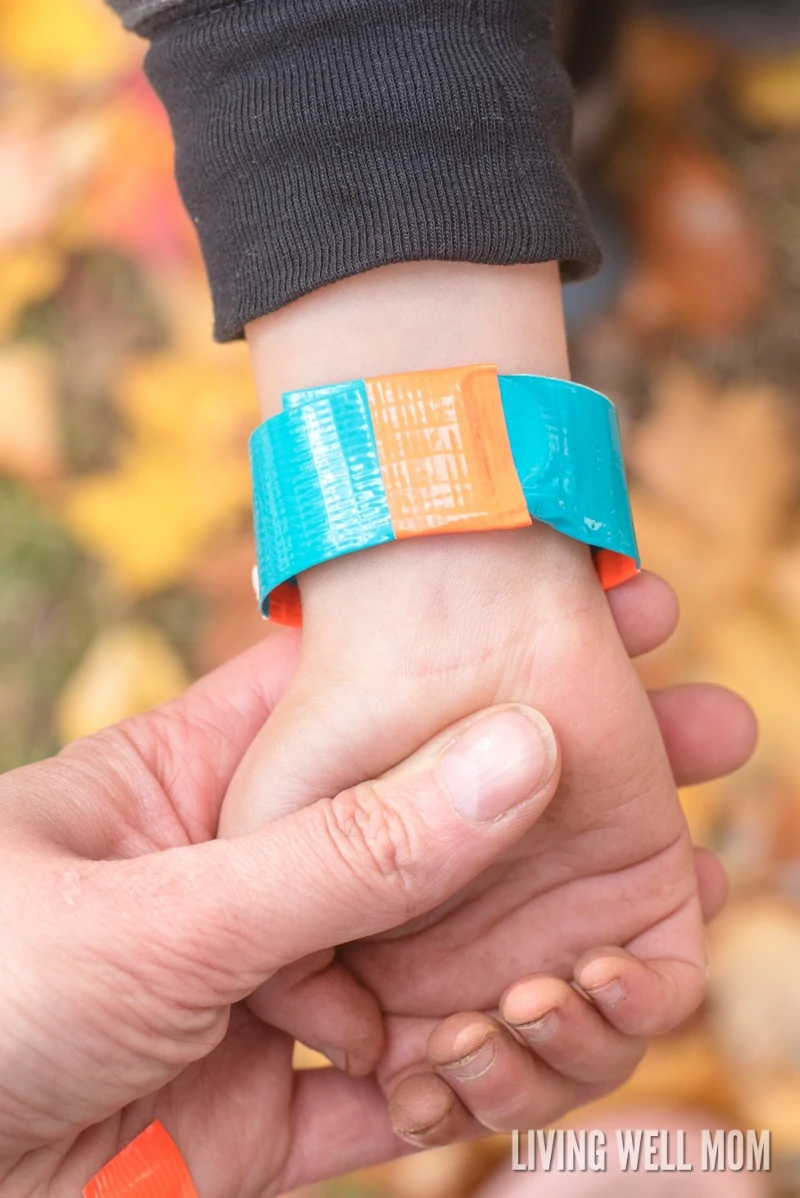
Attach the ends of the bracelet together with another piece of duct tape. I wrapped it all the way around so it would be secure.
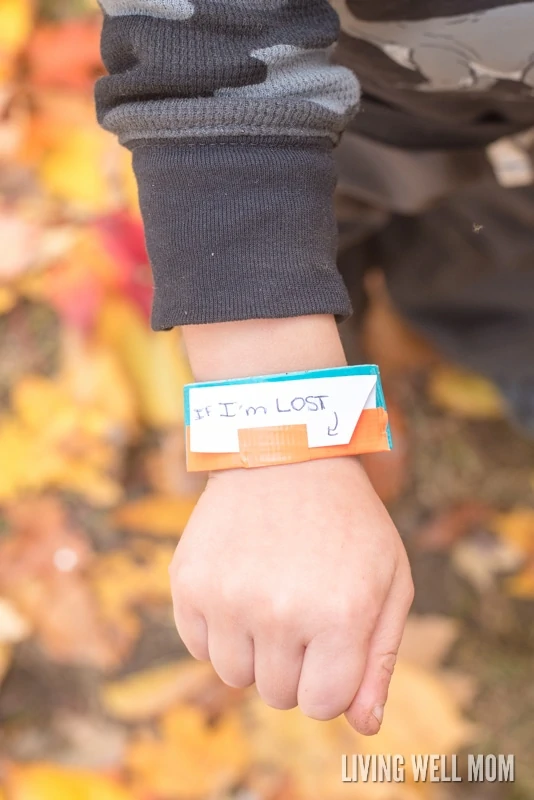
And there you have it! That’s all you need to do to make your own ID bracelet for your child!
Remember, you can use this ID bracelet idea however you want.
If your preschooler is going on a field trip and you want to remind helpers that he is gluten-free, this is a great way to do it. Even small children can remember to show someone their bracelet that will then inform someone of your wishes.
This is a single-use ID bracelet; just cut it off at the end of the day.
Lisa says
So smart! Might even be a good idea to cover the paper front & back with clear tape (semi-laminate, ha!) or make that portion out of doubled masking tape & Sharpie – somehow keep it from from extra-vigorous hand-washing and sticky treats, etc. That “here is my kid?!” feeling is no fun, but this is definitely great peace of mind!
Erika says
Great idea, Lisa!