I can’t tell you how many not-so-pretty plastic storage drawers I own for storing my craft supplies. The problem is my plastic storage drawers still look like a disorganized mess even when the contents are neatly put away – the see through window makes them look messy even when they’re not!
I could have bought a nice fancy chest or bookcases and baskets, but that can quickly get expensive. I wanted something that was simple and affordable. Enter this simple Plastic Drawer Makeover idea.
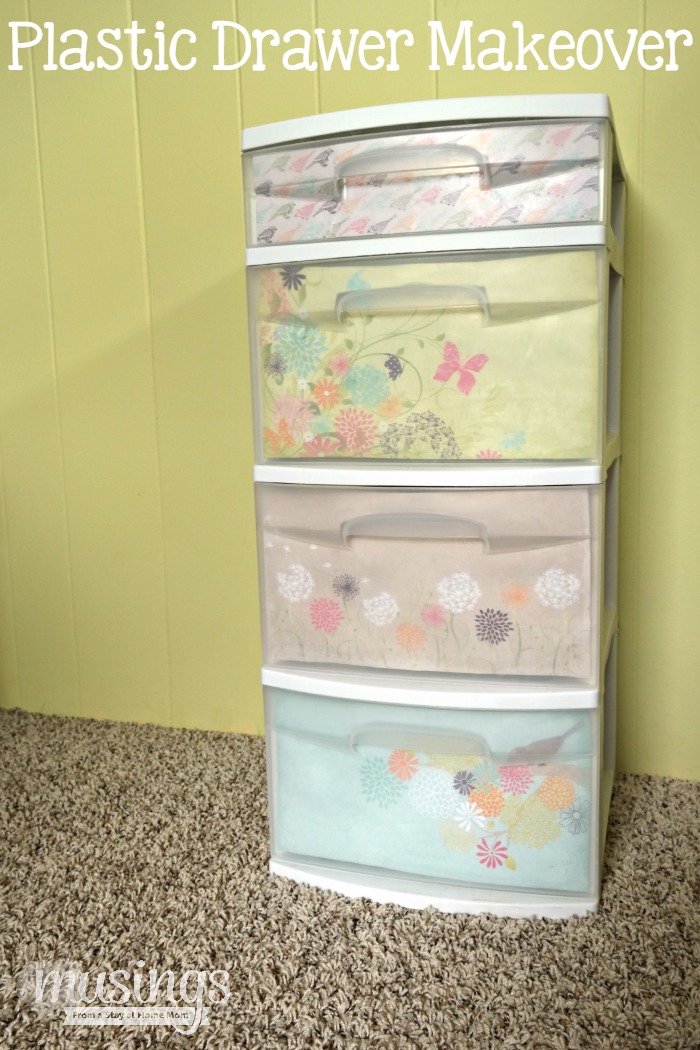
With a little scrapbook paper and homemade Mod Podge, now all my supplies are nicely hidden behind pretty paper!
The great part about this plastic drawer makeover is you can decorate it however you like – choose your favorite colors, designs, or simply match the decor of your room. The possibilities are nearly endless. Did I mention how affordable this is too?
I’ll show you how to give your ugly plastic drawer a makeover with this simple idea – all you need are a couple supplies:
Plastic Drawer Makeover
(affiliate links:)
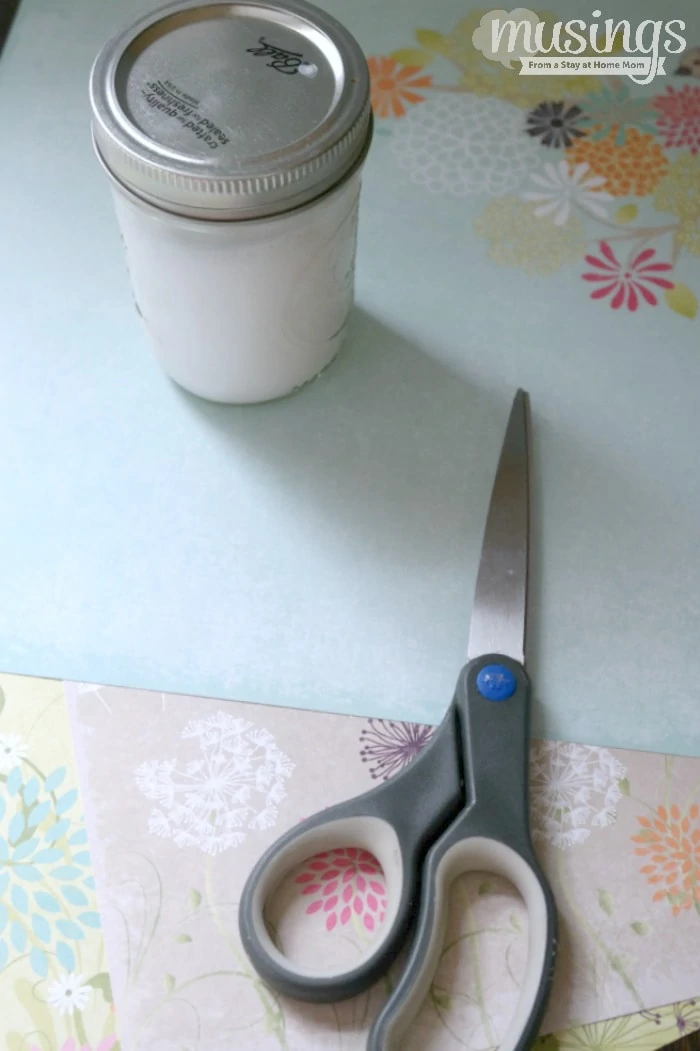
Supplies:
- scrapbook paper
- Mod Podge (or homemade 2 parts glue to 1 part water)
- scissors
- plastic storage drawers
Instructions:
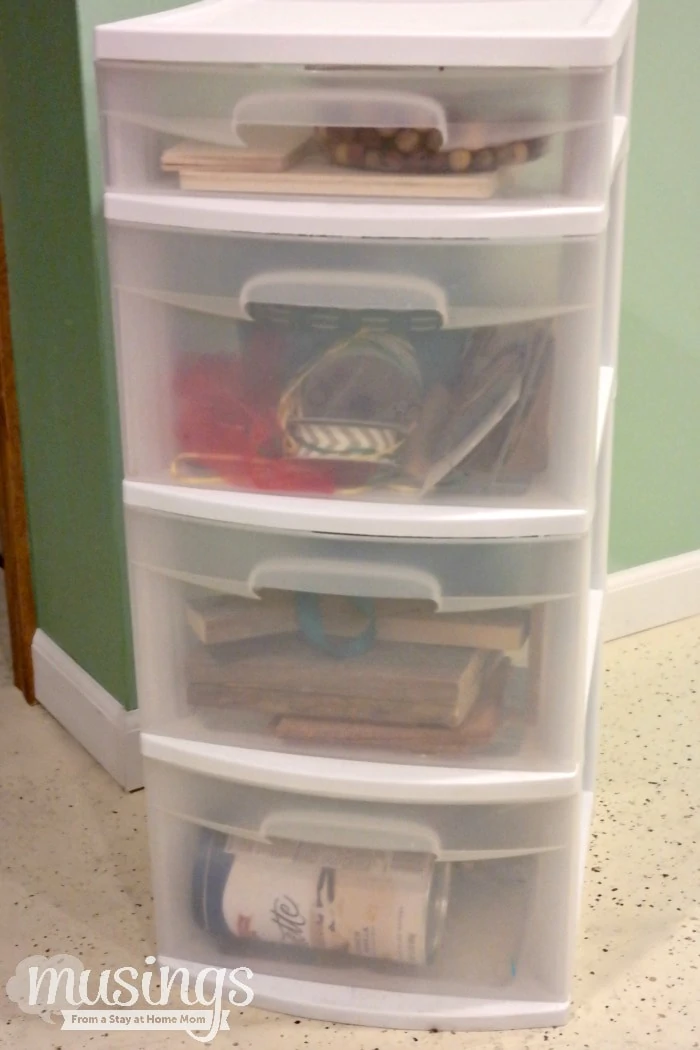
Remove the drawers from the storage tower. This is a before photo of my plastic drawers. Mostly organized inside but still looking cluttered.
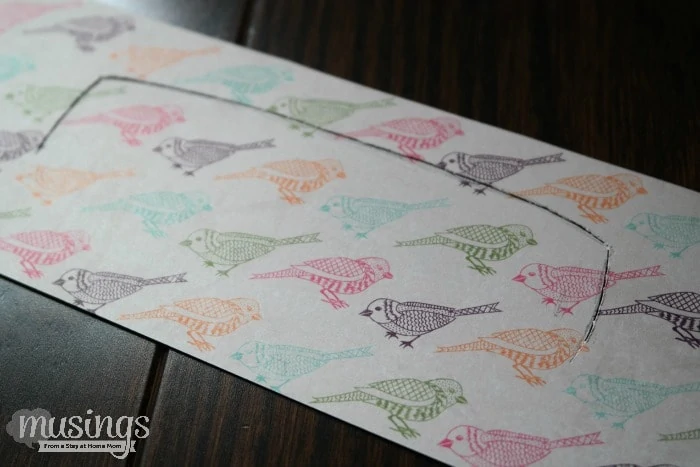
Use a sharp knife or razor blade to cut around the handle shape. This will allow the paper to be shaped around the handle.
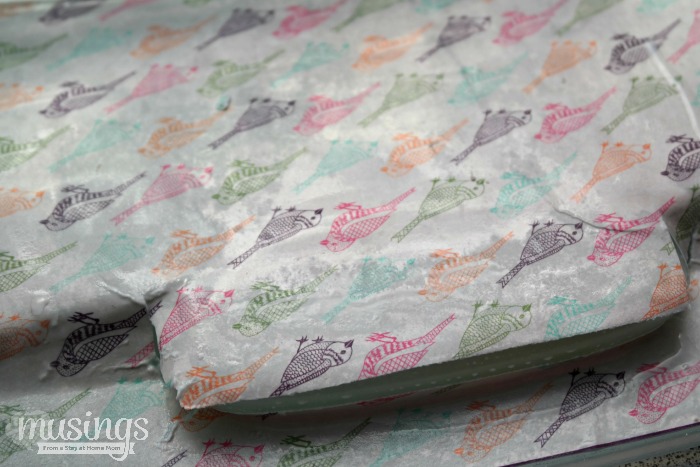
Apply a generous amount of Mod Podge to the inside of the drawer (do not try to work more than one drawer to a time at this point). Smooth the paper over the wet Mod Podge. Some wrinkles will probably still remain but that is okay. Once the paper is smooth apply a coat of Mod Podge over the paper.
Continue with the remaining drawers. I used a few different complimentary prints of paper to give my drawer stack a colorful look with each drawer a little different! Once the initial coating of Mod Podge is dry apply another layer, let dry, and repeat. In all you’ll want 3-4 coats for a durable finish.
When the drawers are completely dry place them back in the drawer stack and fill with your goodies!
And that’s how you do a plastic drawer makeover!
Robin Rue (@massholemommy) says
That is such a cute idea. I should try this with a few of my plastic drawer units.
Jennifer says
That is so great! I have some plastic bins like this, and I’ve always thought they were hideous.
Jenna Wood says
What a great idea- we have several of these in our home and I get tired of looking at the contents inside. This is such a simple fix!
Jenny Temcio says
These drawers ended up looking really cute! I love the designs you chose!
Amy Desrosiers says
Oh man, this is so amazing for my kids pajamas! They have a bin like this for socks and pjs that I hate looking at!
Emily says
That is really simple and smart. Easy to customize for each home too!
Chelley @ AisForAdelaide says
This is such a great idea! I have plastic drawers as our craft area, but they are in my office and so ugly! I am going to try this over the weekend!
MyKidsGuide says
What a great idea. I have so many plastic drawers that look ugly. I will try this
Liz Mays says
They are so much better after the makeover. I should try this out with mine!
Mistee Dawn says
This is such a great idea! I have lots of plastic drawers that could really use a makeover.
Autumn @Mamachallenge says
This is amazing! I will have to try this on a few that I have in my house.
Sarah Marturano says
What an awesome way to add a little flare to plastic drawers. I can’t wait to try this project out.
Debi- Lifestyle Blogger says
This is such a cute idea. And it is so easy. We have a lot of these bins around the house.