If your favorite recipes are scattered between cookbooks, printed pages, and random notes shoved in a drawer, you’re not alone. That was exactly me a few years ago—until I finally found a system that actually worked: a DIY recipe binder.
I know using a physical binder might sound a little old-school in today’s digital world, but there’s something so satisfying about flipping through your own cookbook binder in the kitchen. It’s simple, flexible, and easy to update as your family’s tastes change. Plus, my kids love helping in the kitchen, and having recipes they can see and follow on paper has made them so much more confident cooks.

After a full-on recipe organization crisis, I created a simple recipe binder system that I’ve used ever since—and it quickly became one of the most popular posts here at Living Well Mom. So many of you loved it that I decided it was time for a refresh, complete with brand-new printable recipe organization pages to help you create a beautiful, functional recipe book of your own.
Whether you’re drowning in printed recipes or just want a better way to organize the meals your family actually eats, this DIY recipe binder is an easy, budget-friendly solution you’ll use every single day.
What is a recipe binder?
It’s just what it sounds like: a notebook filled with all your favorite recipes!
Instead of keeping stacks of dog-eared cookbooks or a hundred printed recipes and recipe cards all over your kitchen, you can easily corral your favorite family recipes in one simple spot.
Plus, if you’re anything like me, you use printed recipes just about every day, and you find more almost as often. A recipe book is perfect because you easily add or remove dishes whenever you want.
You can also change or move categories around too.
In short, this is the most convenient (and budget-friendly) way to sort the recipes many of us print online.
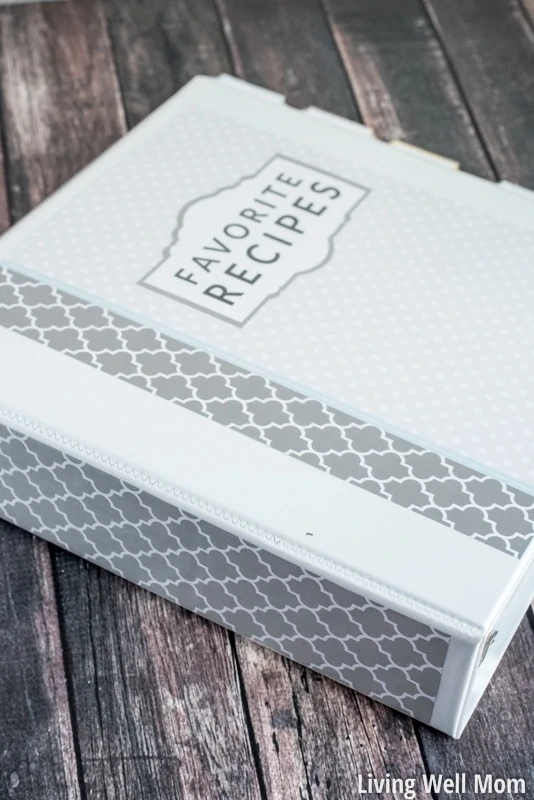
Y’all, I can’t get enough of this one! It’s such a clean and pretty design. It looks fabulous in my kitchen and will look amazing in yours too!
Have I convinced you that you need a recipe book yet? If so, you’ll be thrilled to know that setting up a DIY recipe notebook of your own is super simple.
Supplies Needed
- 1-3″ White Binder
with Clear Front Pocket (I have a 2″)
- Heavyweight Sheet Protectors
- Scissors
- Printable Recipe Organization Sheets (grab them below)


Additional Recommended Supplies


Don’t let the hot glue gun scare you – this is NOT a major project. Trust me, I’m not crafty at all, and this was super easy. If I can do this, so can you!
How To Make a Recipe Binder
Here’s how you’ll get your cookbook binder organized and ready to go.
Get the Recipe Binder Pages
First, you’ll need to download your printable pages.
You can get them for free here as my gift to you when you join my Living Well Mom email list!
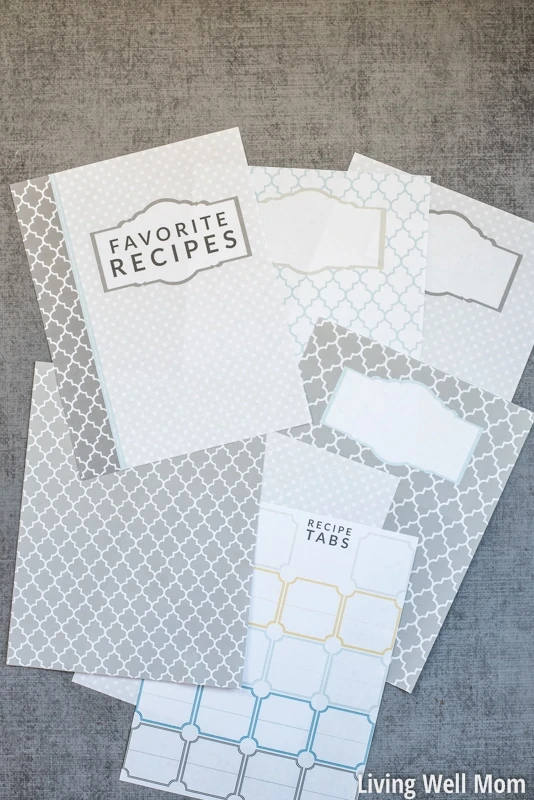
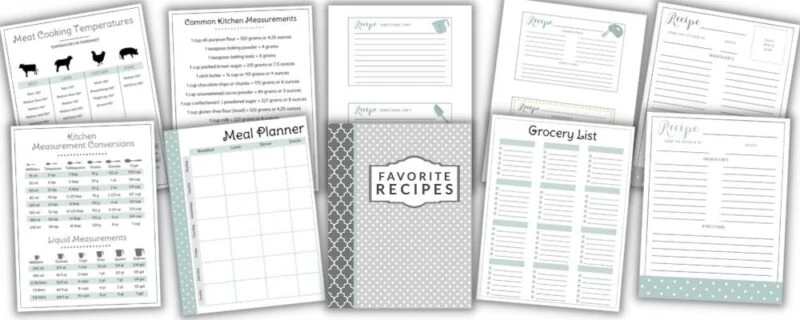
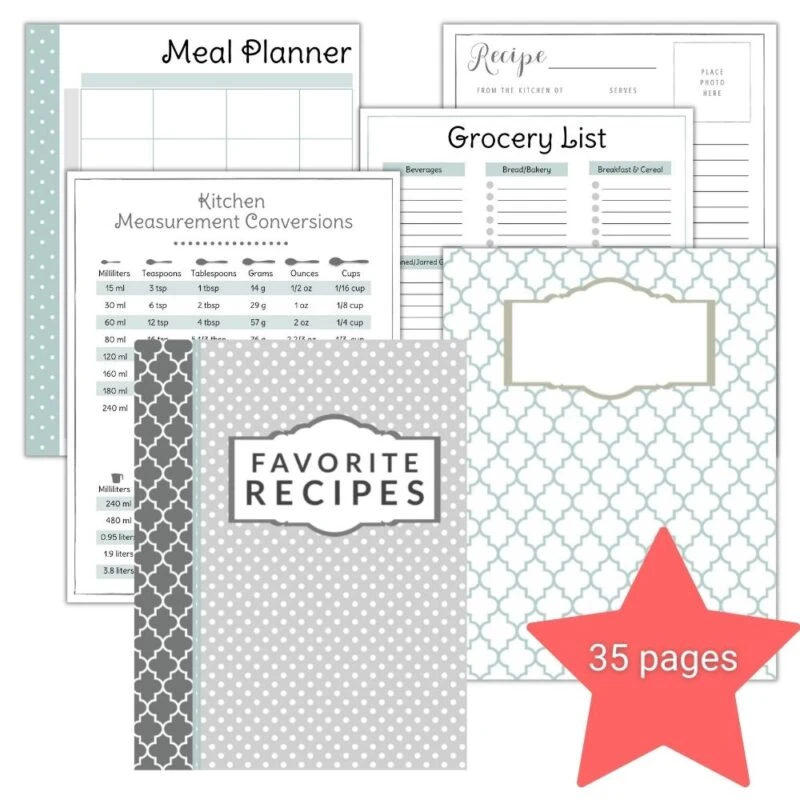
You’ll receive 7 sheets:
- Cover Page
- 3 Category Pages
- 1 Tabs Page
- 2 Simple Design-Only Pages (which can be used for the sides of the binder to make it look pretty)
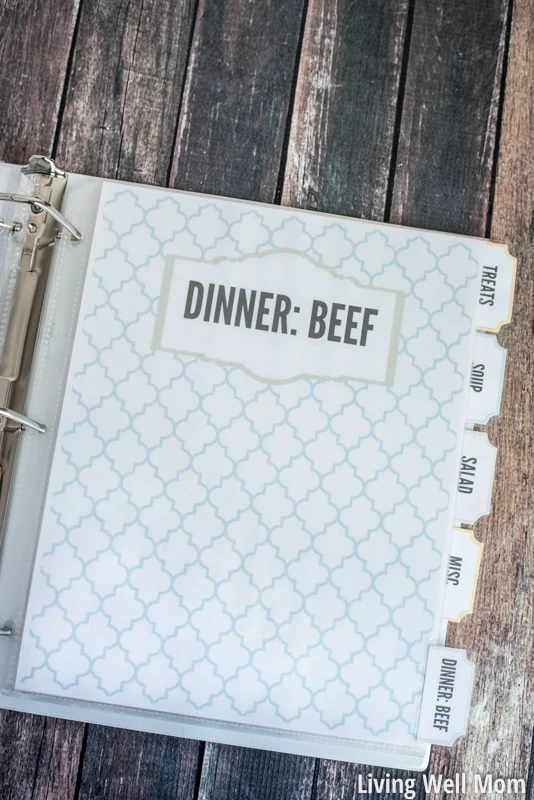
Choose Categories and Print Pages
Now it’s time to get your pages ready to print. Prepare the category pages in one of two ways.
You can download, print, and write your category names by hand on each of the category pages and recipe tabs.
OR, you can save the JPG files of the recipe tabs and category pages listed here, upload the full file sizes into an editing tool like PicMonkey, and add text. This is a great option if you want something nicer than your handwriting. Just make sure you save in full resolution to ensure you keep the quality.
Categories can include:
- Appetizers
- Main Dishes (could be organized by protein type such as poultry, pork, or seafood)
- Salads
- Side Dishes
- Desserts (cookies, cakes, etc.)
- Sauces
- Soups
- Pasta
- Slow Cooker or Instant Pot
- Beverages
- And more!
Depending on how many categories you want to include in your binder, you’ll need to print out multiple copies of pages 3, 4, and 5 (the category pages). I highly recommend listing out the categories you want to use in your DIY recipe binder before you start finalizing and printing pages.
I chose to add the text online so my recipe book would be nice and pretty. To be honest, I don’t have gorgeous handwriting like some of you! (In case you’re wondering, I used League Gothic as the font.)
Once your recipe book pages are labeled and printed, you can start putting it all together. Here’s how:
Put Together the Cookbook Binder
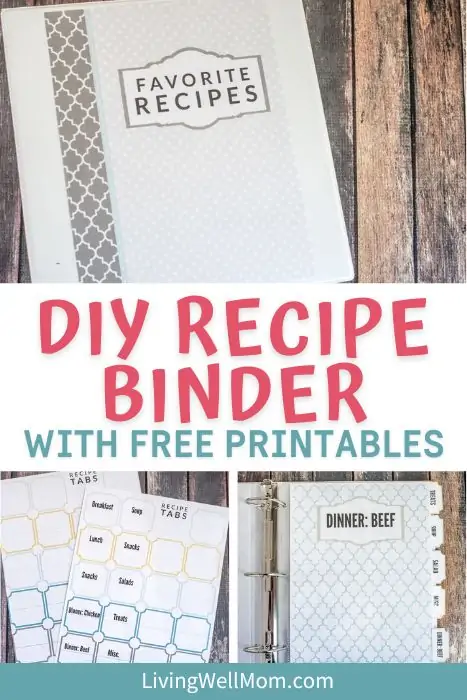
Decorate the cover of your binder.
For the back edge of the notebook, choose your favorite graphics page and cut it to fit. Then carefully slide it into the clear pocket.
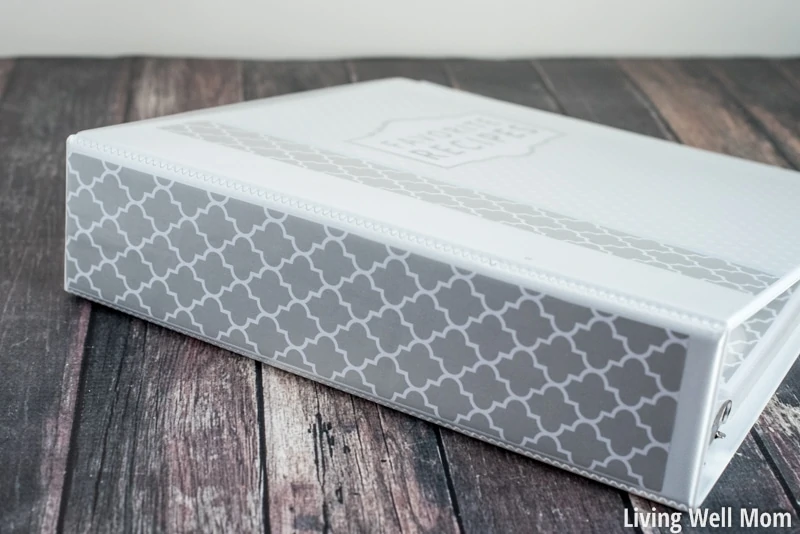
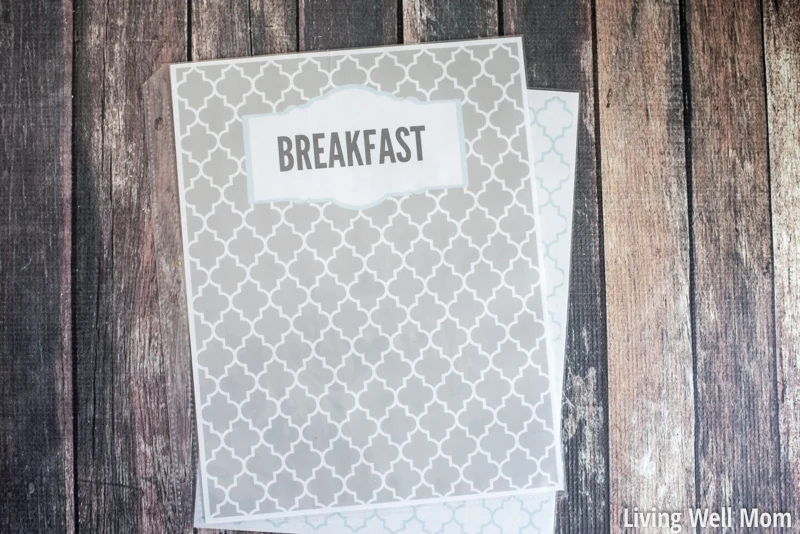
Next, insert the cover page into the clear pocket on the front of your binder.
I highly recommend laminating the cover and category pages because it provides more protection and stability. Plus, it will help your category pages stand out against your regular recipe pages.
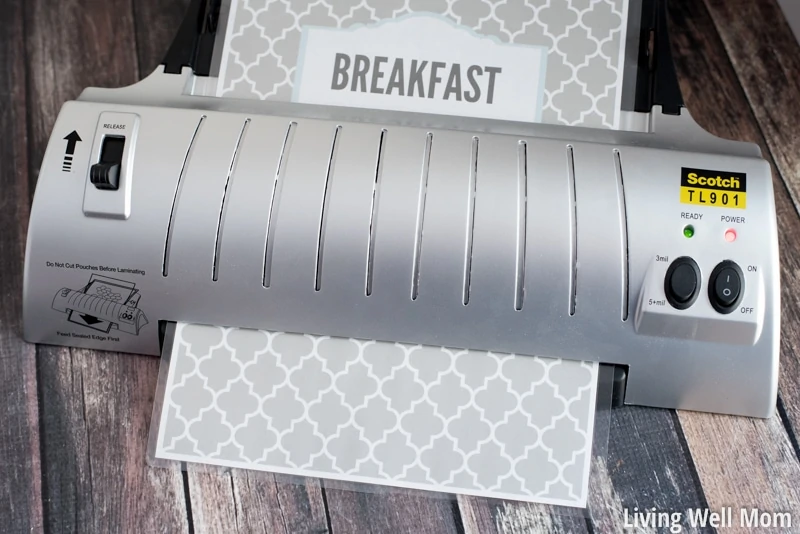
Once you laminate the pages, just trim the extra from around the edges and slide each category page into a sheet protector.
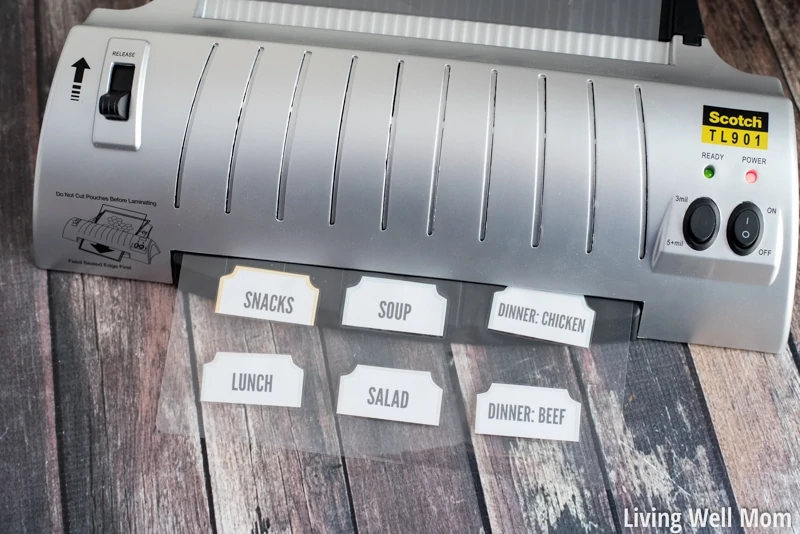
Next, cut out each of the recipe tabs (or labels) that you’ll be using and fold them in half. Then, insert them into a laminating pouch folded, then laminate.
Cut each tab from the laminating sheet, leaving just a little around the edges. This extra step will help ensure your beautiful recipe organizer will last for a long time!
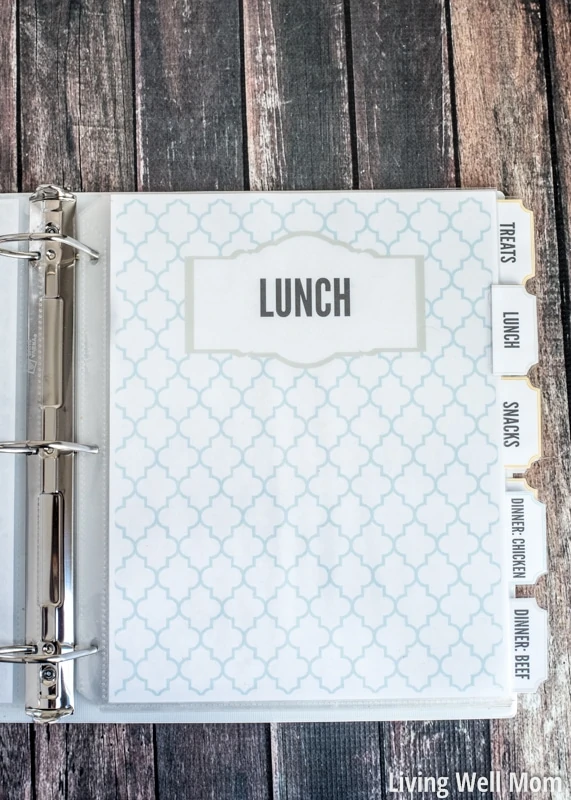
Line up each tab according to how many category pages you have to make sure they’re spaced the way you want them to be.
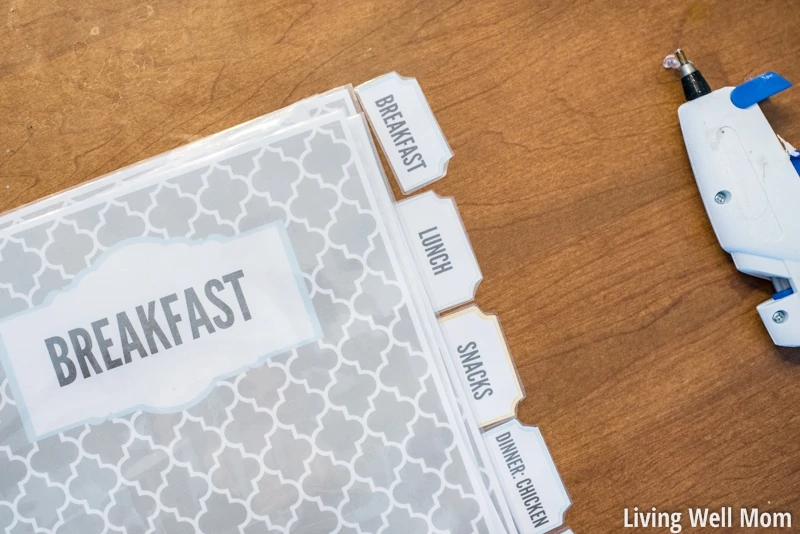
Carefully hot glue a small line at the very edge of each category page. (Your category pages must be inserted into a protector first.)
It’s time for the really fun part: putting the category pages into your binder!
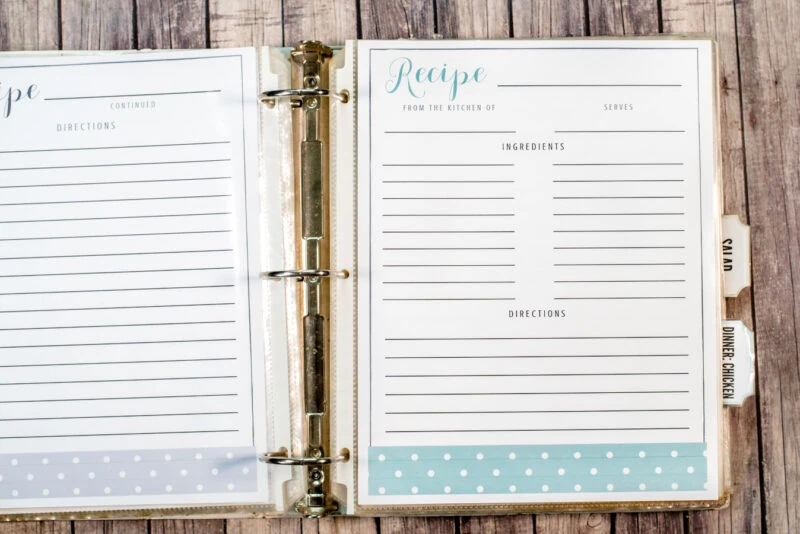
Add Recipes
Now just add your recipes! (If you need recipe inspiration, print out this lemon garlic shrimp recipe to add to your collection – you’ll love it!)
You can slide them into clear protective sheets (my recommendation) or simply use a 3-hole punch to add the recipes directly to your binder.
It’s completely up to you. I prefer using the page protectors because I tend to be pretty messy when I cook, but you may not need them.
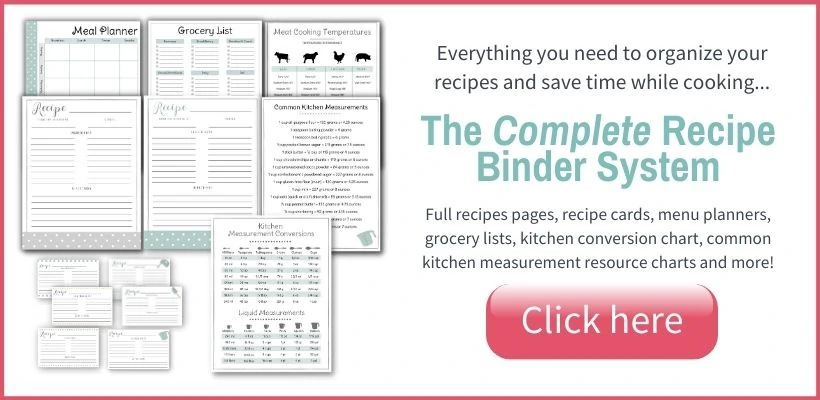
Grab The Complete Recipe Binder System
Now that you’ve got the basics, you’ll want the rest to keep your recipes completely organized in homemade beautiful recipe books!
This add-on pack was designed with feedback from thousands of women who downloaded this pretty recipe book cover.
Get your complete recipe binder system and create your own unique family cookbook today.
NOTE: This easy recipe organization system also makes great gifts for friends, family members, or even your children’s teachers! It can be a great housewarming gift too.
DIY Recipe Binder FAQs
Here are some common questions I see readers ask about making their own recipe notebook. If you have a question but don’t see it answered below, please leave it in the comments!
What order should a recipe binder be in?
You can organize them into any order that makes sense to you (talk about ease and flexibility!). Here are a few ideas:
- The recipes you use most go toward the front of your notebook
- How you might eat a meal (ex: appetizers, main dishes, side dishes, beverages, desserts, etc.)
- The type of food it is (ex: main dishes, slow cooker recipes, pastries, freezer meals, etc.)
Is a recipe binder better than a digital recipe app?
Honestly, it depends on how you like to cook — and I use both.
I use the Plan To Eat app to stay organized digitally. It’s great for meal planning, saving online recipes, and keeping everything in one place when I’m on my phone or computer. For the planning side of things, digital tools are incredibly helpful.
But when I’m actually cooking, I almost always reach for my recipe binder. Having a physical cookbook binder open on the counter is easier, faster, and less distracting than unlocking my phone or scrolling through an app with messy hands. It’s also much more kid-friendly — my kids can flip through pages and help without worrying about screens or spills.
For me, the best system is a combination:
- Digital apps (like Plan To Eat) for collecting and planning
- A recipe binder for everyday, hands-on cooking
Using both gives you the flexibility of technology and the simplicity of paper — without losing your favorite recipes in the process.
Why is it important to organize recipes?
Have you ever had the experience where you want to make a certain dish, but you can’t find the recipe? Imagine searching through lots of recipes everywhere you can think of, but you just can’t find it. Or maybe you waste a ton of time searching for it only to find it in a place that doesn’t make sense.
I’ve been there, and I know how frustrating that is. So when you keep your recipes organized, your family favorites are right at your fingertips anytime you want them.
What is the best way to organize a recipe?
There are many ways to organize your family favorites (including boxes, digital recipe binders, and cookbooks), but I love the flexibility, ease, and affordability of this organizer system.
With this system, I can quickly and easily add new recipes and take out those we don’t make anymore.
And that’s how you make your very own DIY recipe organizer book. Don’t forget to grab your free printable pages and then expand that by getting the full binder system!
More Easy Ways to Stay Organized
- 5 Creative and Easy Tips for Organizing Toys
- The Easy Way to Organize Kids’ Clothes
- 4 Smarter Ways to Organize Your Medicine Cabinet
- Top Small Kitchen Drawer Organizing Tips
valmg @ Mom Knows It All says
This is a terrific idea! I have seen systems that aren’t as nice as this one being sold online and they’re a lot of money so this would be a good way to save by making it.
Erika says
That’s why I paid someone to make this for me. I wanted something really pretty for me AND my readers. 🙂 I’m glad you like it!
Heather Johnson says
I keep my recipes in a binder too. I print mine out and put them in plastic sleeves.
Erika says
I’ve found that quite a few people do this. That’s why this printable is so fun – you can spruce up what you already have!
Kristi says
That looks soooo much nicer than the random sheets of paper that are floating around my cupboard and drawer right now. My husband would sure love this too as he complains when he wants to find something to make.
Erika says
Thanks, Kristi! I love how easy this binder is to maintain too. 🙂
Shannon Bell says
The JPG links are not working for me. Is there anyway you could email the downloads to me? Or fix the links? Thanks, Shannon B.
Erika says
Hi Shannon! I’m sorry you’re having trouble with the links. The JPEGS are coming up for me. Can you describe what’s happening so I can help?
Donna says
Hi Erika! The Pic-Monkey link titled Recipe Tabs- keeps coming up as the Category Page 3 divider page.
Love these pages and cant wait to get started!
Thanks for your help!
Donna A
Erika says
It’s fixed! Thanks for letting me know, Donna. Have fun making your binder!
teddymom says
I’m not getting the tabs when I click on the tabs link, but rather another category page. Help!
John says
Now that printers are even more standard than in the past, it allows for people to really customize their cookbooks/recipe books much more. Having all the important recipes (especially seasonal ones that come around every year) in the same binder makes it much easier to quickly whip up a delicious meal for family and guests alike. Thanks for sharing!
Gilly says
Do you have a list of contents under each tab or do you just flip through? I’ve made many recipes from pinterest once and then forget about them. Not because they are forgettable but just because there are SO many. Thanks for these. I’m working on a whole home organization and this is one of them!
MessyScraper says
Thanks a lot!
Erika says
Yes, it’s been great. I haven’t had any issues with it peeling off.
Patricia June says
If you dont want to print all those sheets of patterns you can buy shelf paper , & then hand print on plain paper lay it on top & glue it in place, cutting it out in a nice shape. Cheaper than in , for those on a budget
Martha Pulido says
This seems like a great idea. I’ve been able to follow all the steps except for the title page. Can you save that one individually? Or, perhaps email that 1 page as a pdf? When I download all of the pages, and try to print the title page, it does not print correctly.
Thanks so much!
Erika says
Hi Martha, I’m sorry you’re having issues with printing this. How is it not printing correctly? Saving a single PDF page isn’t likely to change how it prints vs the whole file.
Kristen says
Any idea on what to do with newspaper or magazine clipped recipes? I want to save them — thought about flying several down to a page and inserting in a page protected — but what if it has a backside? Thoughts?
Erika says
Great question, Kristen!
I’ll often take a quick photo with my phone of a magazine recipe so I don’t have to keep the hard copy. (I’m all about simplifying that way!) Then I can print out the recipe photo later or look up the recipe on the magazine’s website, etc. and print and add to my recipe binder that way.
Dori says
This is awesome! It’s my weekend project 🙂 I have so many recipes just kept haphazardly so this is much needed. Only thing, what’s the trick to getting the decorative piece of paper down the spine of the binder? I cannot do it for the life of me lol
Erika says
Hi Dori, first you want to use a binder that has a clear pocket for the spine. You may need to get a 1.5″ or larger size binder. Then print out one of the full-page designs (without the title space) then cut it to match the spine. Slide it in and you’re all set. 🙂
Johanna Eck says
Dear Erika,
thank you very much for these templates. I searched for a while for recipe cards, and your design is exact what I imagine!
Johanna
Deb Fett says
I have terrible handwriting so I was going to use your PicMonkey idea. I decided that I didn’t want to get into a “free trial” that I would have to remember to cancel. I bought AVERY Clear Address Labels 18660, printed my category sheets and tabs labels and stuck them on the print outs. Looks like they were printed right on the page. I love my newly organized binder. Thanks for sharing!
Jackie Houlberg says
Hi!! Thanks so much for sharing your talent with us!! I am in the process of making this recipe book and am excited to complete it!! I was wondering if you could provide an editable version of the cover page and of the blank pages for the side of the binder. Thanks so much! I really appreciate it!
Erika says
I don’t have an editable version of this, sorry, Jackie! Glad you love the design. 🙂
Brenda Abramson says
Hi, love this, but one question – is it possible to change the color of mint green to a baby pale pink?
Most of my stuff is grey and pink!
Thanks
Brenda A.
Joyce says
I typed up a “category” in Word, for example “Main Dishes” (I made sure it was lined up in the right place) and fed a category page (printed from this site) into my printer. No need to pay for labels and printing up labels. I played around with the font size and placement till I got it right with a blank piece of paper first. My two daughters and I shared our recipes and I made 3 recipe binders! I used Avery 11293 tabs because they have pockets for loose recipes that I haven’t tried yet. They are also extra wide so that the tabs extend beyond the sheet protectors. Staples has beautiful binders in assorted colors, they are labeled as “Better” binders. Thank you so much for sharing the pages.
Erika says
Great idea, Joyce. I’m so glad you could make this your own. And you’re welcome! 🙂
Deirdre says
Hi Erika, thank you for these great ideas! I am trying to download the free prinable receipe binder. when I click on “here” it brings me back to this page again. Am I missing
Something? LOL? Can you send me a link to print them?
Thank you!
Deirdre
Erika says
There is a form in the post where you can sign up to receive the binder for free. Keep scrolling down in the post – let me know if you have any more issues. 🙂
Katherine A Strong says
I can’t wait to get this to make a recipe book for my future daughter in law for her bridal shower.
Guylaine Leroux says
My Email was wrong is not (.com) but is (.net)
Erika says
Hi, you will have to subscribe again with the correct email. The system won’t allow me to fix it on my end.
Barb says
Hi! I’m trying to find where to put in my email address in order to get the free printable for the recipe binder. There isn’t anyplace to do it. Can you help?
Erika says
Hi Barb, thanks for letting me know. We fixed it. Sorry about that.
Olivia says
This is a great idea! I love the printable downloads!