Does paper clutter your counters or desk? If so, then a corkboard is the perfect solution for you. For some reason, clutterless counters make everything feel cleaner.
When we simplified our lives because of our loss, which you can read about here, organization of the stuff we did keep was super important to me, including all the papers that come home from school each day.
I also learned that organization has to be one of those things that you set aside time to implement. So combining my love of organization and projects, I made a simple DIY corkboard for my home office. It really is an easy project to complete in an afternoon and cost less than $15 to make.
All of my supplies I purchased at Hobby Lobby (don’t forget to use your 40% off coupon), but you can also find many of them at your local Wal-Mart.

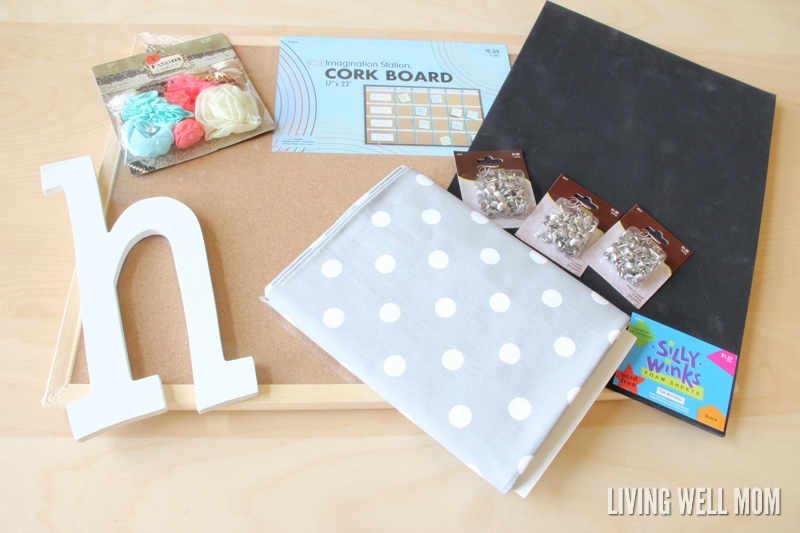
Materials Needed
Corkboard with wooden frame
¾-1 yard duck cloth
½ yard cotton batting
2-3 packages upholstery tacks
Decorative elements (monogram letter
1-2 thick foam sheets
Glue gun
Spray adhesive
Small hammer (optional)

 Step 1 –
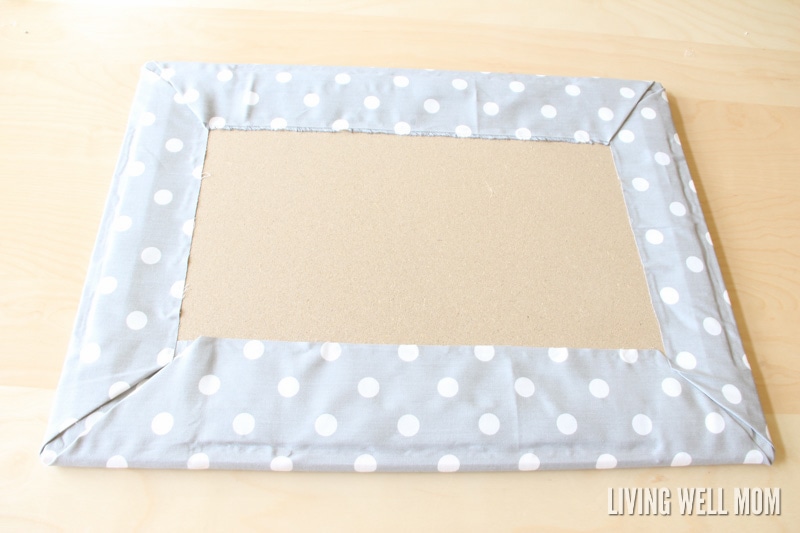
This first step isn’t absolutely necessary, but I like having the extra padding on the corkboard. Use spray adhesive to tack down a piece of cotton batting cut to the size of the cork inside the frame.
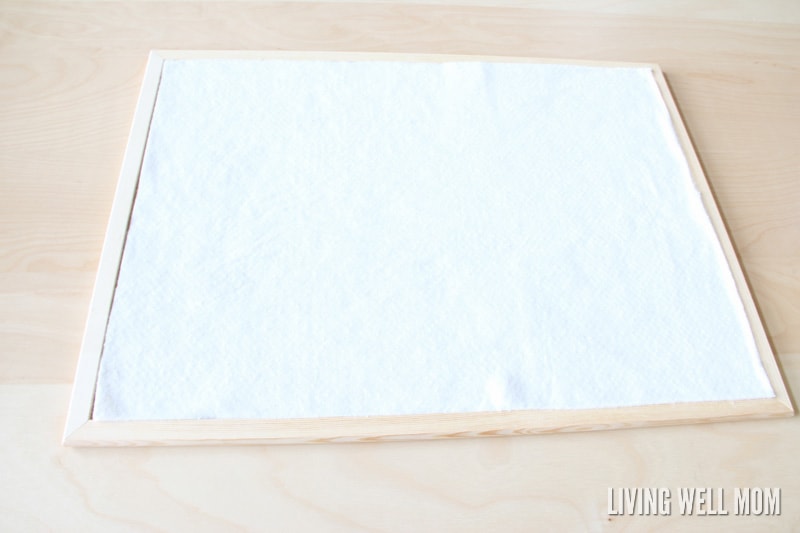
Then lay your fabric (print-side up) on top of the batting so all the edges are evenly overlapping the wooden frame of the corkboard.
Step 2 –
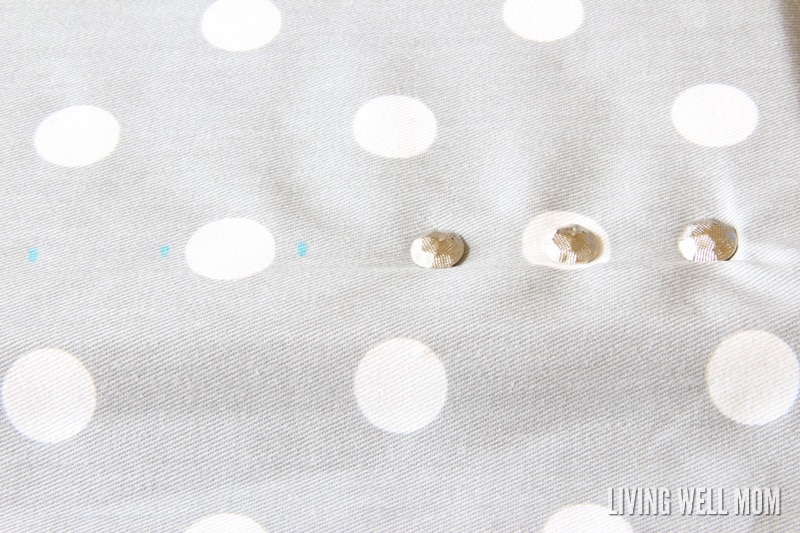
Push an upholstery tack just inside the wooden frame. You want to push it all the way through the fabric and corkboard. Don’t worry if the tack is sticking through the back, we will take care of that in a minute. Now measure this side with a tape measure and decide how far apart you want the tacks.
I chose to place my tacks about 1 inch apart. You just want them spaced evenly, so the distance doesn’t really matter. I used a fabric marker to mark my 1 inch increments along each side. You can use a pencil too, but just make sure that the head of the tack will cover the mark.
Side note: If you would like to use thumb tacks instead of upholstery tacks, you are more than welcome. They will have a similar look, but I like the texture and height of upholstery tacks which also come in different colors. I have noticed too that you won’t get as much of a “tufted” look by using thumb tacks because the tacks aren’t long enough.
Step 3 –
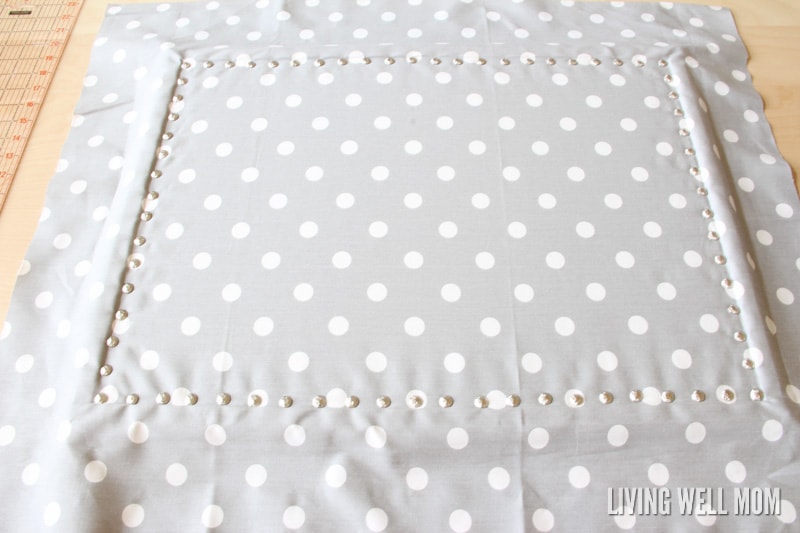
Using your incremental marks as a guide, start pushing the tacks through the corkboard as close to the inside of the wooden frame as possible. A word of caution: unless you would like to have thumbs that are useless for the next 48 hours, I suggest you use a small hammer to aid in this process. Take it from me, numb thumbs are a “no bueno” for drinking coffee the next morning. 😉
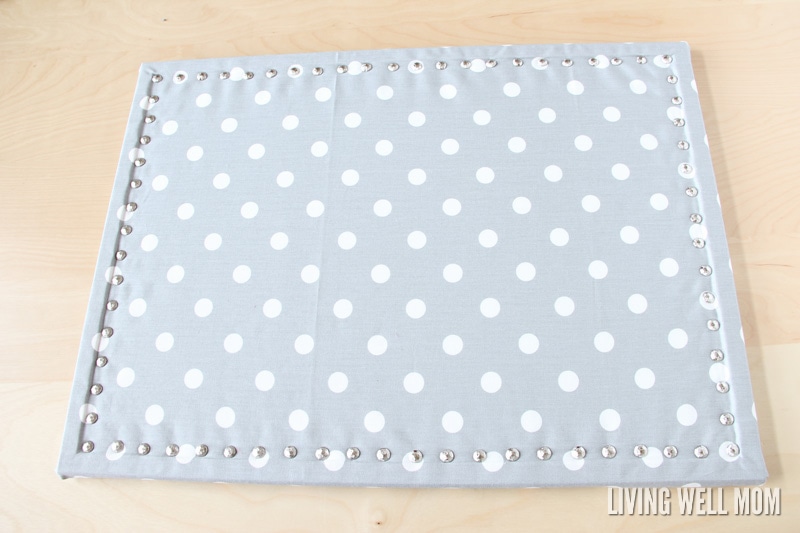
It’s best to work in a clockwise or counterclockwise direction as you push the tacks through the corkboard. As you turn a corner, smooth out your fabric so it stays tight and smooth against the batting underneath. Continue until you reach the point where you placed your first tack.
Although we aren’t finished, stand back and admire your work. I love the look of the nail heads because it gives the corkboard such a classy look without spending a lot money.
 Step 4 –
*If you chose to use thumb tacks instead of upholstery tacks, you’ll be able to skip this step because the thumb tacks should not have gone through to the back of the corkboard.
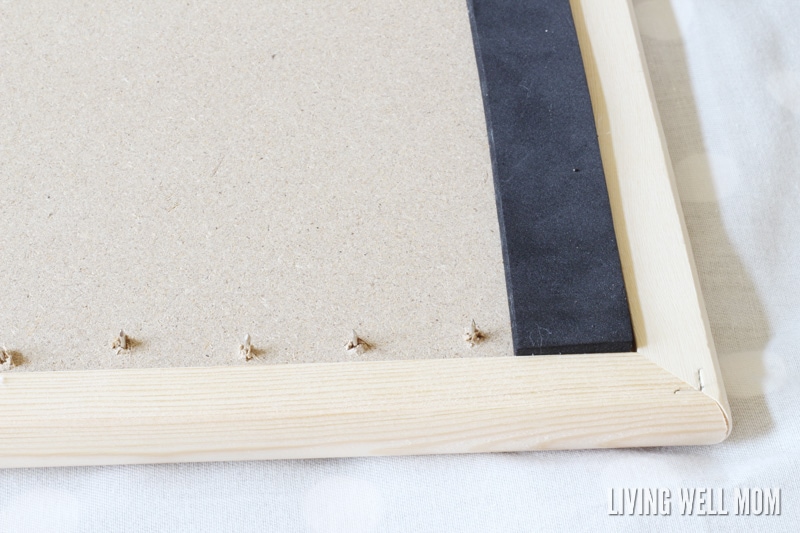
Turn your corkboard over, and you’ll notice that the upholstery tacks are sticking through to the back. While this isn’t as big of a deal because it’s going on a wall, I still like to make the back pretty too (and I don’t want little fingers getting hurt if they happen to be able to get the corkboard down).
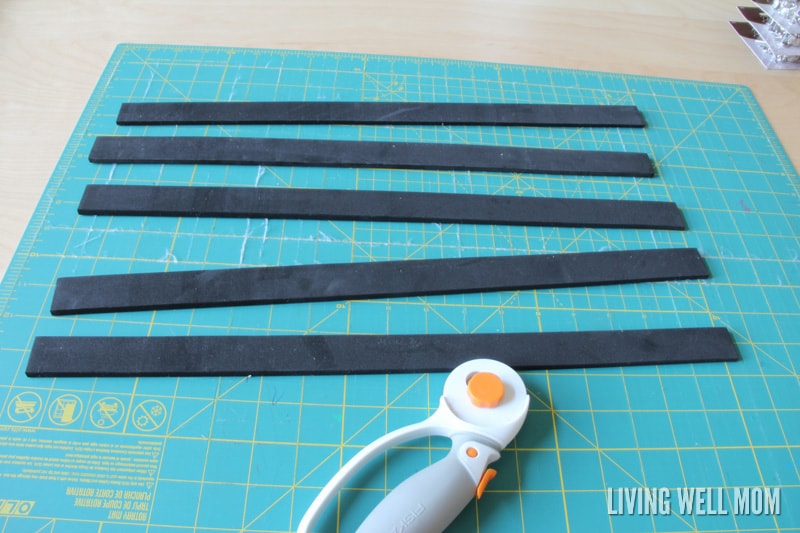
Take your thick foam sheet(s) and cut 1 inch wide strips down the longest edge. I use my rotary cutter and ruler for everything, so it made this step super simple. Scissors will do the same thing, but you may not get as clean of a cut.
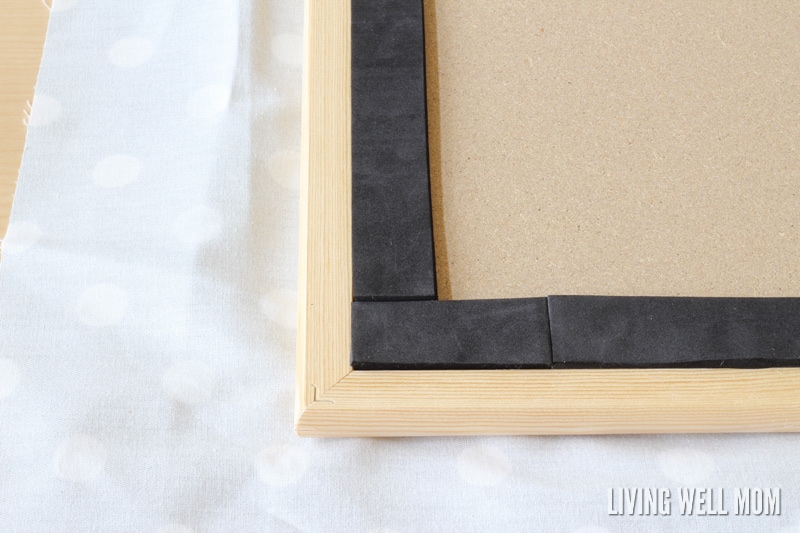
Let your glue gun get nice and hot. Working with a couple inches at a time, glue a foam strip right over the backs of the tacks by pushing down gently. Continue with the foam strips all the way around the corkboard. You will need to cut smaller pieces to fit the gaps.
 Step 5 –
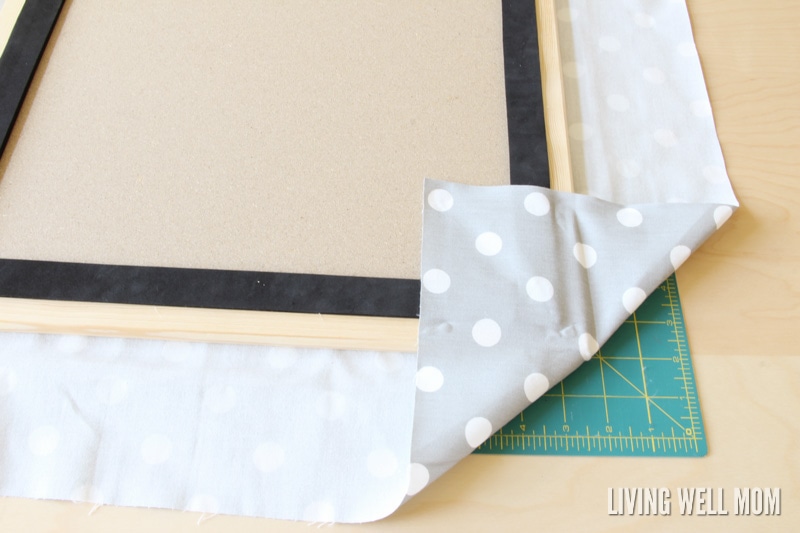
Keep your glue gun plugged in because you will use it for this step. You are going to create a mitered corner, which is just a fancy way of saying an angled corner so the fabric is neat and tidy. Think of it like wrapping a present.
Place a dab of hot glue on one of the back corners of the wooden frame. Fold the corner of the fabric towards the back of the corkboard so that it makes a 90 degree angle and is tight against the wood corner.
Repeat this step with the other 3 corners.
Step 6 –
Now you fold up each flap of fabric towards the back placing a line of glue on the wooden frame the length of each flap. Tighten and smooth the fabric flap as you go. I also like to glue down the end of each fabric flap so there is no more loose fabric.
The back of your corkboard should be nice and neat too.
Flip your corkboard over, and you should see your almost finished project. You can always stop here if you don’t want to add any decorative elements. While it’s functional the way it is right now, I just can’t leave it plain. I have to spice it up.
 Step 7 –
Hot glue is my best friend, and again I used it in this step. Since none of my elements were very heavy, I just used the hot glue to stick them on the board in a pattern that I thought looked good.
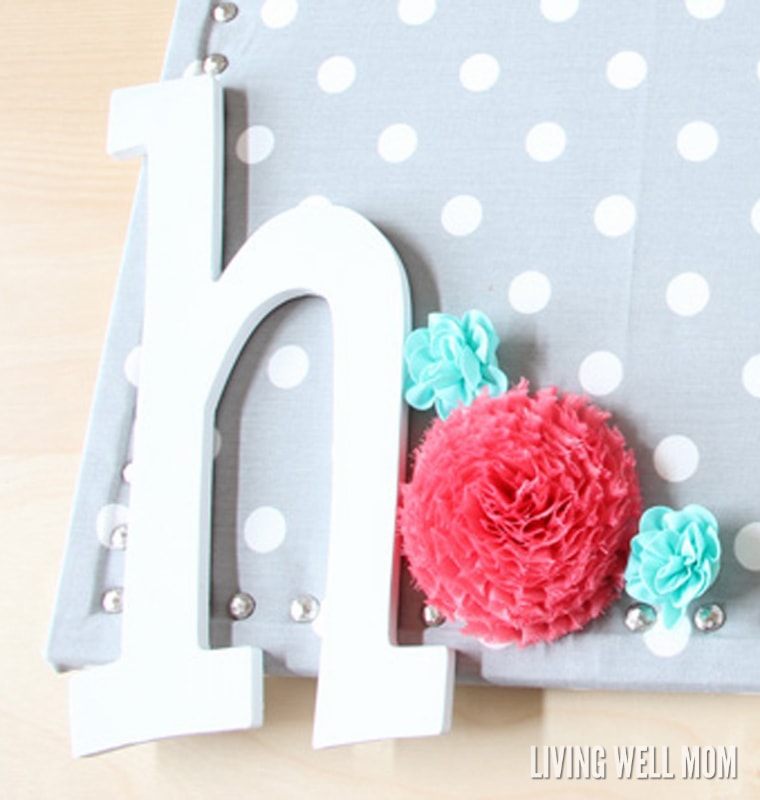 I’m a sucker for letters and flowers, so I chose my first initial and some coral and turquoise flowers that came in a package together.
That’s it!
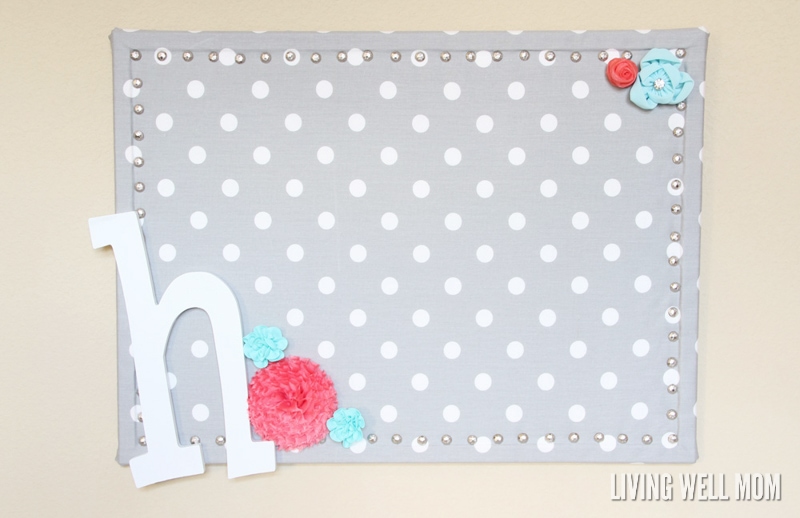
I told you this DIY corkboard was an easy project. I think I’m more likely to stay organized and not have papers and calendars lying around with this beauty of a corkboard that I can use.
 What do you think?
If you struggle with organization in any area of your home, this interview with 19 experts of their favorite organizing tips should be a MUST READ for you. Their ideas are so simple that you will walk away with tips and tricks that you can use today to conquer some of that chaos.

Heather is on a mission to teach people practical tips for how to simplify their lives by sharing organizational strategies, DIY projects even the beginner can complete, easy recipes, and more. Download her FREE home organization checklist at A Simple Southern Life. Her simple ideas are sure to help you make your house a HOME and create a life you love.
Kristi says
What a great organizational tool…. would sure help me during the school year and looks simple to make!
Jennifer says
That is so cute! I need one of these for my office. I always make myself little notes, and they pile up all over the place.
Ellen LaFleche-Christian says
That’s a really good idea. I’ve been working clutter here too!
Scott says
Turned out great and looks so easy to do. Good project for the kids to make themselves!
Melissa says
This is a really easy to do corkboard idea, I will have to make it sometime. I am sure it will help with organization for sure!
Jen | Green Baby Deals says
We desperately need one of these and yours is beautiful. Now if I can only find the time…. thanks for the idea!