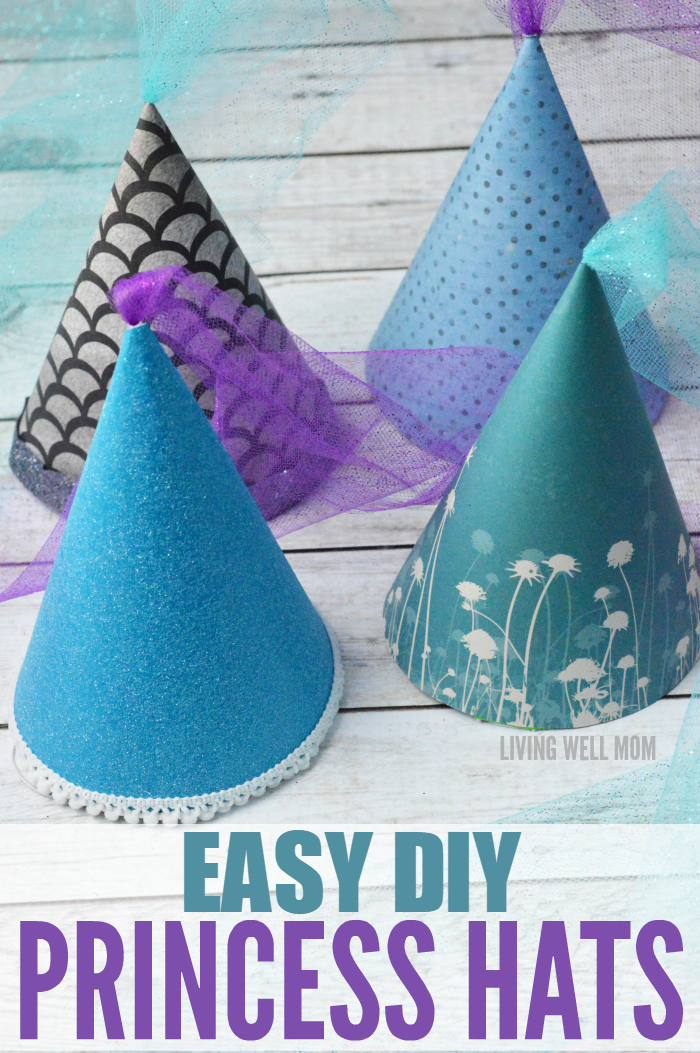
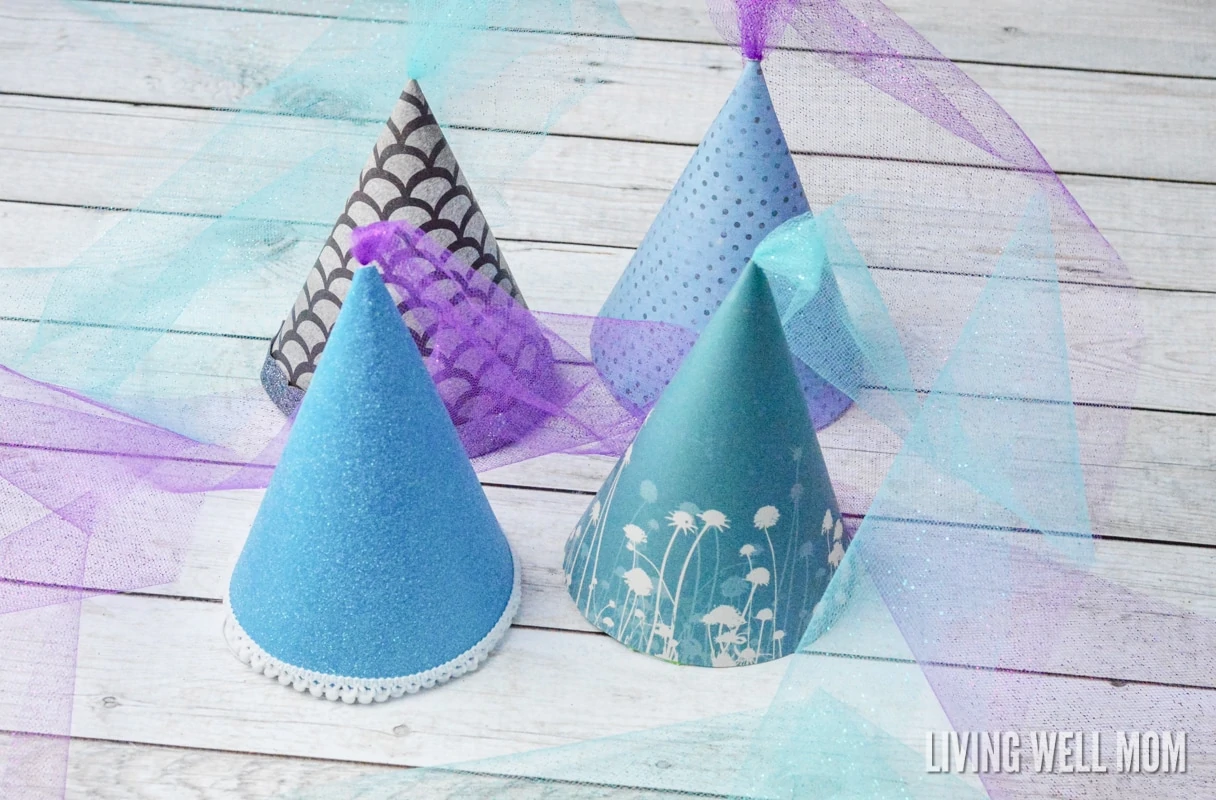
My daughter loves to pretend to be a princess. She has a summer birthday, which is a perfect season for a royal birthday party. This year, we made our very own DIY princess hats and they were the perfect trick to bring our princess party to the next royal level!
How to make DIY Princess Hats:
What you’ll need:
- party hats
- construction paper
, 12×12 scrapbook paper
, or wrapping paper
- tulle
- optional – stickers, glitter, buttons, lace, anything you want for added princess flare
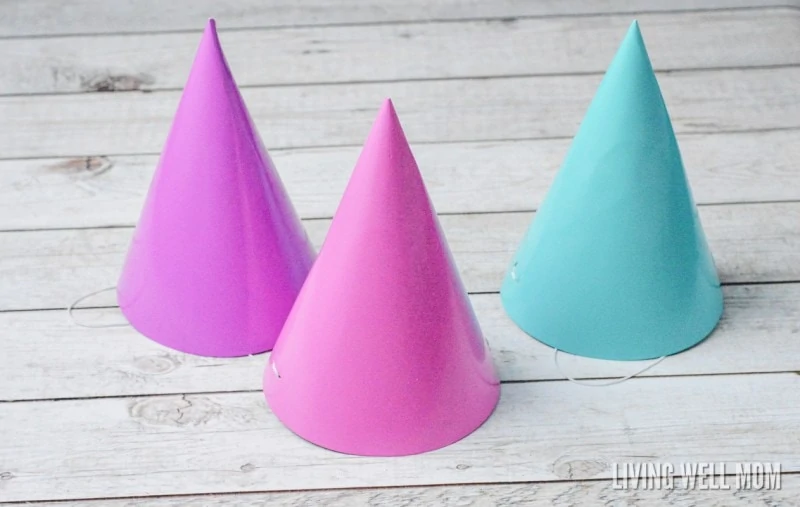
To begin your DIY princess hats project, you will just need some cheap ol’ plain party hats. The color of the party hats doesn’t matter because you will be covering them.

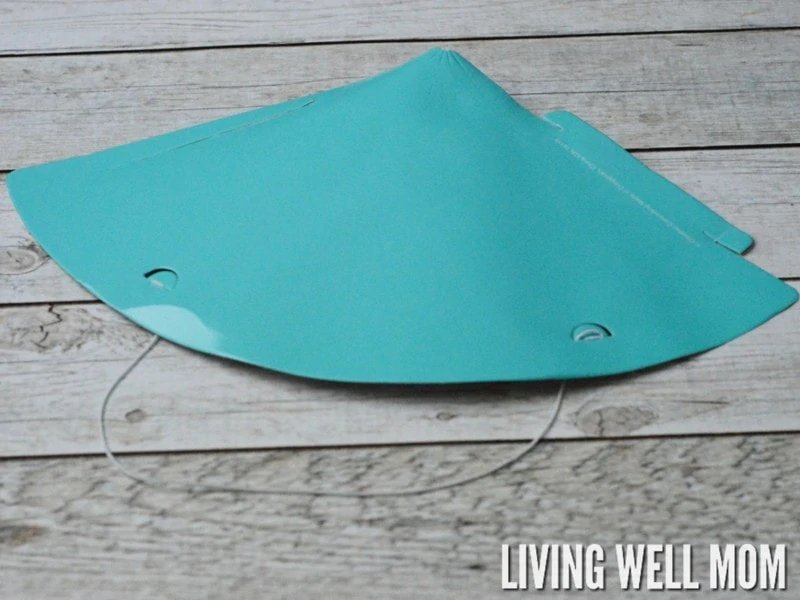
Take one of your party hats, gently unfold it, and press it flat. This hat will serve as your template for the paper that will cover your princess hats. You will only need to do this to one of your hats, so make sure you only disassemble one.
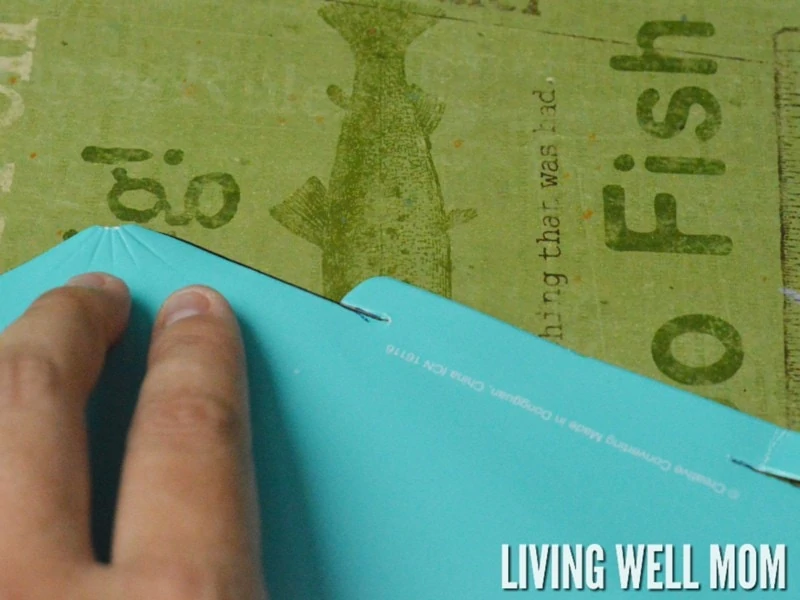
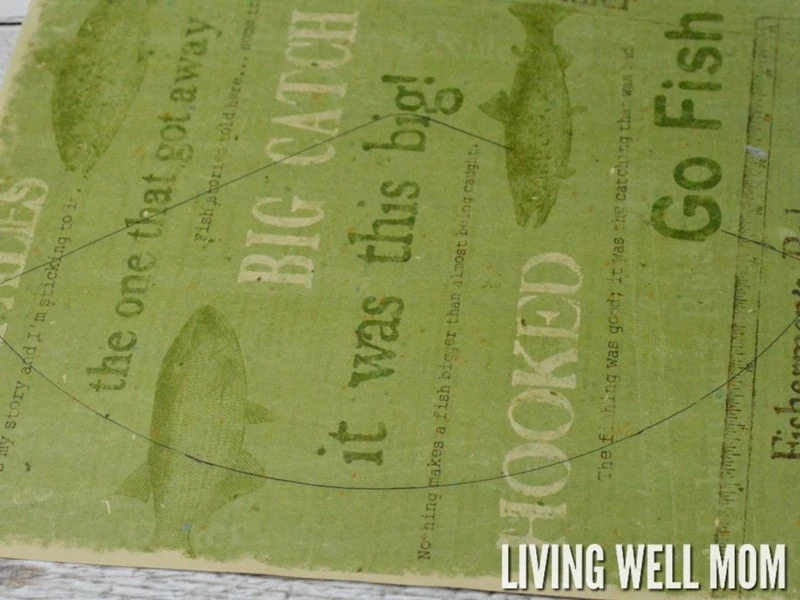
To make my template, I traced the hat onto an old paper. This way I could trim it down as needed to alter any mistakes. Use a pen or pencil and trace all around the outside of the flattened hat. Don’t trace around the little flap that folds inside. You won’t need that extra piece, so just skip it when you’re tracing around.
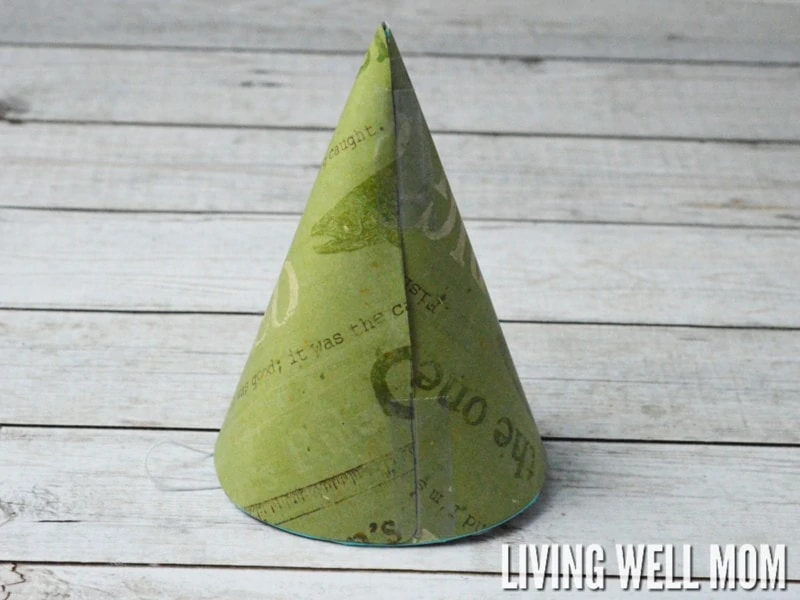
As you can see, I left the space where the little flap is blank. Use something with a straight edge, or just eyeball it to fill that line in to make cutting the template out. Use a pair of scissors and cut your template out. Fold your party hat back up, as it was originally. Place one side of the template paper along the edge of the party hat that tucks in and out to fold and unfold it. Use two pieces of scotch tape, or staples, whichever you prefer, to secure one edge down. Wrap the rest of the paper around, making sure the bottom is lined up so none of the party hat shows.
This is what your hat should look like once you have your paper attached. This was just a template paper, so my edges didn’t have to be perfect. If you like the way your template paper turned out, you’re ready to make your actual princess hats! Remove your template, and trace it onto whatever paper you want to use. You can use construction paper, 12×12 scrapbook paper, or even wrapping paper. You can leave them plain, or add adornments. We made basic hats, and let the little girls at the party decorate them with stickers and markers. They had a great time!
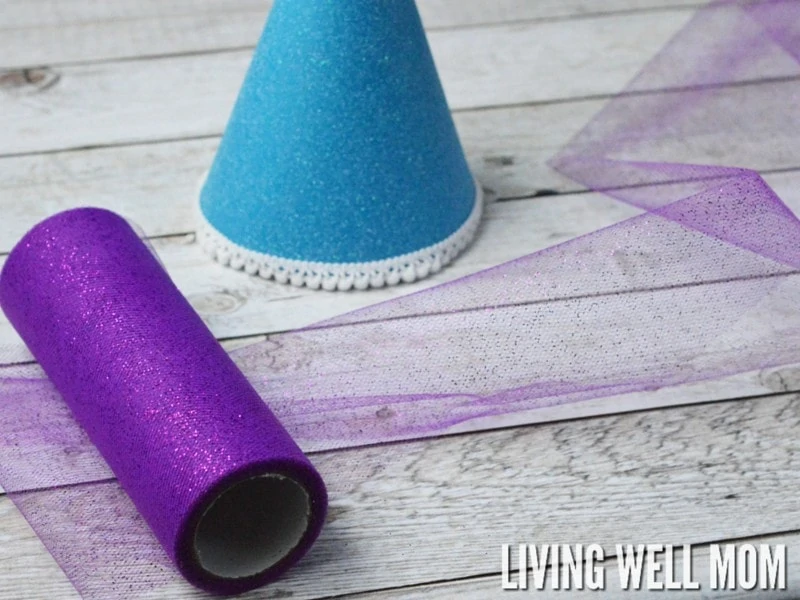
Once your hat is covered, the last step is to add your tulle. You can’t have a princess hat without a tulle train! I use these small rolls of tulle, as the width works great without having to trim it down. Cut a length of about 3 ft, or whatever length works for you.
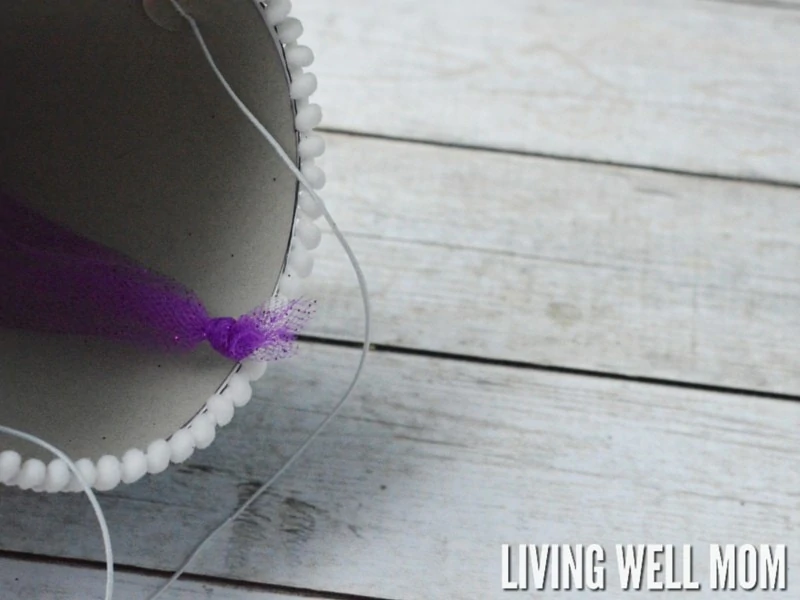
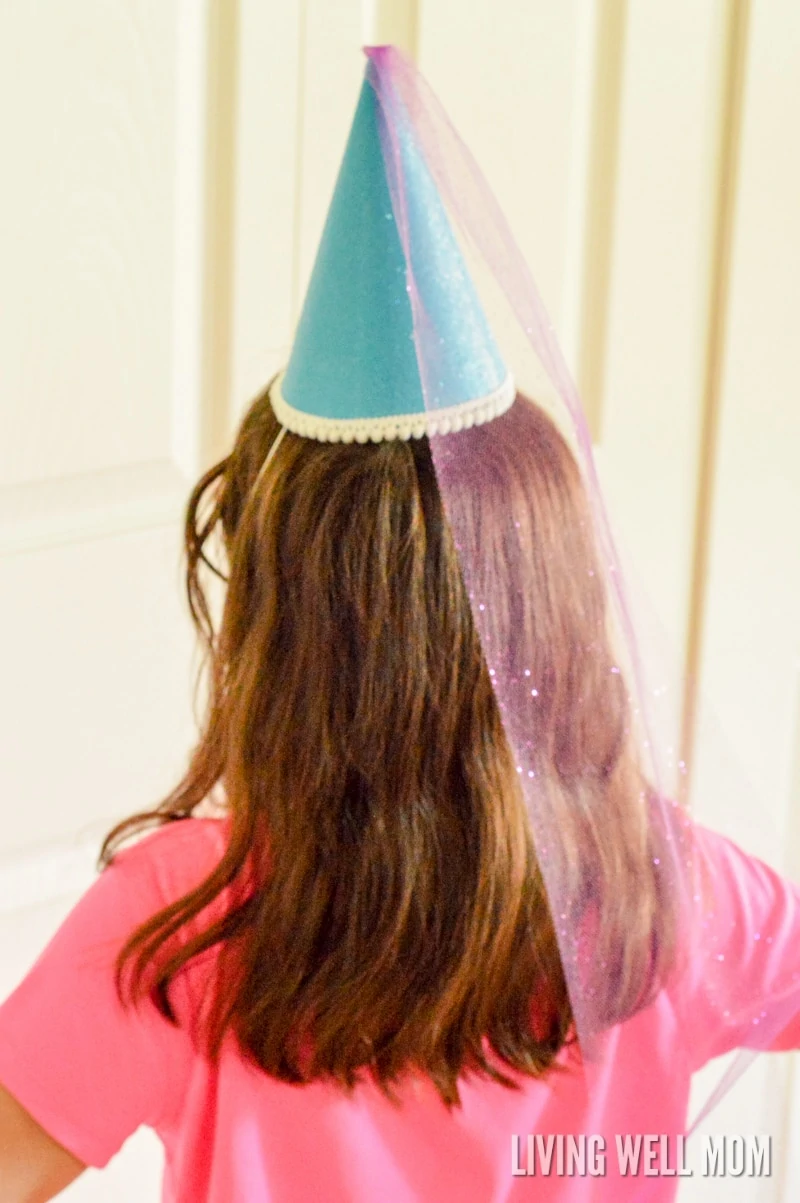
Tie a knot at one end of the length of tulle. This will keep it from popping out of the top of the princess hat. Take the other end of the tulle, and poke it through the small hole at the top of the hat. Tug it all the way through, until your knot reaches the hole and it stops. That’s it! Now your DIY princess hat is ready to wear!
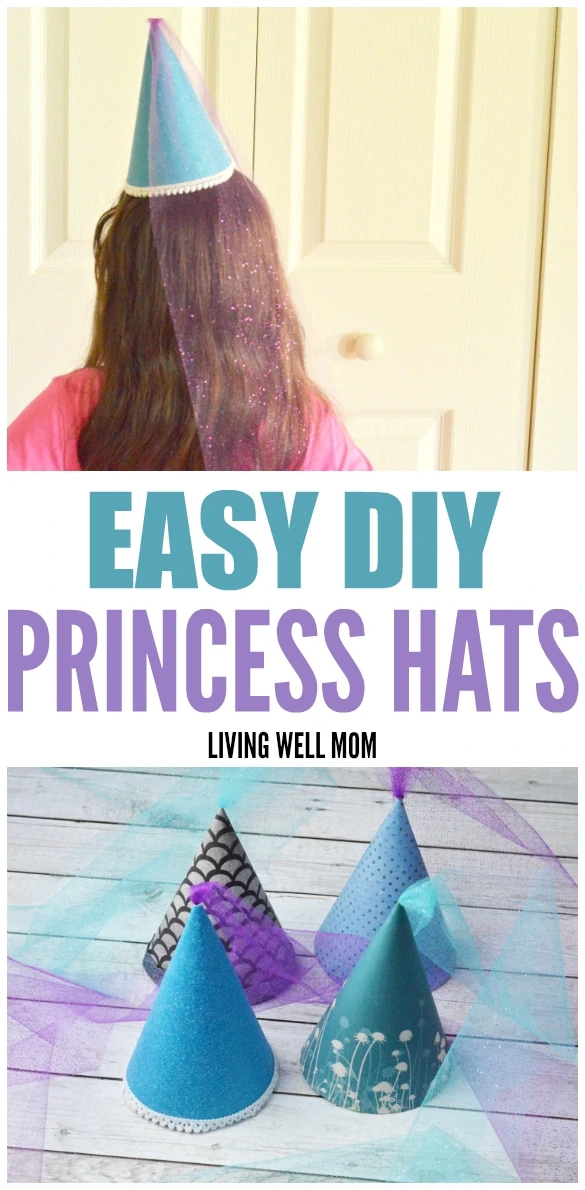
See? Instant princess. Once you’re finished with one, you will see how easy it is to make DIY princess hats! They’re super fast, and very easy to duplicate. Since the hat changes with the colors and adornments, you can make each one as the princess they’re designed for!
These DIY princess hats are so much fun to make! Unlike typical party hats, these princess hats can be used again and again for dress-up time or future princess parties! Enjoy spoiling your princess with this easy craft, and you’ll be glad you did!
valmg @ Mom Knows It All says
I love how easy these are to make. Even someone that isn’t crafty like me could make these if we wanted to!
Melissa says
These really are super easy princess hats for sure, glad you shared this. I will have to try to make them just for fun!
Kristen Hewitt says
What a great idea and seems so simple! Our girls would love this and I have so much scrapbook paper! Thanks!
Brett Beyer says
I absolutely love the tulle train on there. And until this post, I didn’t even know what those things were called!
Scott says
So glad to see all the frilly stuff you added to it. At first I thought it was going to be a dunce cap! 😉