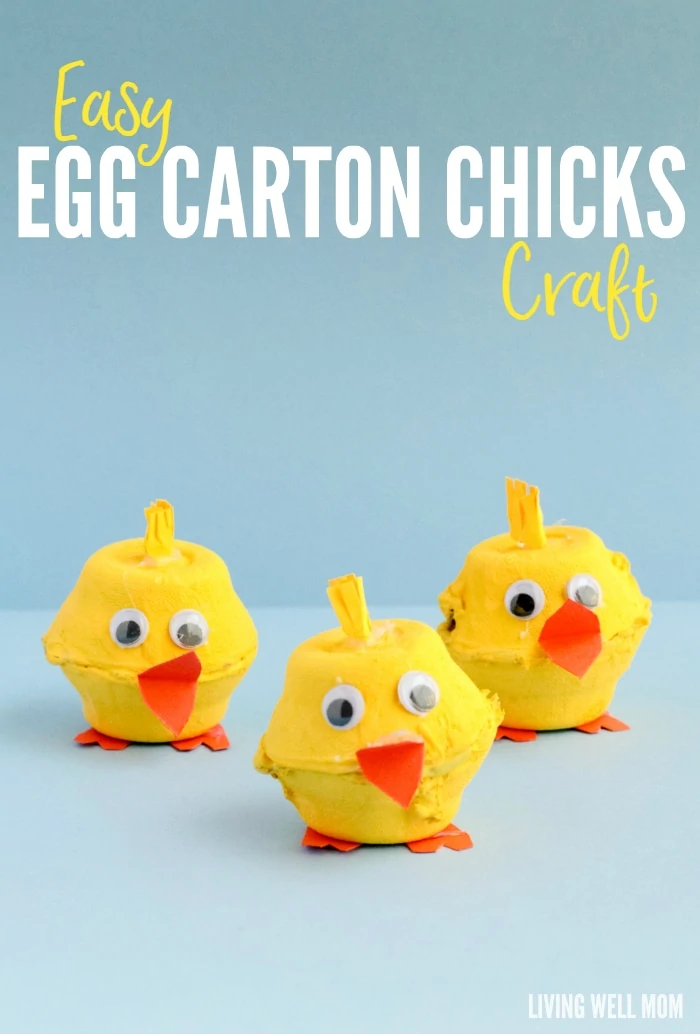
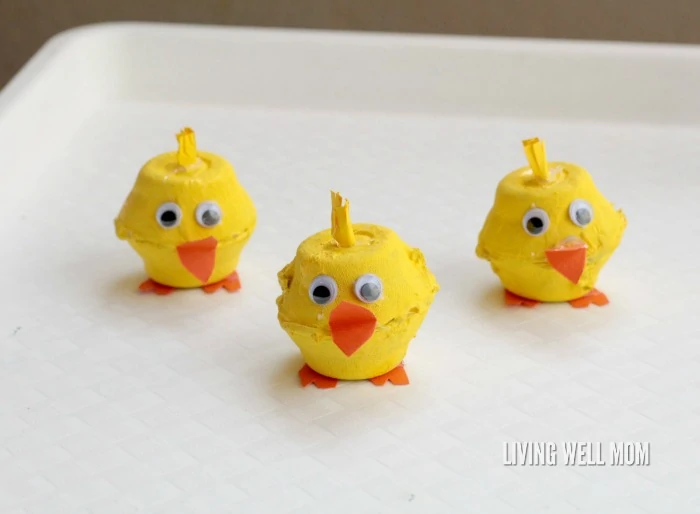
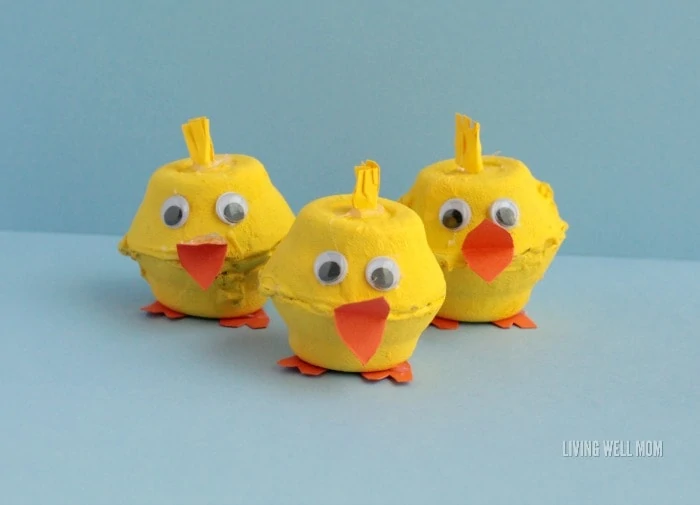
Spring is the perfect time to celebrate outdoor fun. During the spring, we think about new life, like bunnies, chicks, eggs, and all of the common themes you see at Easter. Celebrate spring this year by making these super-cute egg carton chicks! Kids will love playing with them just as much as they love making them.
Kids might not believe you can transform an egg carton into a chick, but it’s surprisingly easy. Even a preschooler can make this one!
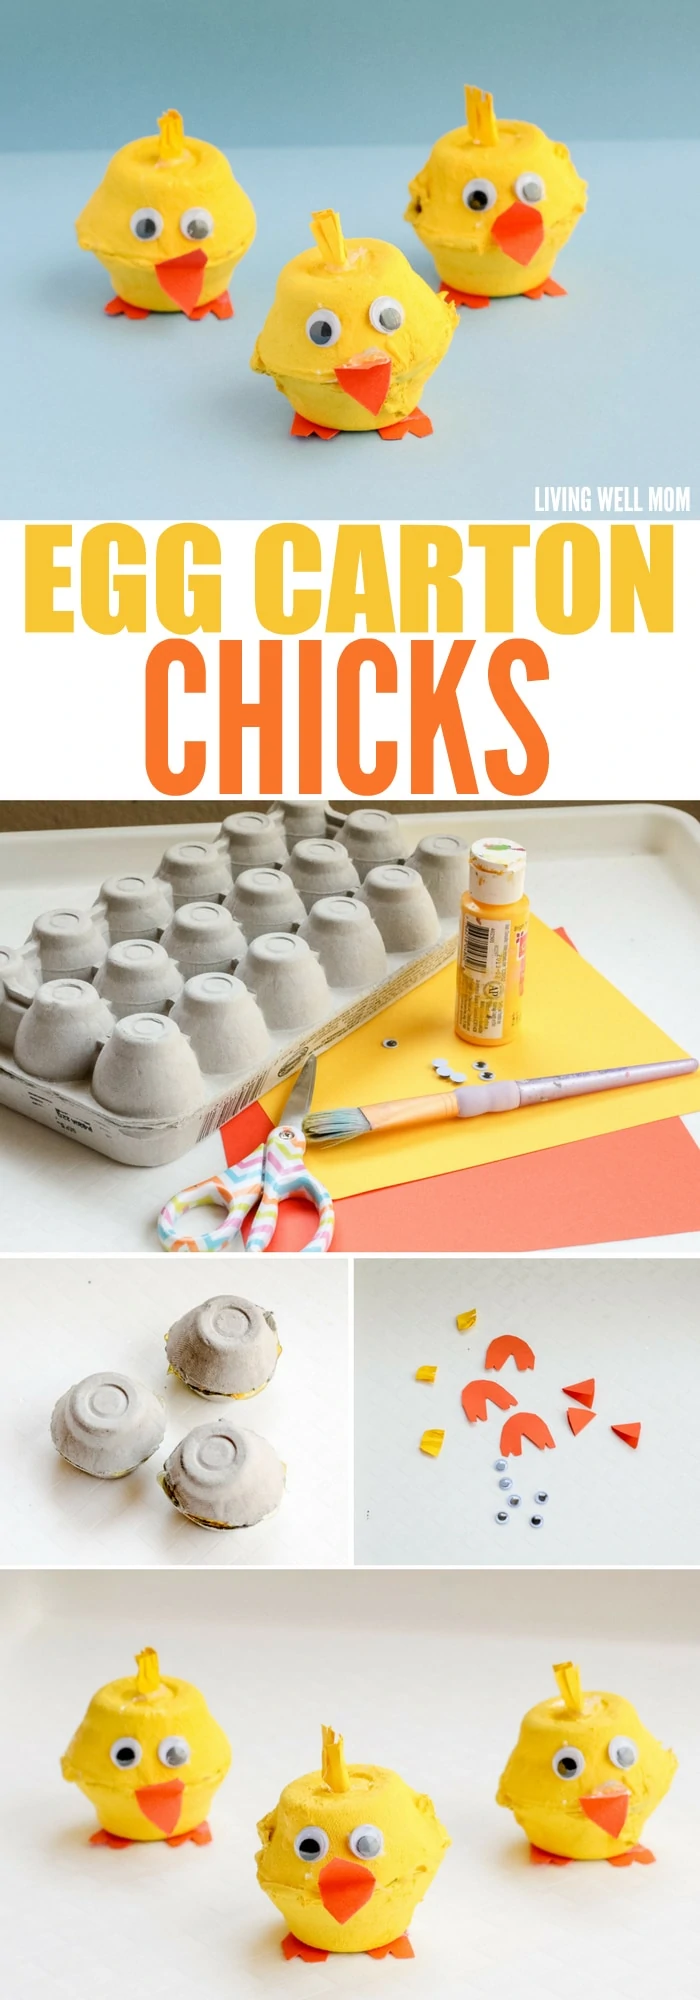
What you’ll need to make egg carton chicks:
- Egg cartons (2 cups per chick)
- Yellow paint
- Paintbrush
- Googly eyes
- Orange paper
- Yellow paper
- Hot glue gun and glue sticks
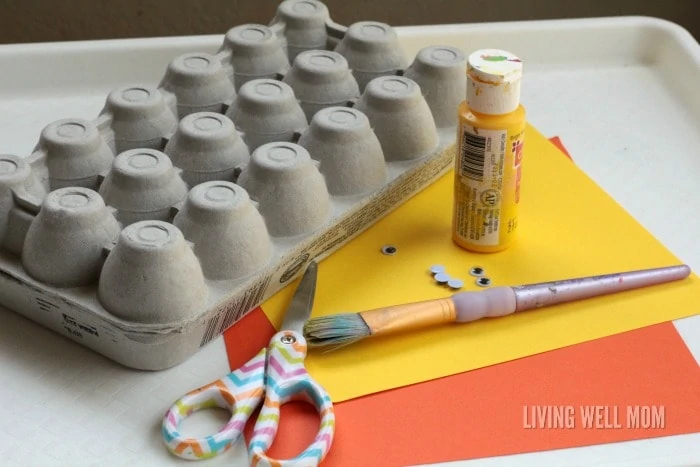
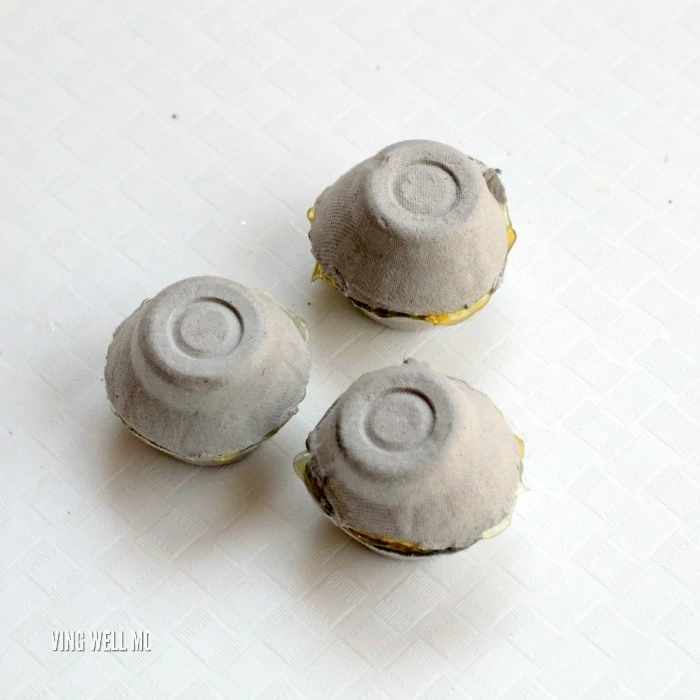
First, cut out two egg cups per chick. We made three chicks, so we cut out six egg cups. Trim the cups down so that no connecting pieces are left. You’ll be left with little circles of egg cup.
Glue two egg cups together to make the chick’s body.
When the glue is dry, paint the entire body yellow. We had to use two coats of paint.
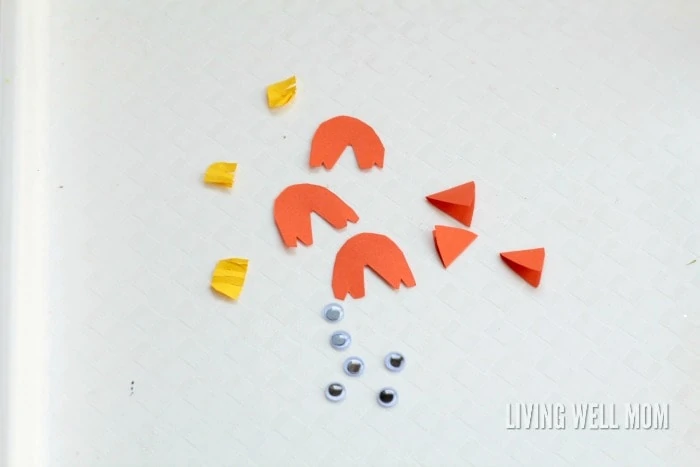
While the paint is drying, cut out feet, a beak, and a little fringe of yellow paper that will become the chick’s feathers. This represents the fluffiness of chicks and really added to the cute factor adn prevented the head from looking as flat as it would otherwise.

Glue the eyes, beak, feet, and feather tuft to the chick.
When the glue dries, the chicks are ready!
Display them in springtime decorations or let the kids play with them.
After our egg carton chicks were completely dry, my kids played with them for the rest of the day. It was so much fun seeing them have such a good time playing with a craft they made with their own hands. My preschooler even mixed the egg carton chicks in with other animal toys for fun barn-themed play.
Leave a Reply