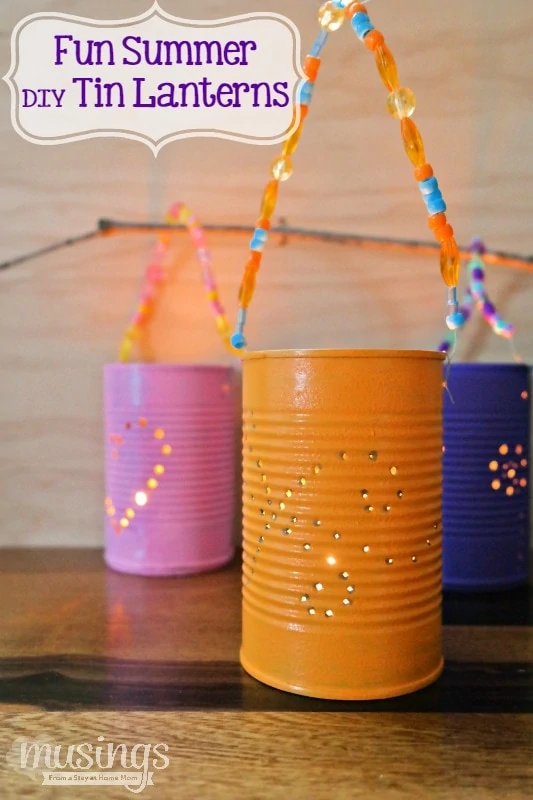
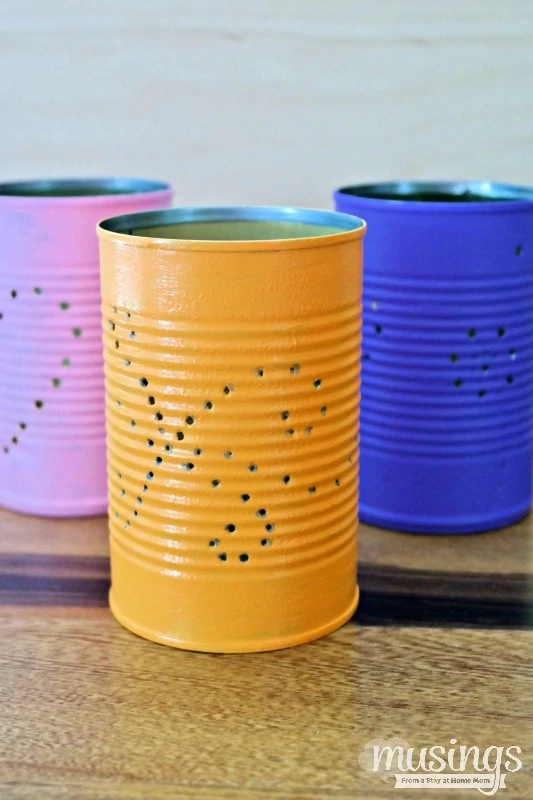
We recycle a lot of stuff in our home, as much as we can. Sometimes the things we plan to recycle don’t make it to the recycling center though. They find a new purpose or new life in my crafts and projects. These Fun Summer DIY Tin Lanterns are a perfect project for giving new life to a soup or vegetable can! They are easy to make, inexpensive, and add so much to the yard, deck, or patio.
Fun Summer DIY Tin Lanterns
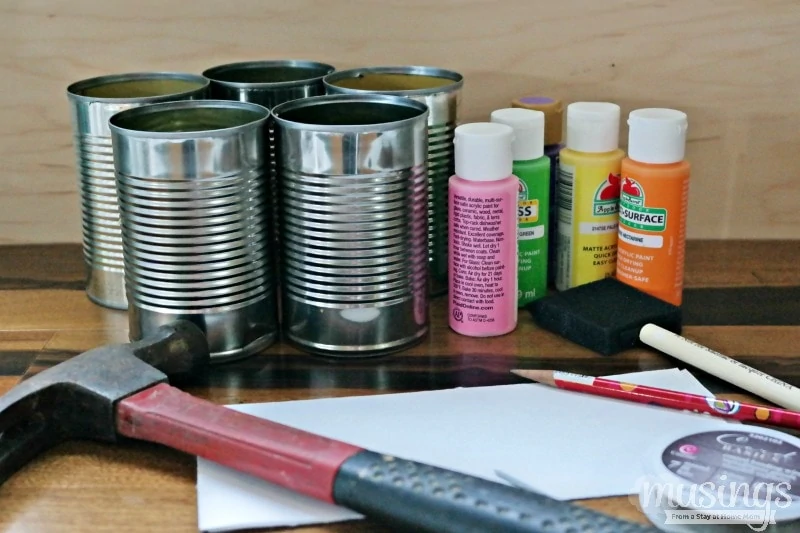
Supplies:
- tin cans – a variety of sizes or all the same
- nail and hammer or a drill with small drill bit
- paint and paint brush (or spray paint)
- markers
- paper stencils
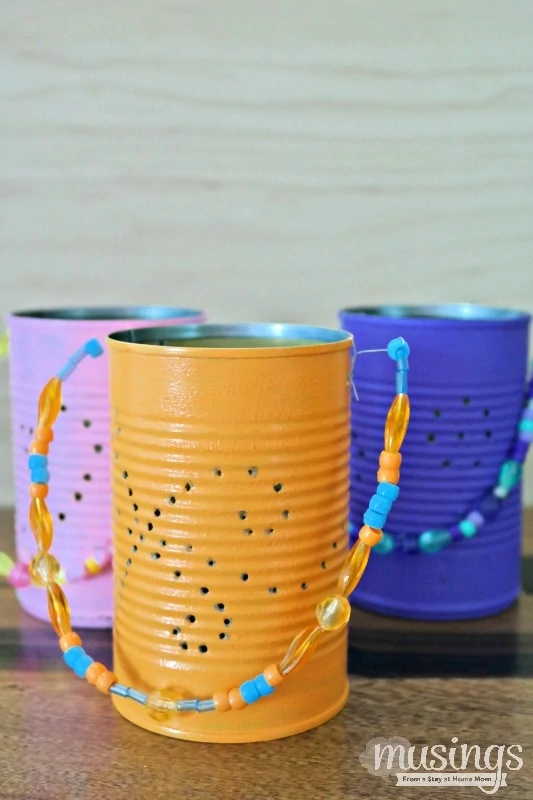
- wire for the handle (beads to make a beaded handle optional)
- candles
Instructions:
Wash, rinse, and dry the tin cans. Be sure to remove all sharp edges.
If you do not have a printed paper stencil grab a piece of plain paper and draw a variety of shapes onto the paper. Once your shape is drawn add dots along the shape to mark where the holes will be punched in the can. You can also draw directly onto the can with a permanent marker if you’re brave and know your first attempt will turn out. You can see in my drawing that I erased and changed my dots a couple of times so I’m glad I used paper instead of marking on the can.
Once you’ve created a paper stencil, tape it onto the tin can.

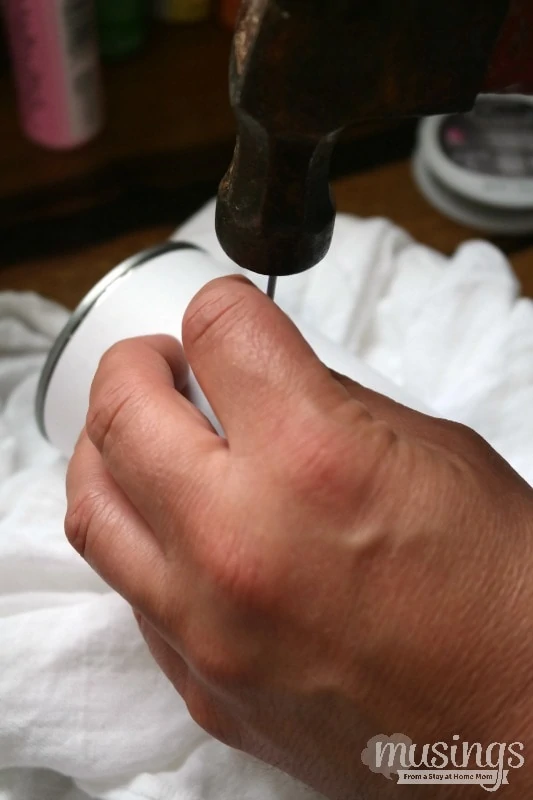
Use a nail and hammer or a drill with a small drill bit to make holes in the tin can using the dots along your stencil as a guide.
Remove the paper to reveal the pattern punched into the tin.
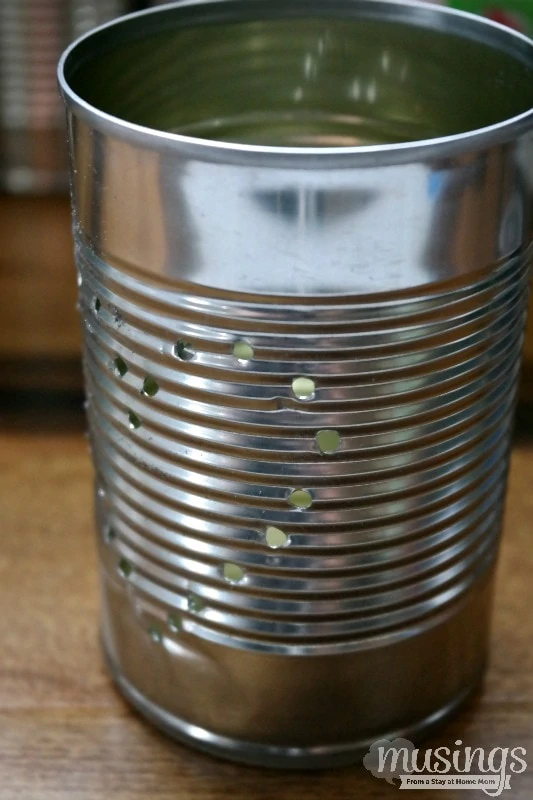
Punch 2 additional holes at the top of the can on opposite sides for the wire handle to attach.
After all the holes have been drilled or punched apply 2 coats of paint to the outside of each tin can. You can use a spray paint of apply paint with a brush. Allow the paint to dry completely between coats.
Cut a length of wire for the handle. The wire should be approximately 3 inches longer than the desired handle length so that it can be twisted to secure it to the can.
If you want to make your summer tin lanterns even more fun you can thread beads onto the wire for a very pretty handle.
After the paint is completely dry attach the wire to the can using the holes at the top of the lantern. Twist the wire several times to secure.
Add candles to the insides of your tin lanterns and display!



Chelley @ A is For Adelaide says
This is such a cute idea! I am pinning to try this next summer with my girls (I hope we can hang them off our new deck!).
Christine says
These are darling! What a fun idea! You could make them for holidays too. Definitely going to try these!
Amy Desrosiers says
What a great idea! I love that they are so rustic and versatile too!
Brandy says
These are adorable! I think they would look great in our new home in the back yard on our back deck! I Must make them with the kiddos!
Sarah @ Must Have Mom says
These are too cute! What a fun project to take on with the kiddos!