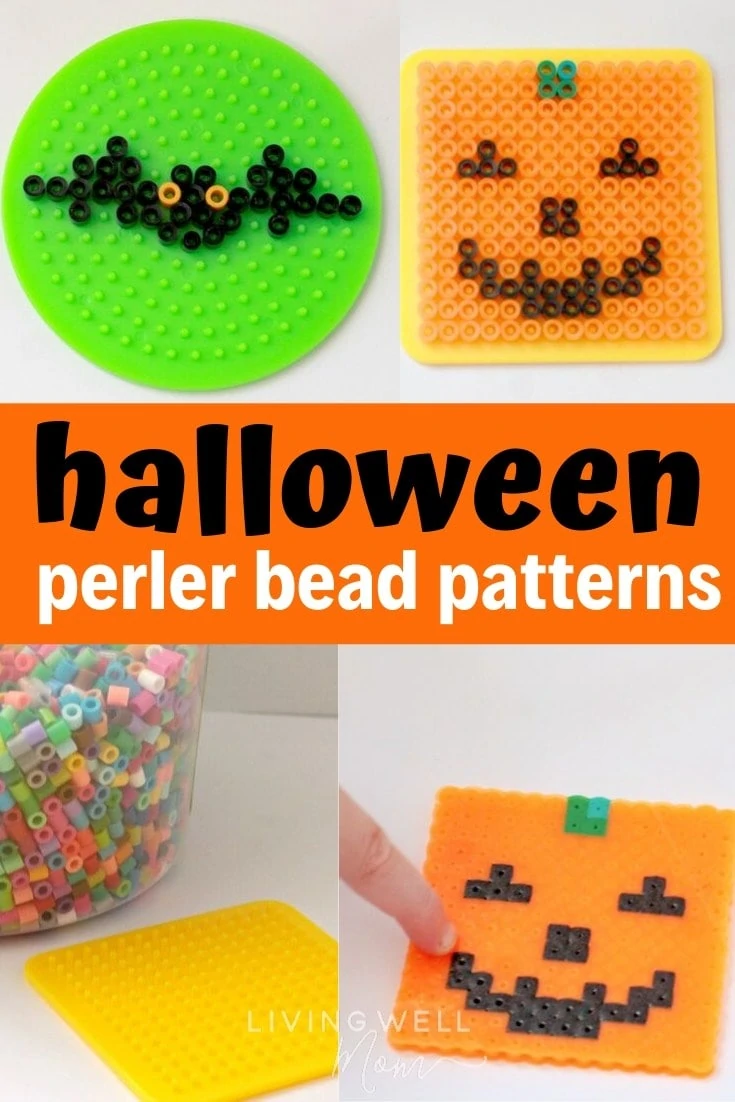
If you’re looking for a simple, yet fun activity for your children to do, Halloween perler beads are a wonderful, creative idea.
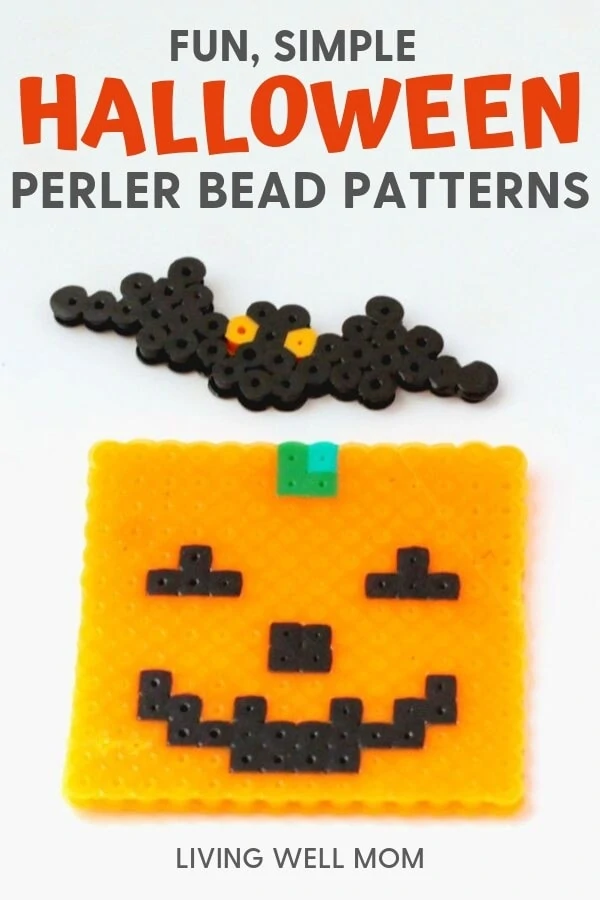
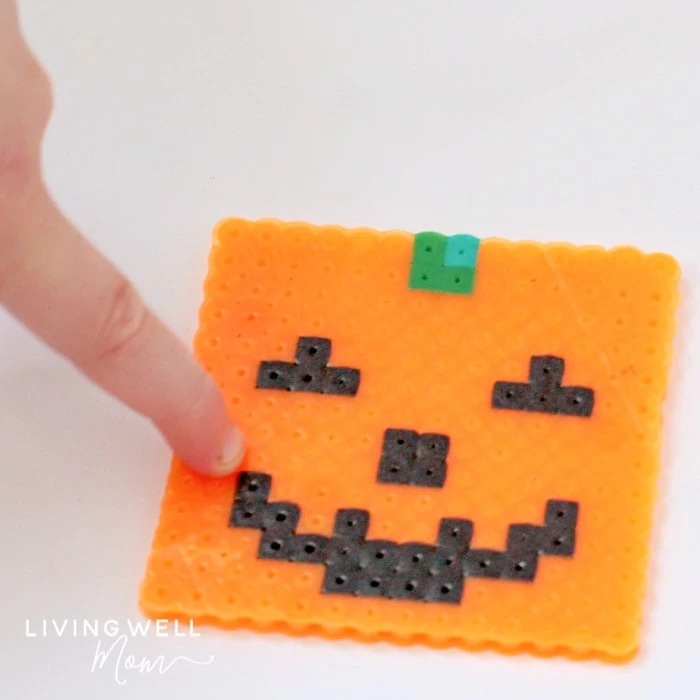
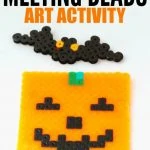
My kids have gone nuts over the past few months creating tons of perler bead creations and my 10 year-old came up with this adorable pumpkin and bat combo inspired by one of her favorite games, Minecraft.
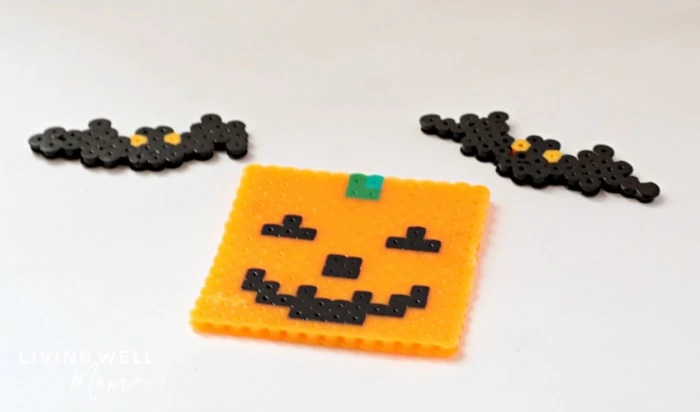
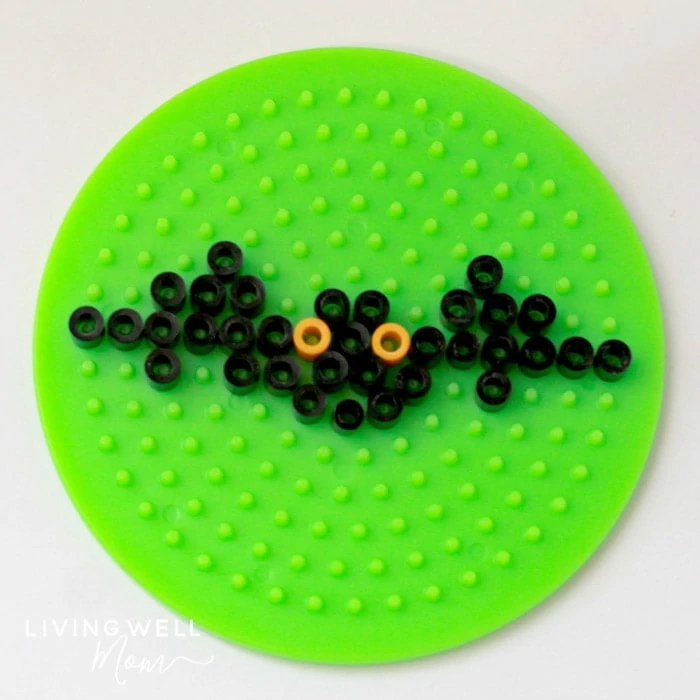
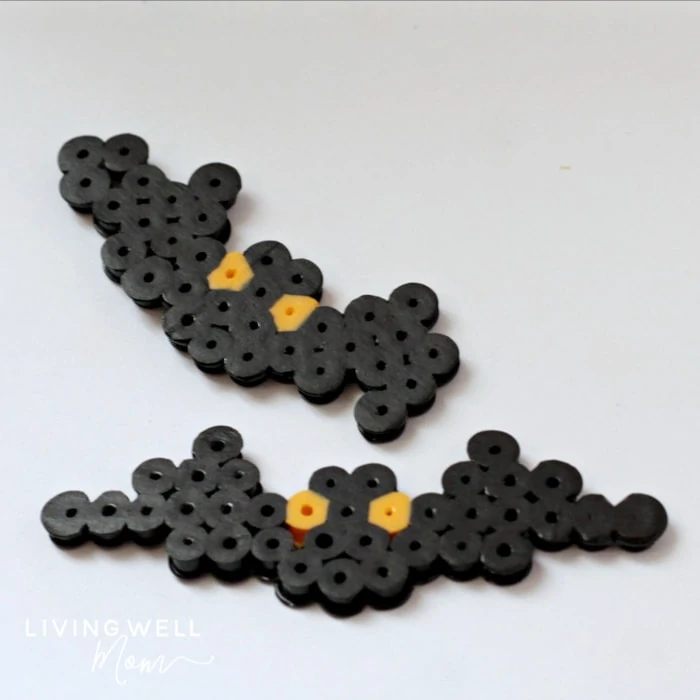
These simple Halloween perler beads with a jack-o-lantern and bat, are a fun way to bring a bit of Halloween spookiness to the holiday.
The best thing about these Halloween perler bead designs is that the pattern is already complete for you. Just follow along with our guide and your jack-o-lantern and bats will look just like ours!
What do you do with perler bead creations?
Put a magnetic on the back; perler bead creations make lovely creative magnets. You can find inexpensive magnetic tape or stickers at craft stores, Walmart, Amazon etc and they’re easy to apply!
Your kids can give them away as homemade crafts too; Grandma will love them!
How to Make Halloween Perler Beads
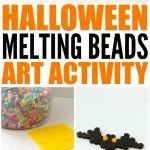
- Perler beads
with these colors:
- Orange
- Green
- Black
- Yellow
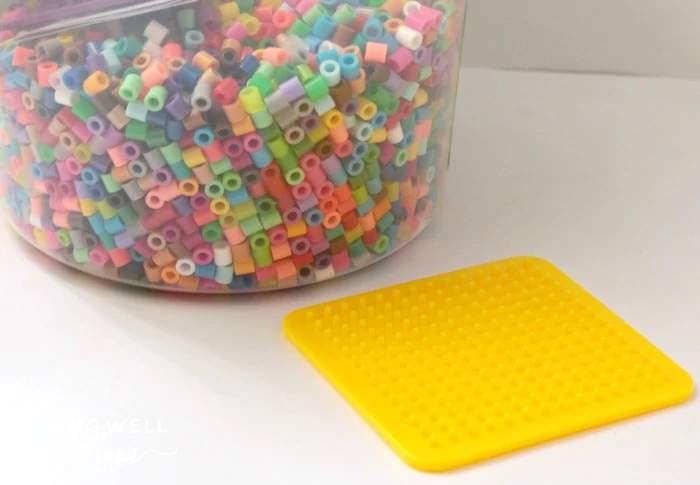
- Square 14X14 bead board
- Iron
- Wax paper
- Round 15mm diameter bead board
- Perler Tweezers
(optional, but helpful)
- optional – magnetic stickers or tape
We used the generic melting beads sold in a large bucket at Michael’s, but any brand of melting beads (also called Perler beads) will work for this Halloween craft.
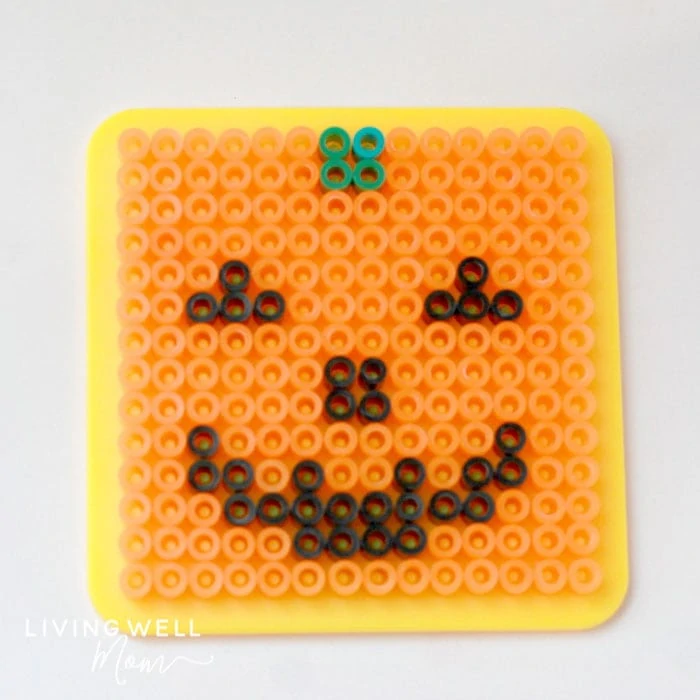
Follow the design outlined below to create your own Halloween melting bead art. If you follow the pattern exactly, you can start from the top and work your way down.
If you use tweezers to pick up each individual bead and place it on the pin you are less likely to knock over other beads and have to repeat what you’ve already done.
Use the square base for the pumpkin and the round base for the bat. We based our patterns around the precise dimensions of our bead boards, but if you have different sized boards, you may need to modify the designs a little.
Jack-O-Lantern Perler Bead Design:

O=Orange
B=Black
G=Green
Row 1: OOOOOOGGOOOOOO
Row 2: OOOOOOGGOOOOOO
Row 3: OOOOOOOOOOOOOO
Row 4: OOOOOOOOOOOOOO
Row 4: OOOBOOOOOOBOOO
Row 6: OOBBBOOOOBBBOO
Row 7: OOOOOOOOOOOOOO
Row 8: OOOOOOBBOOOOOO
Row 9: OOOOOOBBOOOOOO
Row 10: OOBOOOOOOOOBOO
Row 11: OOBBOBOOBOBBOO
Row 12: OOOBBBBBBBBOOO
Row 13: OOOOOBBBBOOOOO
Row 14: OOOOOOOOOOOOOO
Bat Halloween Perler Bead Design:
B=Black
X=Blank
Y=Yellow
Row 1: XXXBXXXXXBXXX
Row 2: XXBBBXBBXBBBXX
Row 3: BBBBBBYBYBBBBBB
Row 4: XXXBBBBBBBBXXX
Row 5: XXXXXBBBXXXXXX
After finishing the designs, place a sheet of wax paper over the beads. Iron the beads with an iron set to medium-high heat for about 30 seconds. Don’t do it too long or the beads will turn into a puddle.
Once the first side cools, remove it from the beadboard and place the wax paper on the other side. Iron the backside for 30 seconds to fuse the other side of the beads together.
Repeat this process for all your Halloween perler bead patterns!
Attach a magnet, or (here’s another idea for what to do with your perler bead creation) tie a piece of string or yarn through one of the holes and hang your (err your kids’!) Halloween perler beads from a window or anywhere else you want!
Johnny McCarron says
It is amazing what you can make with beads. Not just jewelry or anything that needs strung together but you can melt them together. I feel like the first step to any bead craft is to have a good organization system so that it is easier to find the beads you need.