Looking for an affordable and fun way to incorporate STEM activities for your children this season? Look no further than these pretty leaf crystals made with salt! It’s the perfect fall stem activity that helps showcase science to kids of all ages.
At our house, we look forward to fall leaves every year. Sadly, it takes a few months to see them! Where we live, we don’t see many until just before Thanksgiving.
Not only do we look forward to leaves, but even as the temperature continues to drop, there’s even more to see! We always find it fascinating how the leaves get a delicate frost after the first freeze of the year.
In fact, my kids asked if we could recreate that frosted look. It took a bit of brainstorming, but we finally nailed it by using salt crystals. It was such a fun fall STEM activity, we decided to share it with you, too.
Today we’ll show you how to make leaf crystals using an inexpensive household staple…salt!
What are STEM activities?
If you haven’t heard of the term “STEM” before, it’s an acronym that stands for:
- Science
- Technology
- Engineering
- Mathematics
This refers to interdisciplinary learning that helps our kids become critical thinkers and learn important life-long skills. It sounds fancy, but it boils down to showing our kids just how cool the above areas can be and how they all work in tandem.
This science-based activity falls underneath the STEM activities umbrella. Your kids will have so much fun doing this one that they will barely register the fact that they are learning, too.
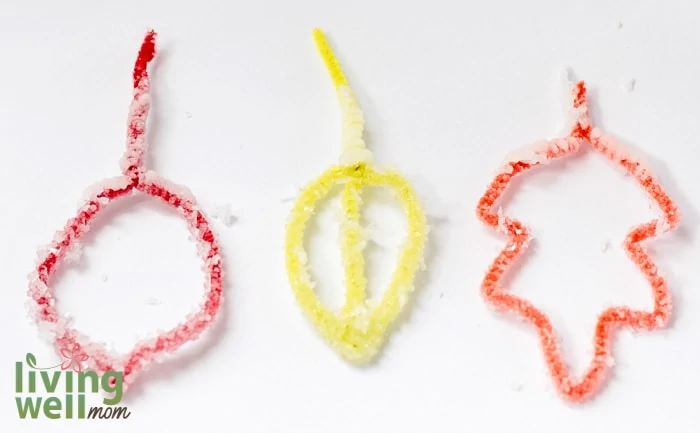
Supplies for Crystal Leaves
- 1 box of salt
- Pipe cleaners
or fall leaves
- Clothespins
- Yarn
- Mason jars
We used pipe cleaners for the salt crystal leaves activity because there were only a few ugly brown dead leaves in our yard. We did try crystallizing a real leaf in addition to our pipe cleaner leaves, and it turned out pretty well, but we loved the bright colors of the pipe cleaner leaves best.
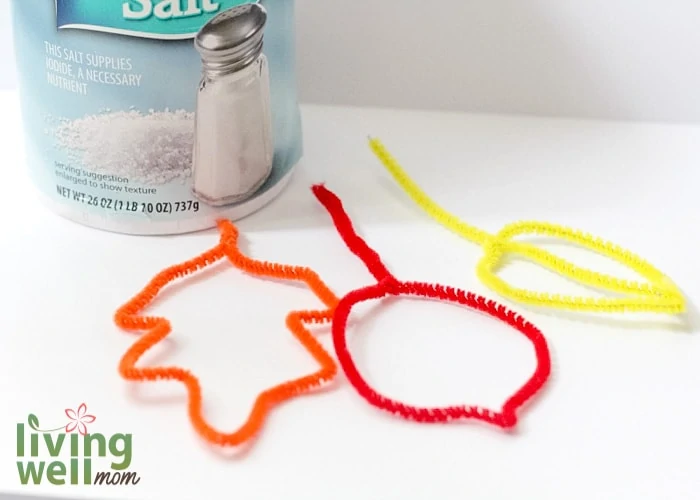
You can use whichever one you prefer or try both and see which is your favorite!
Pro tip: Use store-brand generic salt because you will be using a LOT of salt.
How to Make the Salt Crystal Leaves with Pipe Cleaners
You will use one pipe cleaner per leaf. Bend the pipe cleaners to look like various types of leaves. We made ours look like a Japanese maple, an oak leaf, and a holly bush leaf. I found it easiest to use real-life leaves as our inspiration.
Make sure to leave a long stem on each leaf so you can suspend the leaf inside the mason jar using a clothespin.
In a medium saucepot, heat about 2 1/2 cups of water per mason jar. We made three jars and used about six cups of water.
Add Salt Water
For three to four jars, you will use an entire container of salt. The key to getting this to work properly is to add TONS of salt. The water must be over-saturated with salt.
Boil the water, then add the salt once you turn off the heat. Stir the salt into the mixture until it won’t dissolve any more and you have salt grains at the bottom of the pot. You’ll know you have enough salt when it starts to form a sheet of salt on the top of the water.
If you don’t have this much salt, the activity won’t work properly. Our first batch didn’t have enough salt and our crystals never formed. When we added more salt, our crystals started forming in about an hour.
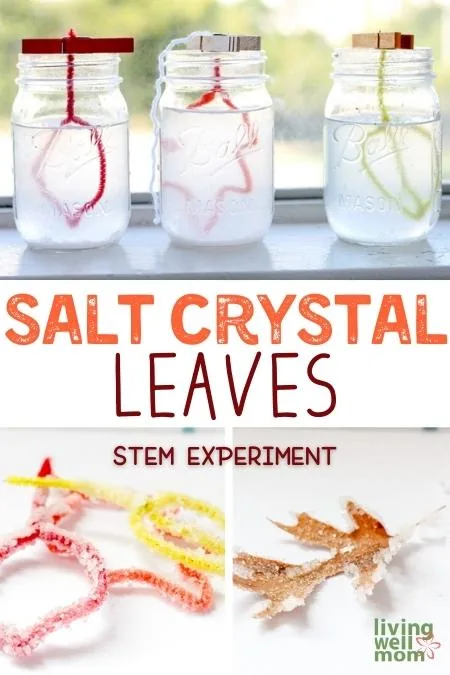
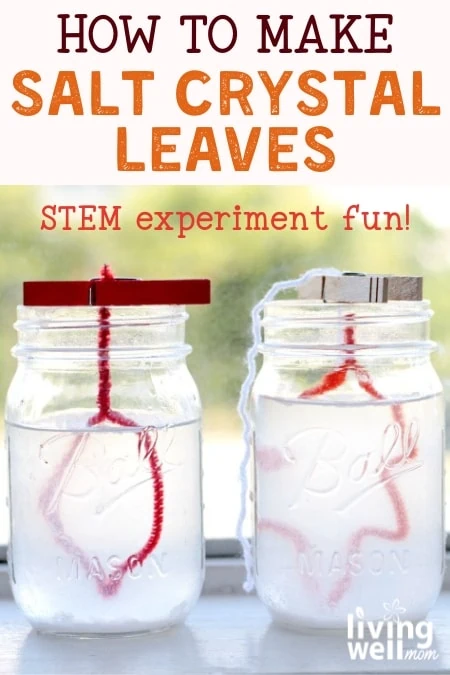
Pour the hot water into the mason jars. Place one leaf inside each jar. Make sure the leaves are suspended in the center of the jar and don’t touch the sides or bottom of the jar.
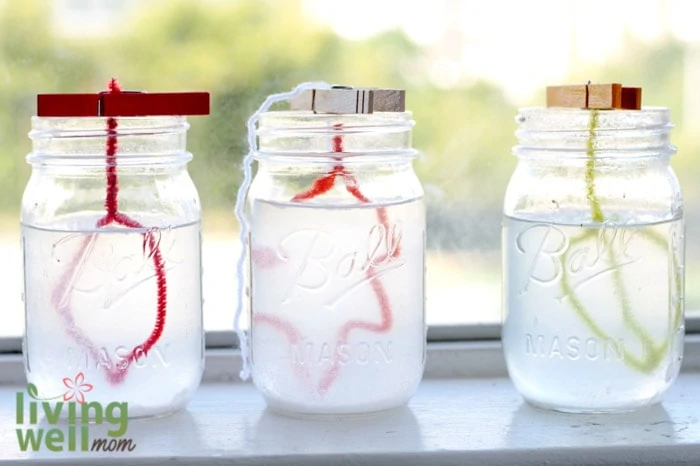

Use a clothespin to hold the leaves in the jar like in our picture. If you use real leaves, tie a piece of yarn to the stem so they hang low enough inside the jar.
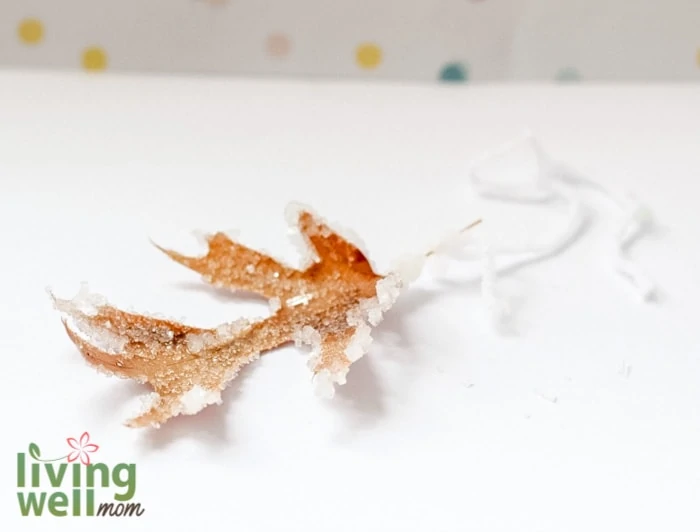
Set in a Sunny Window
Set your jars in a sunny window and leave them there for at least two days, but the longer the better. We left ours for about four days to get these leaf crystals.
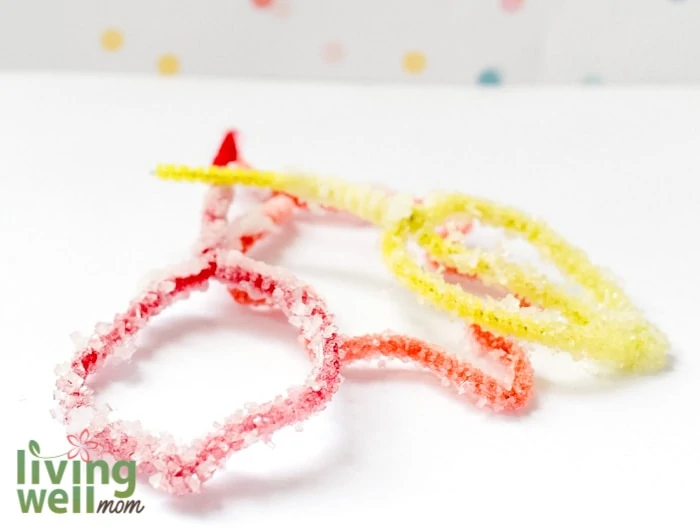
My kids were fascinated with how the crystals formed on the leaves. They loved how the salt always formed into a square or rectangle shape and looked just like crystals you would find inside an ancient cave.
Display the Leaf Crystals
We hung our salt leaf crystal leaves in a window to add a bit of sparkle from our fun fall activity.
By the way, you can also do a similar project to this one in the wintertime with these DIY salt crystal snowflakes!
Happen to have an unusually warm fall day? Take your STEM learning outside with this fun exploding bubble bags activity!
Just pin it below to find the instructions later!
Which one will your kids prefer for this fall STEM activity: real leaves or pipe cleaner “leaves”?

Sharon Harding says
Crystal science is always a hit with kids and I really like the Fall theme. It is perfect activity for this time of year.
Michelle says
doesn’t actually say anywhere how much salt to use?
Erika says
Hi Michelle, it depends on how many jars of salt crystal leaves you want to make. The post says that for 3-4 jars, you will need an entire container of salt as you need REALLy salty water.
Tiffany Taggart says
Does it have to be hot water, or can they use room temp?
Erika says
Yes, it needs to be hot.
Jen says
Can you use real leaves?
Erika says
You can try it, but I think they would break easily – at least the colorful fall leaves. Let me know if you do, I’m curious!
Nicole says
What size mason jars did you use?
Erika says
We used the regular 16oz size.
Jackie says
Thanks for sharing your cute ideas! I want to make something fun to celebrate fall with the kids! We are getting back into a good routine these days.
Diana says
Can your add food coloring?
Erika says
That’s a good question! We haven’t tried it before, but I don’t see why not. If you try it, please let me know how it works.
Alicia says
Can you make the salt water ahead of time? I want to do this with students at a fall school party!
Erika says
I don’t see why not, but I’m not good at chemistry and how that all works to give you a confident yes. Maybe try it out ahead of time to see? Good luck!