If you have ever wondered how to organize makeup, I understand! I spent way too long living with cluttered beauty products that expired way before I got to use them. My makeup drawer organizer changed my life—it sounds dramatic, but it’s true!
When was the last time you organized your makeup drawer? If you’re anything like me, it’s easy to put off and it doesn’t take long before it’s cluttered and hard to find what you need.
Women spend an average of $1,200 per year on cosmetics alone. Between tons of free samples and everyday items, it’s no wonder our makeup bags and drawers get disorganized so fast.
Makeup Expiration Dates to Know
Did you also know that your makeup expires? I’m definitely guilty of hanging onto some of my cosmetics for way too long. The first step to learning how to organize makeup is to toss everything that is no longer good!
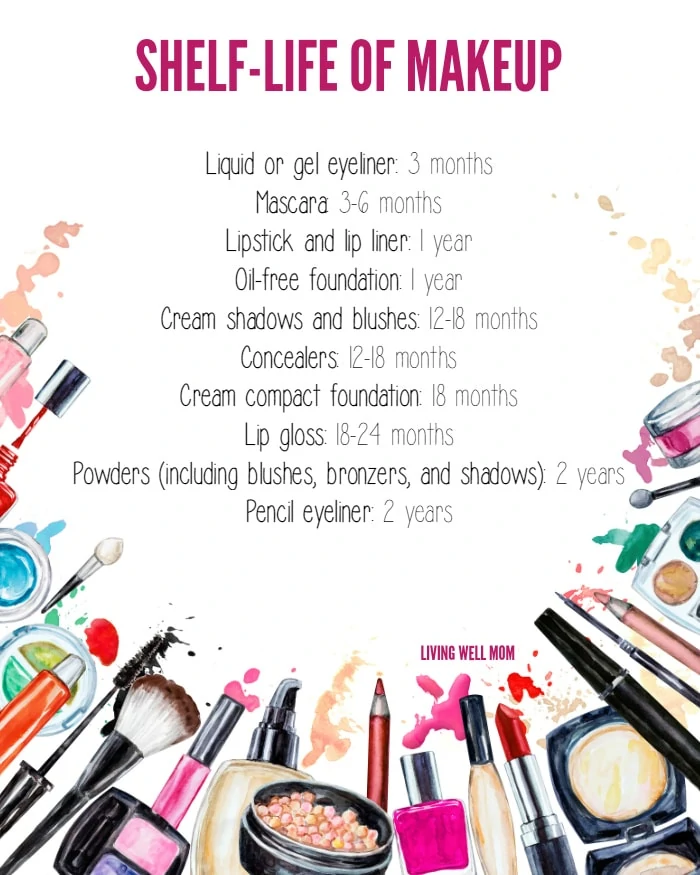
If you are wondering what the average makeup expiration dates are, here’s about how long you can expect your products to last from the time you first open them:
- Eyeliner (liquid or gel): 3 months
- Mascara: 3-6 months
- Lipstick and lip liner: 1 year
- Oil-free foundation: 1 year
- Cream eyeshadows and blushes: 12-18 months
- Concealers: 12-18 months
- Cream compact foundation: 18 months
- Lipgloss: 18-24 months
- Powders (including blush, bronzer, and eye shadow): 2 years
- Pencil eyeliner: 2 years
Free Makeup Expiration Date Printable
I know those are a lot of numbers to remember, so I made a free printable reference guide with the common makeup expiration dates listed out.
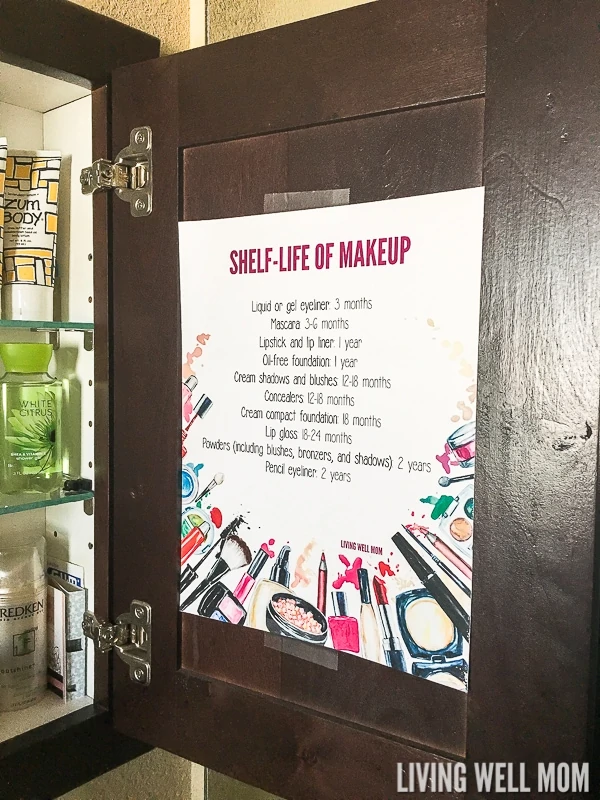
Isn’t it cute? The list fits perfectly right inside my medicine cabinet.
Want to grab a copy for your own vanity? Download your free printable Shelf-Life of Makeup Guide here!
How to Organize Makeup
Now, let’s get down to the nitty-gritty. I spent years trying to declutter and organize my makeup stash before I finally settled on this awesome makeup drawer organizer as part of my vanity organization. It’s been a game-changer for me, and it will be for you as well.
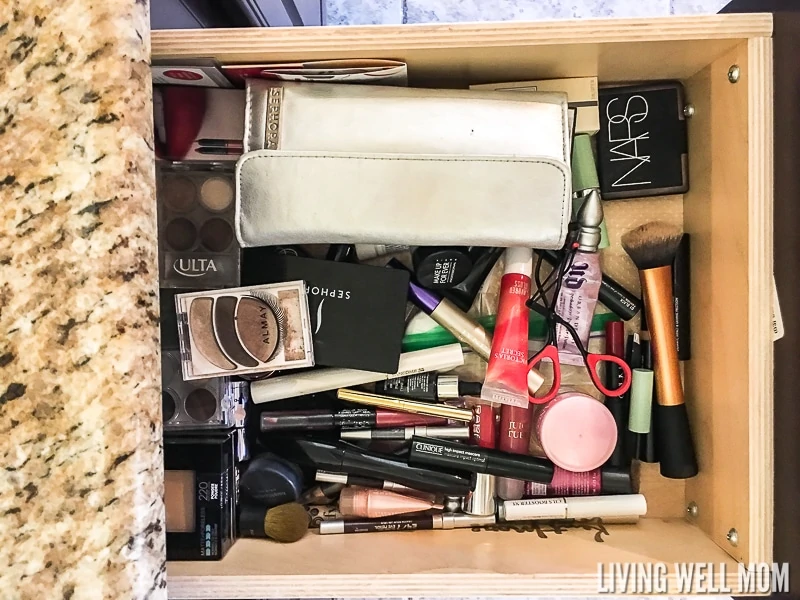
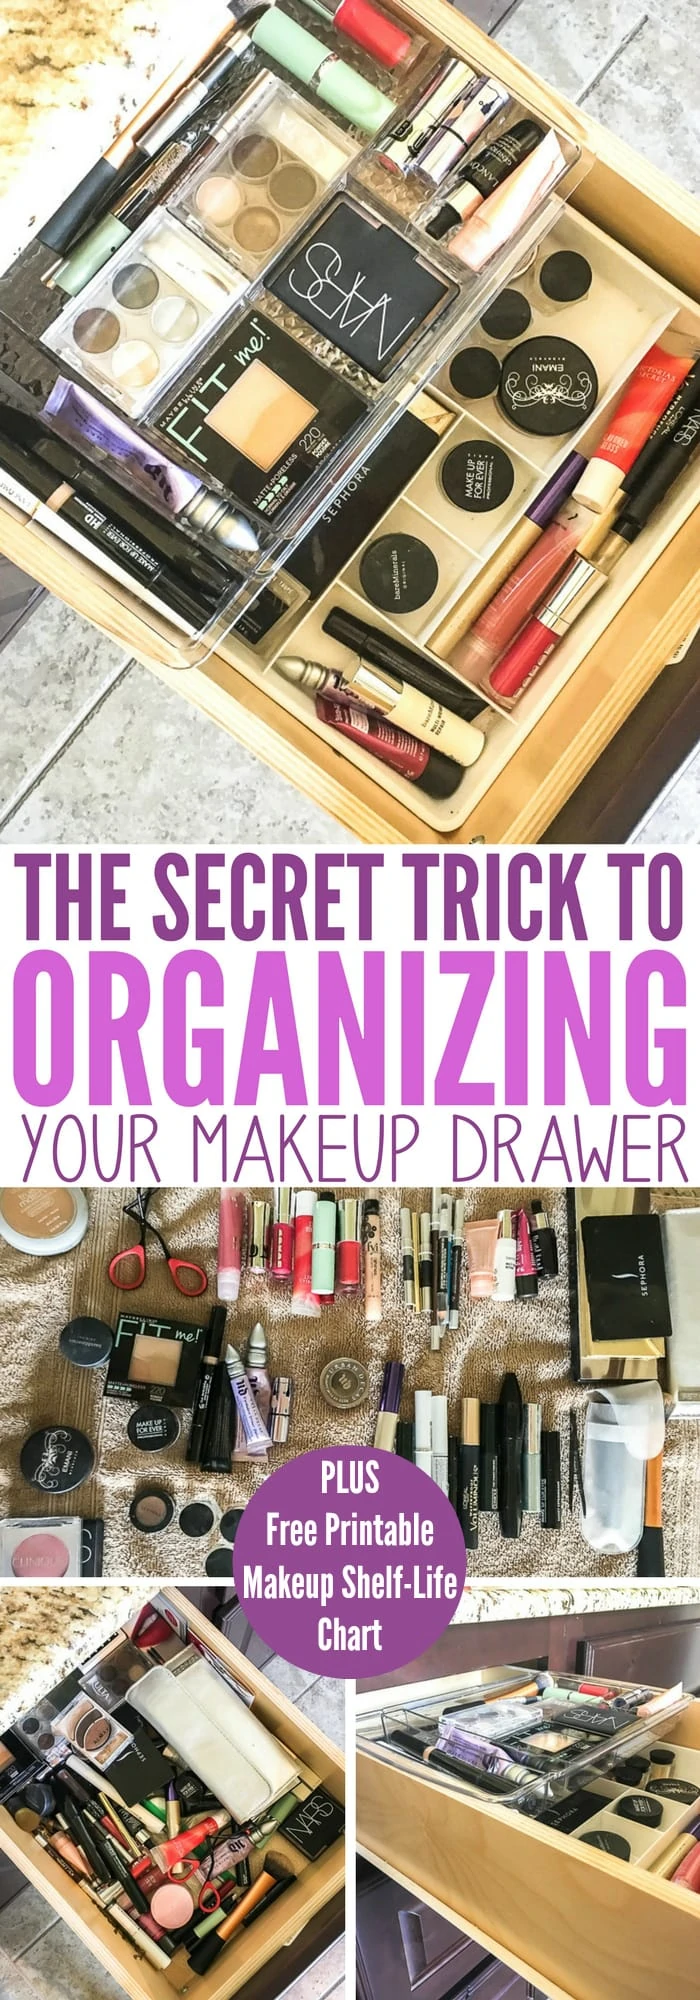
Here you can see the “before” shot of how crazy, messy, and cluttered my makeup drawer is:
Step 1: Empty your makeup drawer
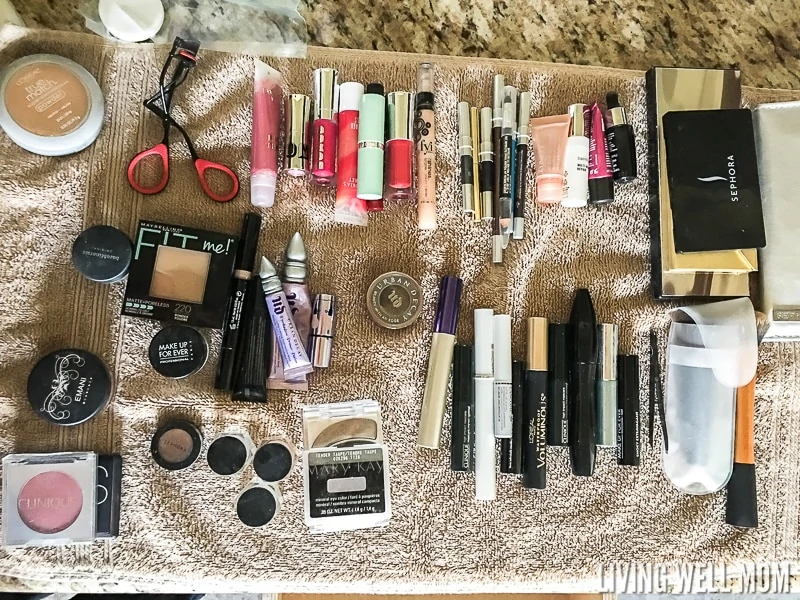
Lay a towel on your counter and you can put everything on it without worrying about it rolling onto the floor.
Don’t leave anything in your drawer.
It’s always easier to declutter a space when you empty it first, then organize items back into the space.
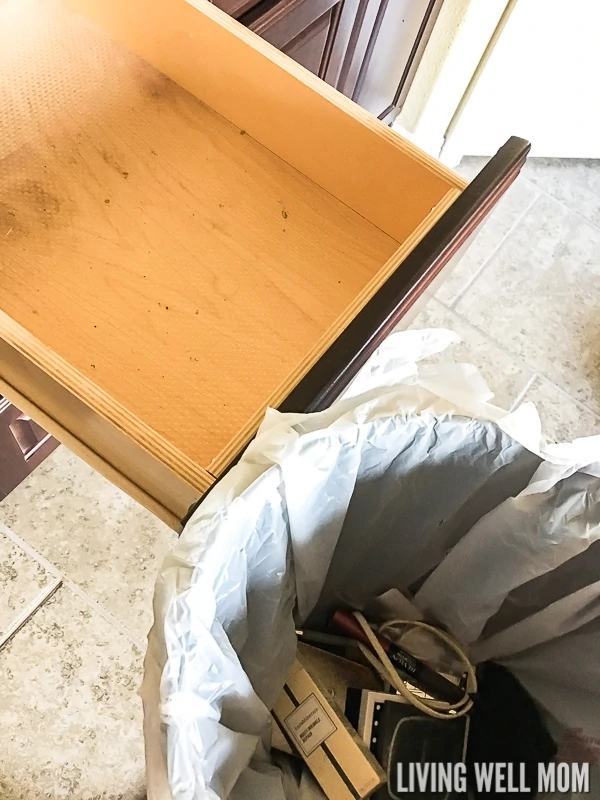
Clean out any makeup dust or broken pieces from inside the drawer.
Step 2: Take inventory of your makeup
Now take an inventory of how long you’ve had each piece of makeup. Remember, makeup does expire and lose its effectiveness, so it’s best to replace the old with new. Be honest with yourself on this step because there is no use in keeping items you don’t wear or items that are expired.
Use the dates in the section above as guidelines and throw out anything that’s too old, broken, or you haven’t used in a long time.
If you have any medications mixed up along with makeup, now’s the time to get your medicine cabinet in order as well.
Step 3: The Secret Organizer
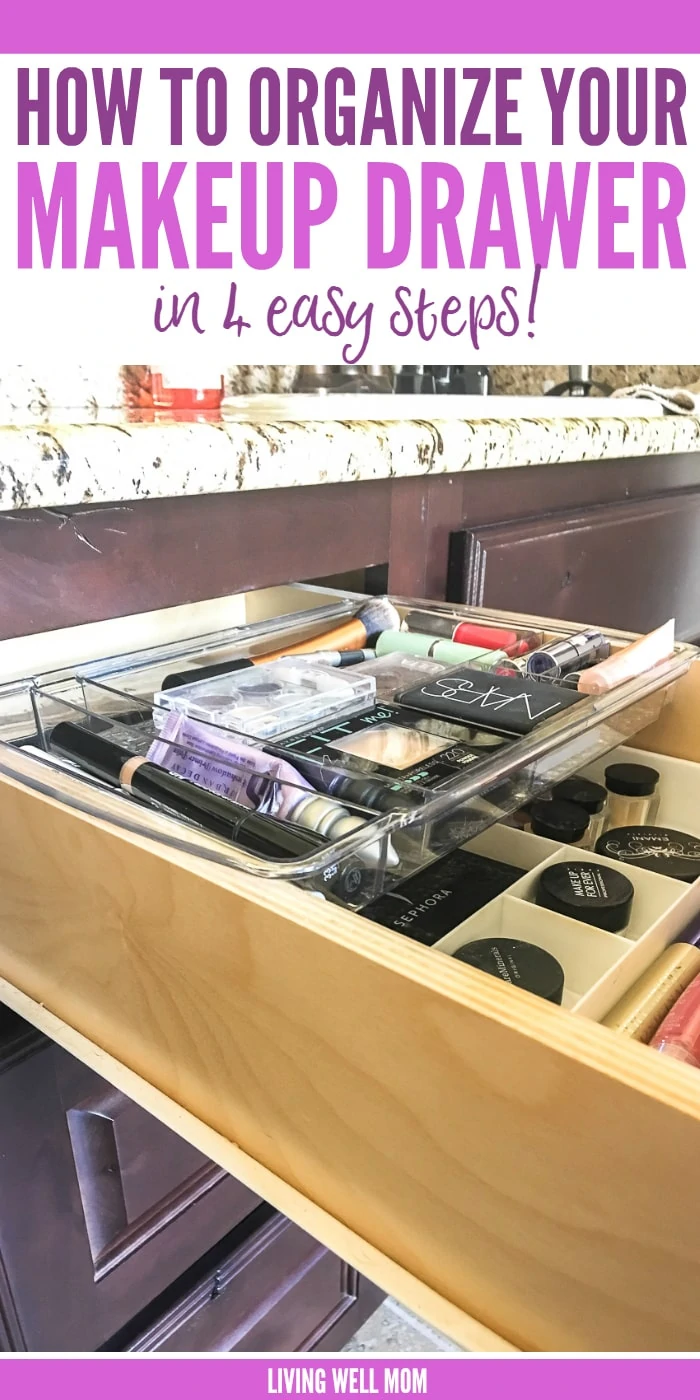
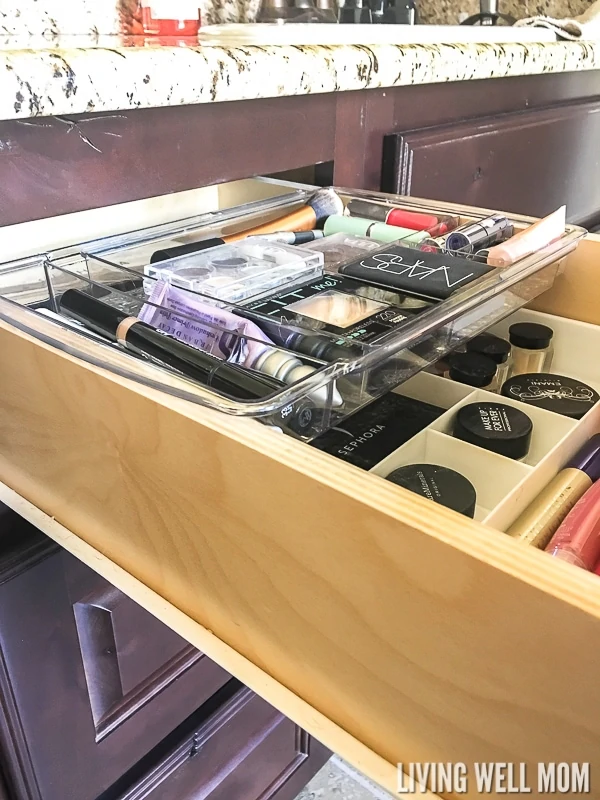
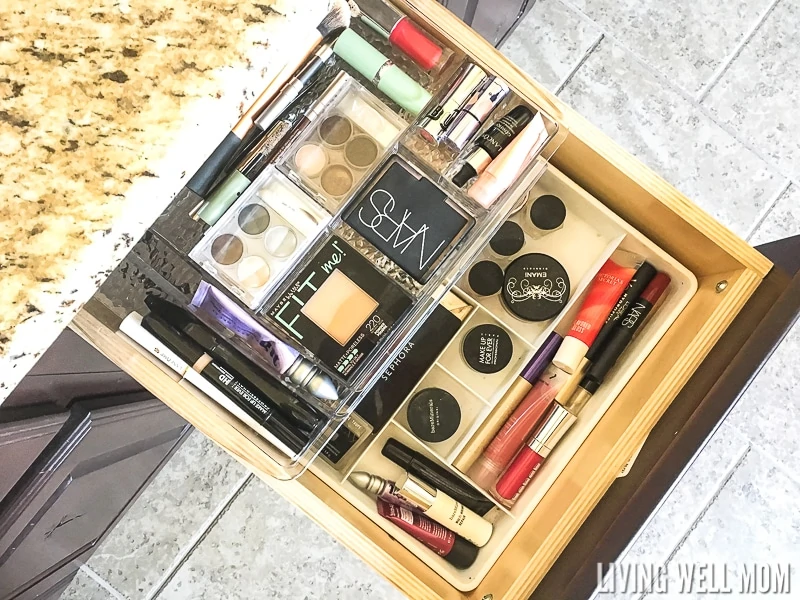
After you have reduced how much makeup you have, it’s time to set up a system to organize your makeup drawer and save yourself time in getting ready. There are several different types of makeup drawer organizer that can be used, but my favorite is an expandable hanging drawer organizer.
The best way to get the most use out of a drawer is by taking advantage of vertical space. And that’s exactly what this little makeup drawer organizer does. It hangs onto the edges of your drawer while still leaving space underneath for other items. It’s also great because it’s clear, and the bottom of the drawer is still visible.
You can purchase an expandable hanging drawer organizer on Amazon or The Container Store.
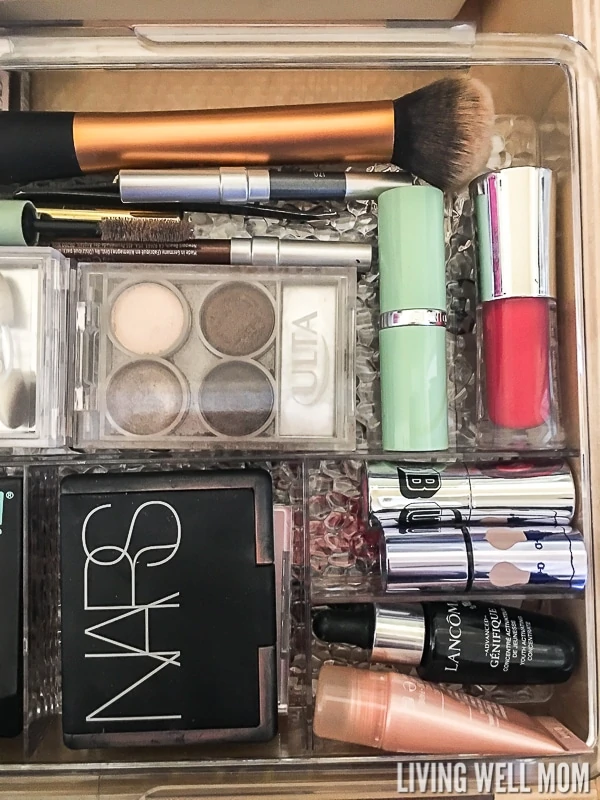
Sort your items into your hanging drawer organizer. I put my most-used makeup here for easy access.
Step 4: Keep “Like” Items Together
With the makeup that’s left on the towel, group similar items together. Then place these items in the compartments best suited for their size.
Larger items or items not used as often can be placed below the organizer at the bottom of the drawer inside their own divided unit. I like to use white containers for this so it keeps it bright inside the drawer and makes it easier to see everything.
I love how organized my makeup drawer is now. It’s much quicker and easier to get ready in the mornings now.
And that’s how you can organize your makeup drawer. It doesn’t have to be a complicated project where you have to spend a lot of money. A simple organizer and a few containers will do the trick.
Whether you organize your makeup drawer completely or just throw away the old makeup, this simple task should only take you about 15 minutes. Those are 15 minutes that will save you much more time in the long run too.
Go organize your makeup drawer today! You’ll be glad you did.
Just pin it below to find the instructions later!
Mary swartz says
Your first link to the expandable organizer went to a retinal cream item on Amazon
Erika says
Thank you!
Joyce says
Hi, I’d like to know which kind of divider did you have there on the pictures?