I love doing little crafts, especially when it’s something useful. And even better when it’s a great homemade gift!
Today, I’ve got a fun, easy-to-make craft to share with you that’s all of those things.
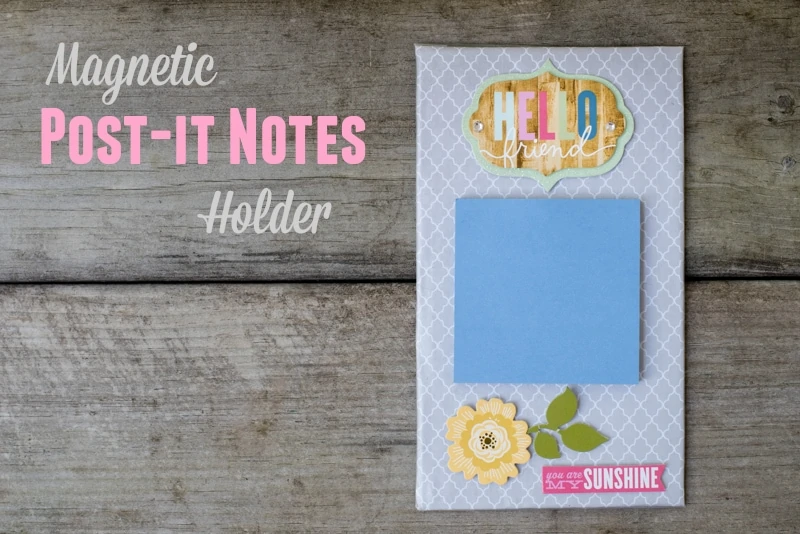
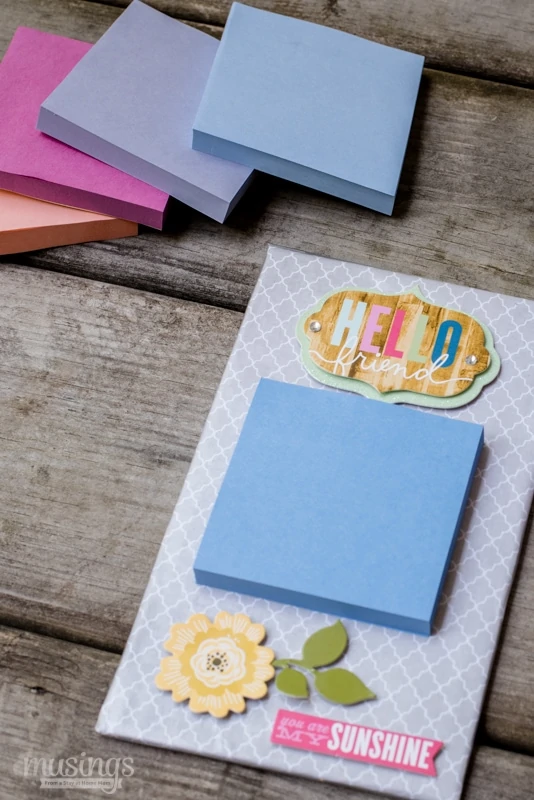
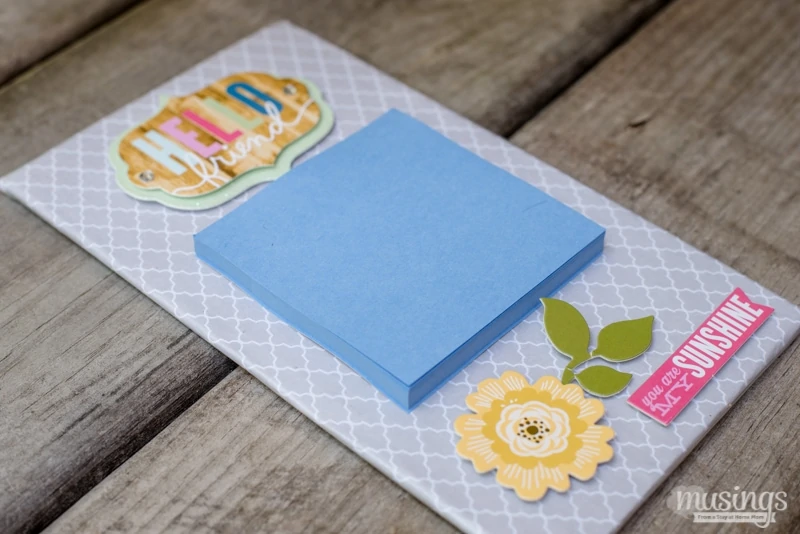
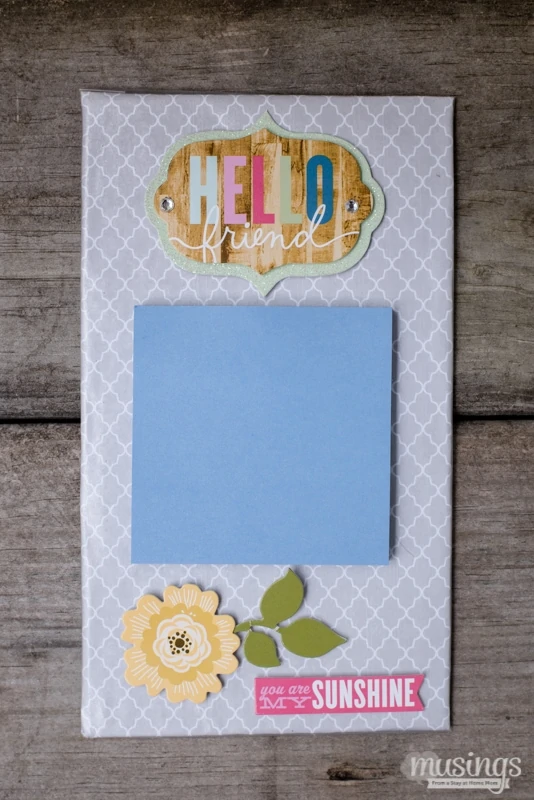
This Magnetic Post-it Notes Holder is a fun, easy-to-make craft that can be personalized to your favorite colors, styles, occasion, etc. Plus it’s a great homemade gift for just about any occasion!
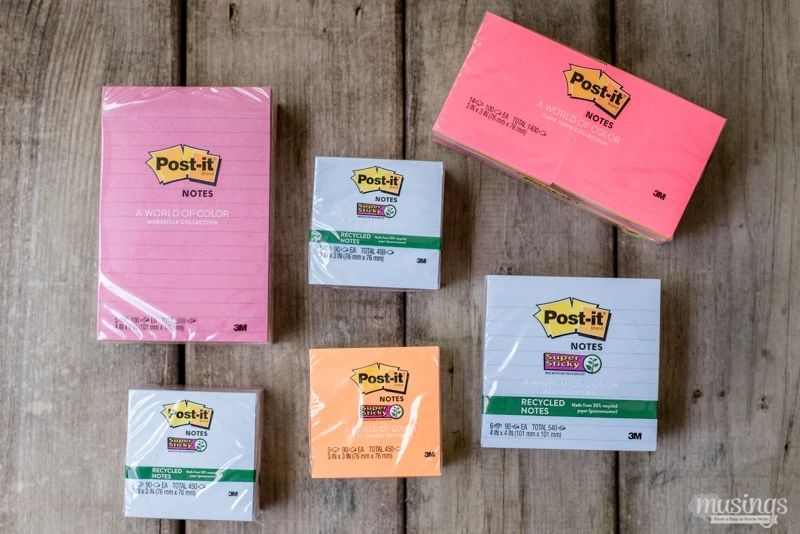
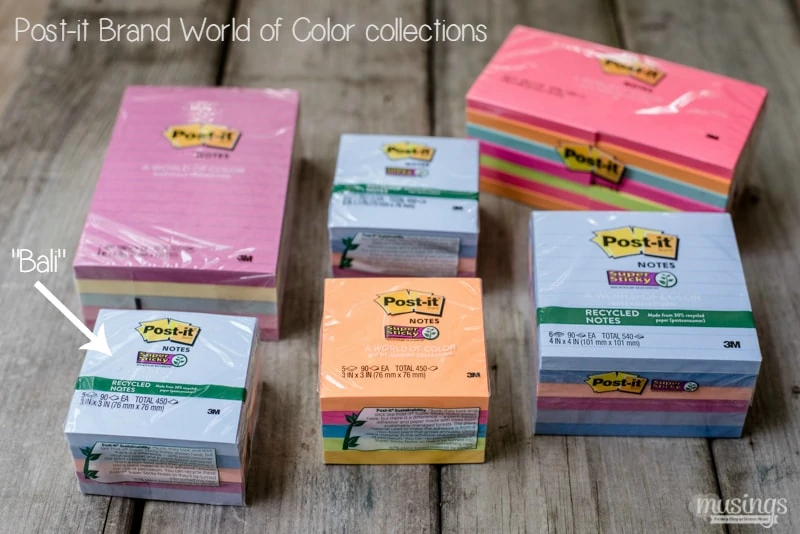
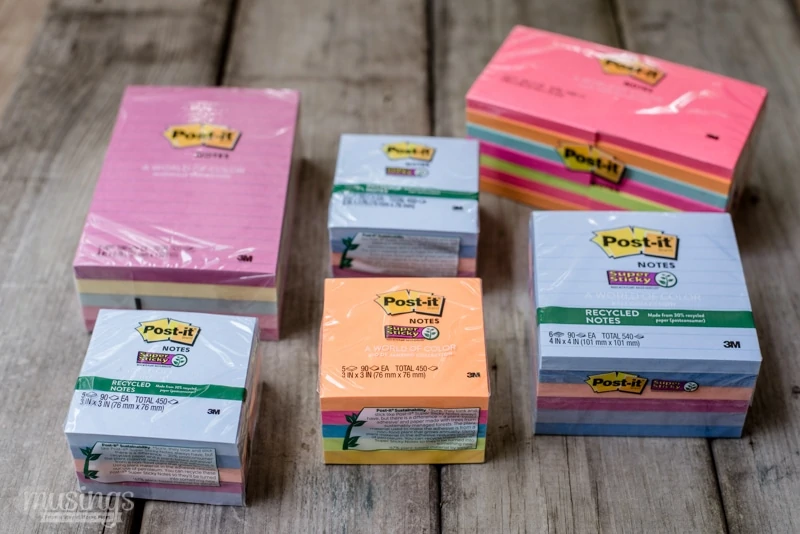
Did you know that there’s now a new variety of Post-it Notes? Post-it Brand World of Color collections are trendy, vibrant color hues inspired by nine exotic locations around the world. So now you have even more colors to choose from as you use Post-it Notes in your daily life, organizing projects, and crafts.
My favorite Post-it Brand World of Color collection is the “Bali,” collection, which includes beautiful soothing colors.
I’m a huge fan of Post-it Notes because they’re so convenient and can be used for so many purposes – from organizing and planning to crafts and every day use as simple reminders. And I just love all the color varieties offered!
You can almost certainly find your favorite color or at least a color scheme to match your room decoration. How fun is that?
I had to think of an idea for how to display my new Post-it Notes, since they’re too pretty to hide away in a drawer!
And that’s where this Magnetic Post-it Notes Holder comes in.
This Post-it Notes holder is magnetic so you can stick it on your refrigerator, filing cabinet or any metal surface for easy reach and it doesn’t take up valuable space on a desk or counter.
You can choose any color combinations and personalize it with decorations however you want. I chose the colors and stickers for my Post-it Notes holder to match the collection from the Post-it Brand World of Color collections and go with my kitchen decor. Isn’t it pretty?
You can make your Post-it Notes holder any size you want, so you can use more than one Post-it Notes or a larger variety from Post-it Brand.
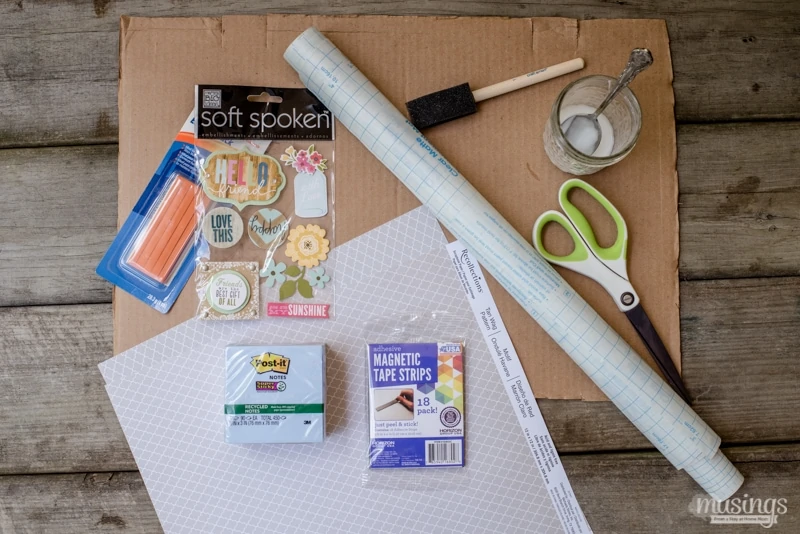
Supplies Needed:
(affiliate links):
- sturdy cardboard
- decorated scrapbook paper
- modge podge (or make your own – 1 tablespoon glue mixed with 2 tablespoons of water)
- clear contact paper
- scrapbook stickers
- magnetic strips or buttons
- removable adhesive
- scissors
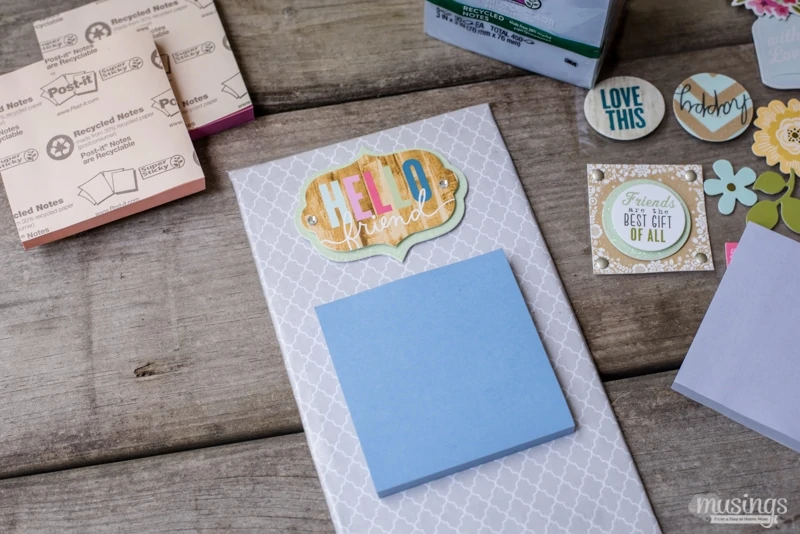
- Post-it Brand World of Color collections
(Note: I found most of the supplies at a local craft store – you can find a huge selection of colors and designs for scrapbook paper and stickers.)
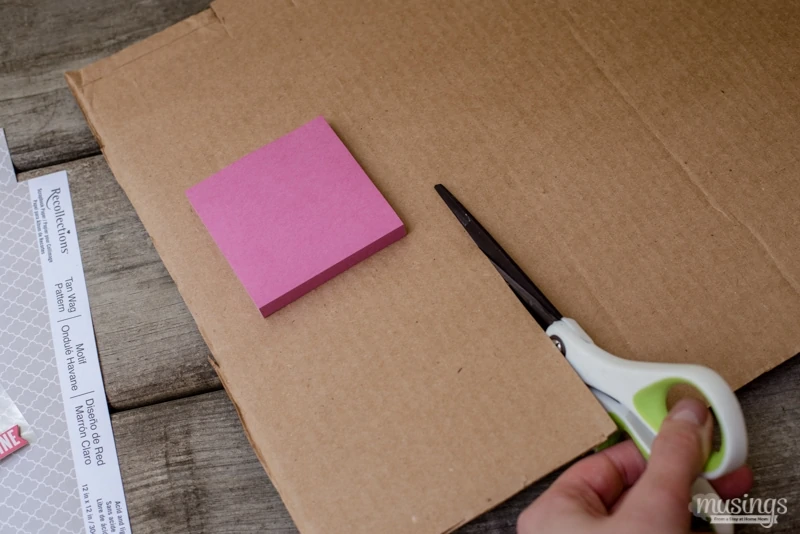
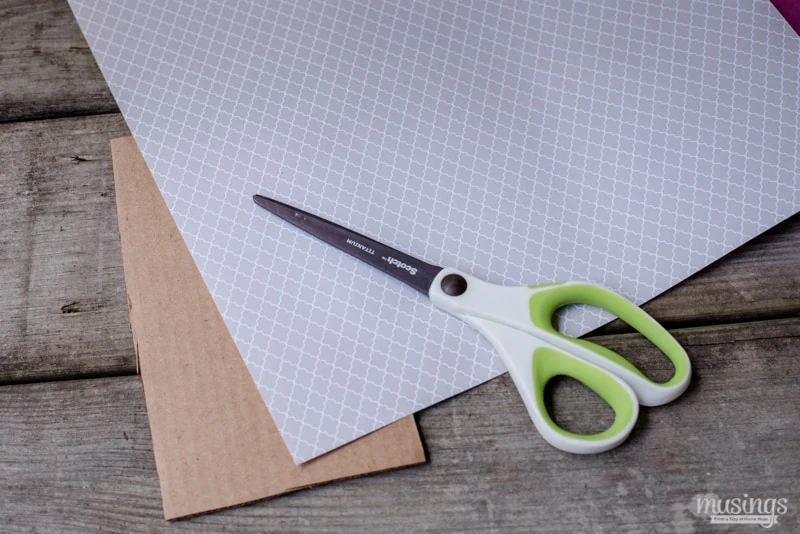
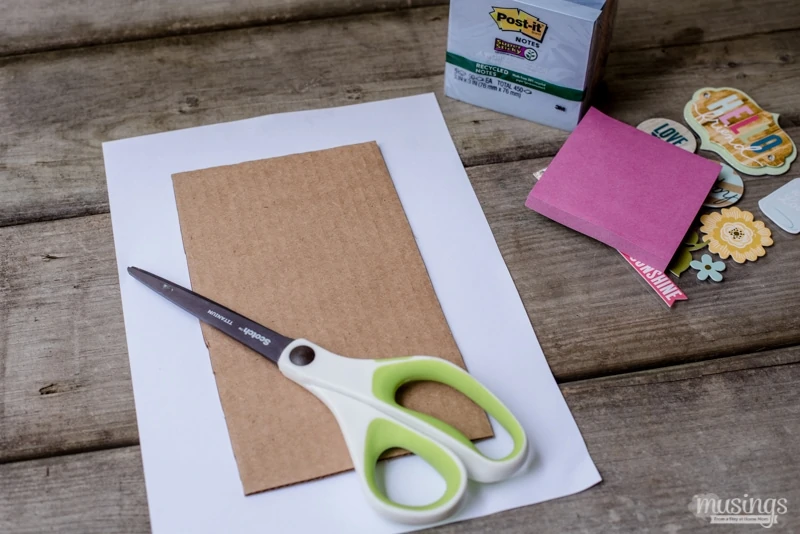
First, estimate how big you want your finished Post-it Notes holder to be, then cut the cardboard.
Next, cut your scrapbook paper to fit around the cardboard with extra to fit cleanly around the edges, like this:
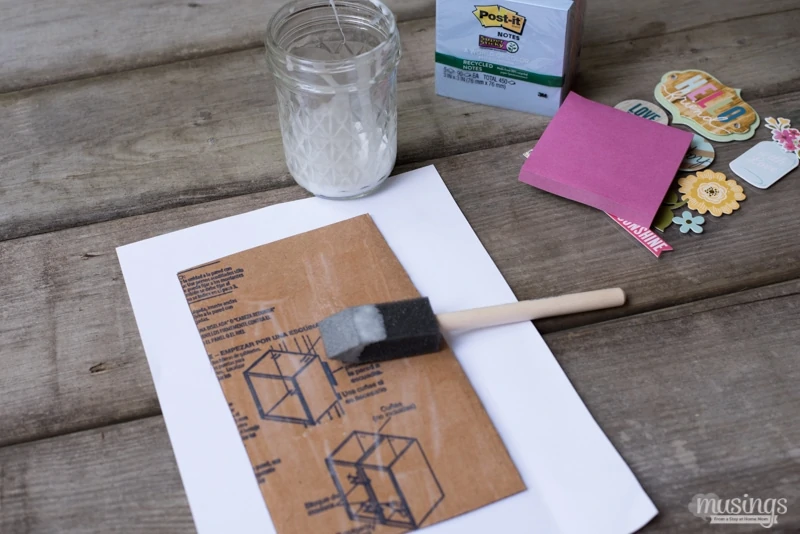
Carefully spread a little modge podge over the back of the paper and attach to the cardboard. (Don’t use too much or it might soak through.)
Note: If your scrapbook paper has a pattern, make sure you line it up (trace faint lines on the back or gently fold first before) so your holder doesn’t turn out funny. (Basically don’t do what I did and wing it. Unless you’re really good with this stuff. Me? I can’t line things up evenly for the life of me!)
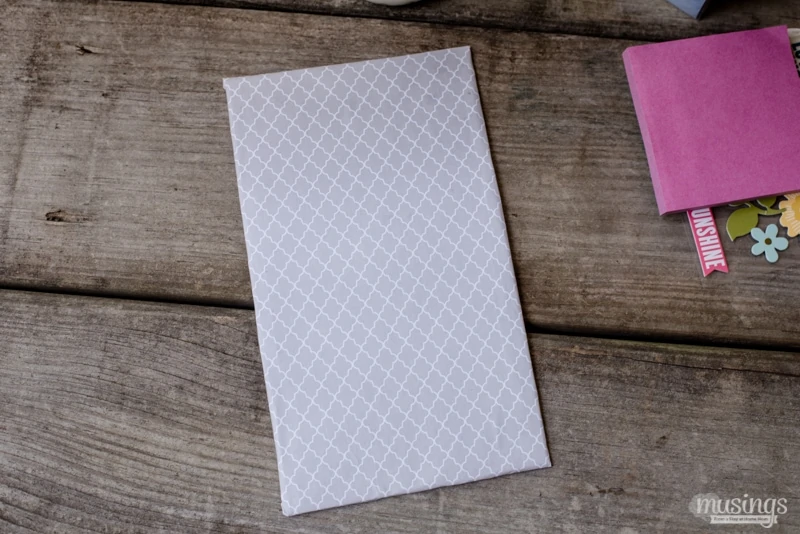
Smooth the paper carefully, then flip it over and modge podge the back. Again smooth carefully. (It’s the back so it doesn’t have to look pretty.)
The front will look nice.
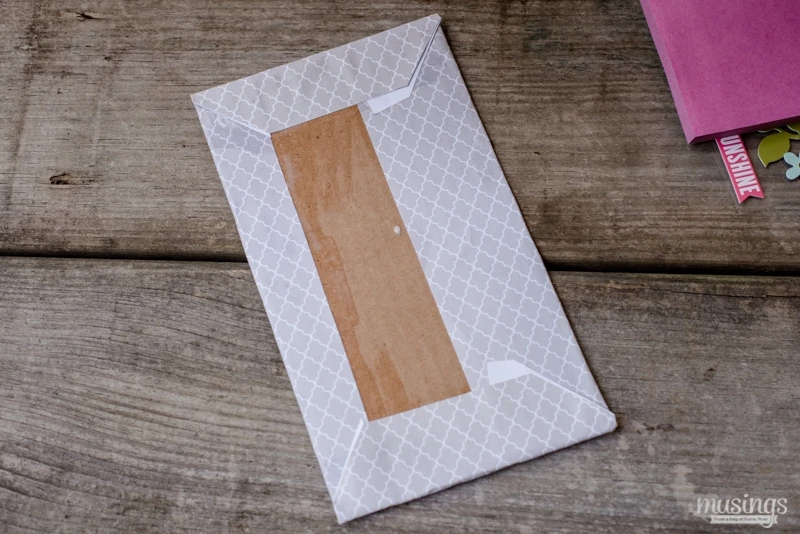
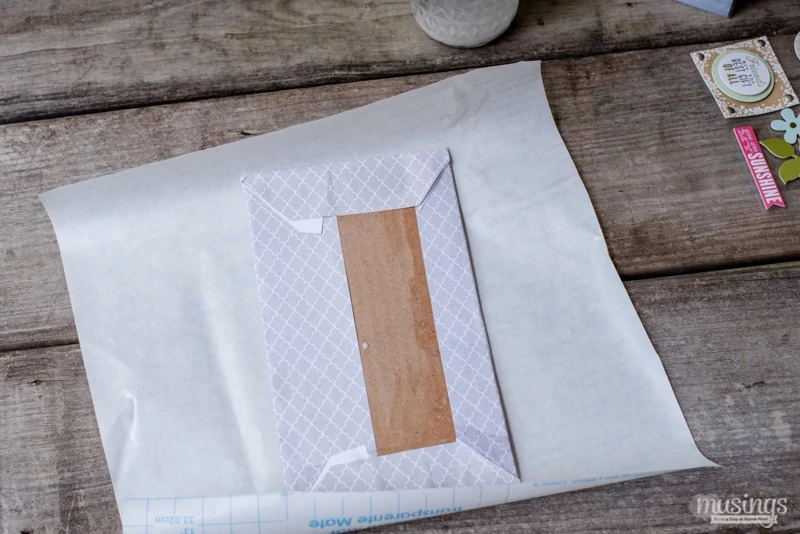
Layout the clear contact paper and cut it out, making sure to leave enough room to cover the front and back of your Post-it Notes holder. This step is important for protection and added durability. Scrapbook paper is pretty, but it’s not very strong!
Contact paper can be a pain to work with, (is it just me? Anyone?) but it shouldn’t be too difficult for this smaller project. Peel the paper off with the sticky side lying up. Place your papered cardboard directly on top. Try not to get any creases (removing contact paper from scrapbook paper won’t look pretty.)
Firmly smooth the contact paper on, then flip over and repeat for the back. Kind of like wrapping a present with really sticky wrapping paper. Cut off any excess.
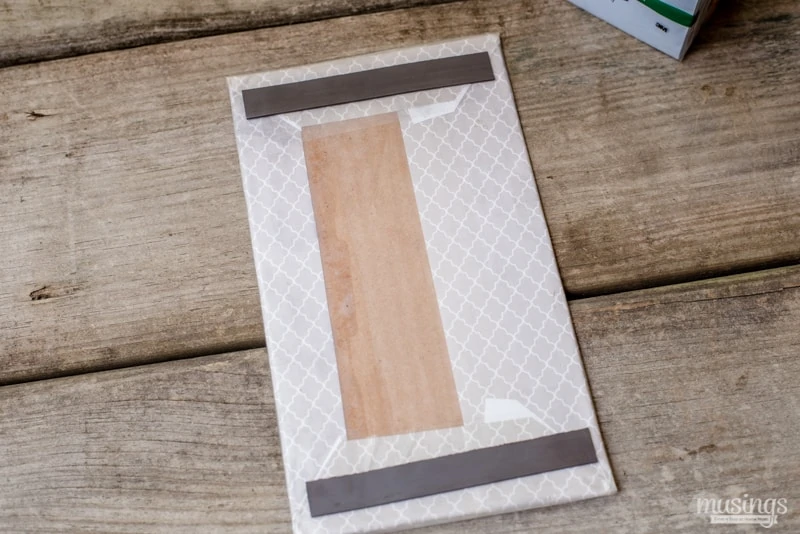
Turn your holder over to the back. Attach the magnetic strips. (Use more or less, depending on the size of your holder.)
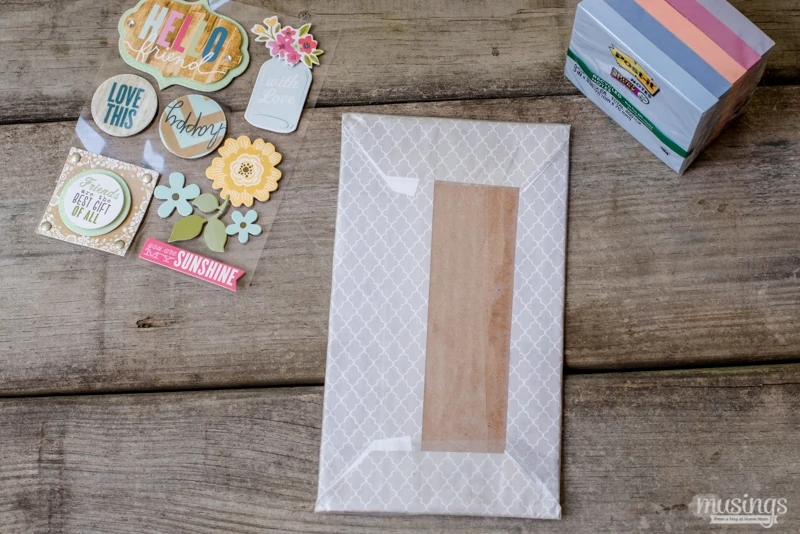
Now position your Post-it Notes on the front of your holder. You don’t have to attach it yet, but it will help you arrange the stickers.
Attach the scrapbook stickers.
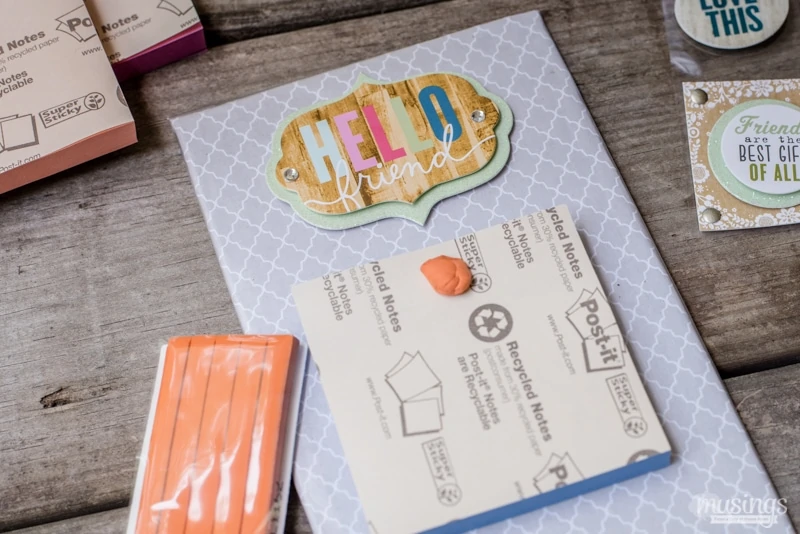
Now it’s time to attach your Post-it Notes with the removable adhesive! I recommend only using 1/3 to 1/2 stack of Post-it Notes. A full stack might be too bulky for this simple Post-it Notes holder.
Hang up your Magnetic Post-it Notes Holder and enjoy your pretty creation!
I’m going to make a couple Magnetic Post-it Notes Holders for my kids’ teachers too. Wouldn’t that be a perfect “thank you” gift?
Visit Post-it.com to check out the Post–it Brand World of Color collections and other products.
Follow Post-it Brand on Twitter, Facebook, and Pinterest for great products and inspiration.
Pin this:>>>
What kind of Magnetic Post-it Notes Holder will you make?

Robin Rue (@massholemommy) says
What a cute idea. I Love how it came out.
Dawn says
That’s such a cute project. I love how great it looks and how EASY it is to make. I love easy. 😉
Mama to 5 BLessings says
That is a really nice idea. I am forever trying to find my Post Its, this would be nice to put on the fridge.
Lena Burkut says
Super creative – I love how functional yet adorable this holder is
Amy Desrosiers says
Post It products are the greatest! I use them sticky notes every day and go through so many! I love the magnetic holder!
Amber Edwards says
That is such a cute magnetic post it notes holder! I would seriously use that! I am always trying to find where I put my post it notes!
Dee Mauser says
What a cute idea. This would make a lovely gift for a teacher.
Shauna says
What a great idea. I love this… it would make a great back-to-school gift for the new teachers. Thanks for sharing
Ann Bacciaglia says
I love DIY projects. I could use this in my kitchen. With two teenagers it would come in handy.
Autumn @Mamachallenge says
That is really cute! They would make great little gifts!
Seattle Travel Blogger says
Those would be great for hanging Post-It Notes on the refrigerator. It’s a real original idea! Thanks for sharing!
Vera Sweeney says
I would have thought was store bought not home made!! I love how easy this looks to make and the end results are amazing.
Amanda says
I absolutely love this! I think itwould be a lot of fun to make these with the kids too
Happy Tkacz says
What a wonderful idea and so cute, I am adding this to my list of homemade gifts to make this year.
Erika says
Thanks, Happy!