A few weeks ago, I thought it would be fun to try a new activity with my kids – DIY window clings! It’s a great way for children to express their creativity and brighten up windows with colorful art.
Sounds great, right? But our first attempt was an epic failure. We tried glitter glue and it refused to cling to the windows. I tried adding a little water and even blow drying in hopes that the heat would help the glue to stick to the window. Nothing worked. I gave up because it was too much effort. My thinking is that kids’ activities should be fun and easy enough that everyone wants to try it again soon without Mom wanting to pull her hair out.
Glitter glue as window clings = fail.
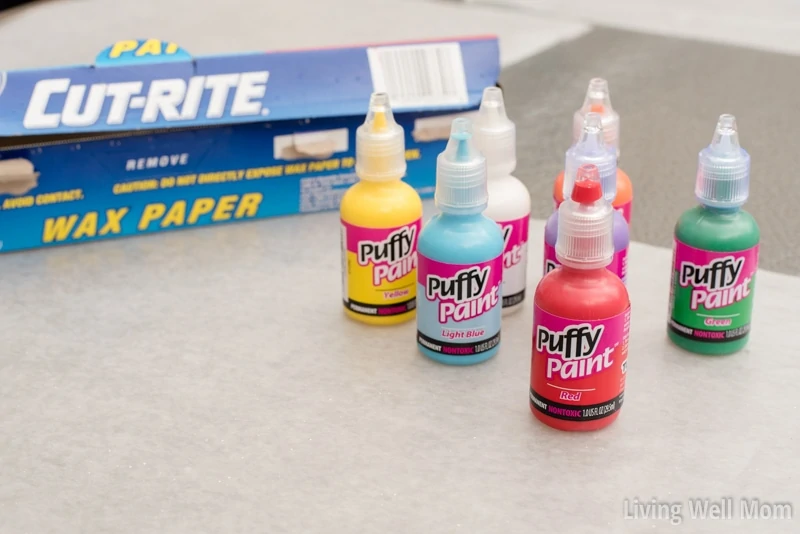
But I didn’t want to give up DIY window clings quite yet. When I was at Walmart the other day, I went by the arts and craft section and came across the fabric paint, specifically the “puffy” fabric paint. It was inexpensive too – only 99 cents a bottle – so I grabbed a few and decided to give it a try.
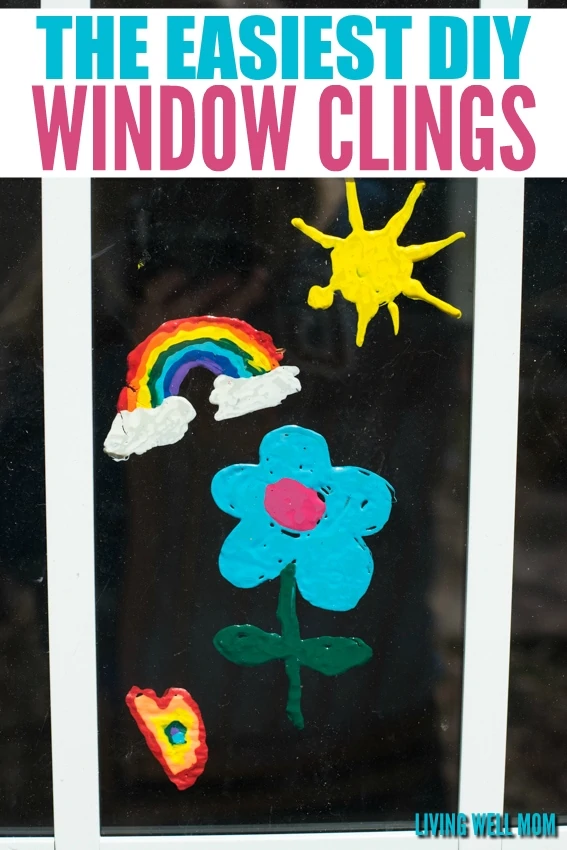
This time, our DIY window clings turned out exactly as we had hoped! And in fact, this version is even easier than I hoped!
 How to make your own DIY window clings:
What You’ll Need:
- wax paper
- puffy paint
or 3D fabric paint
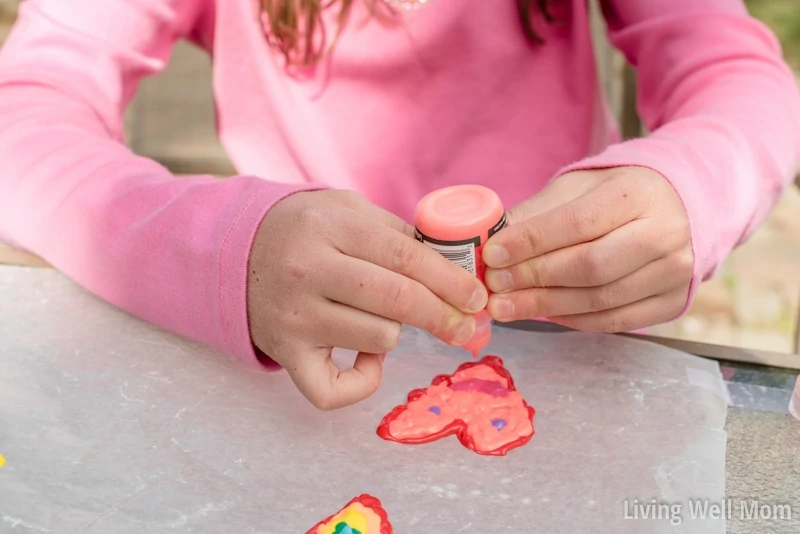
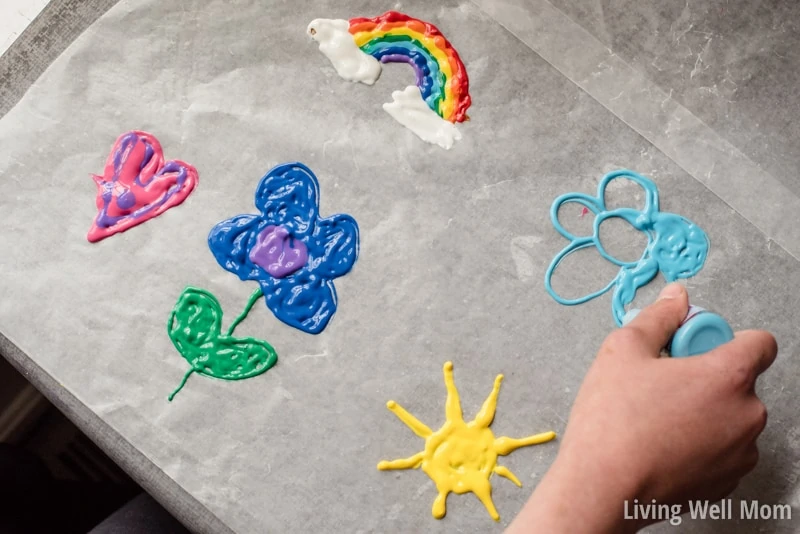
Tape down a piece of wax paper for each child – make sure it’s large enough for them to have plenty of space for their creations.
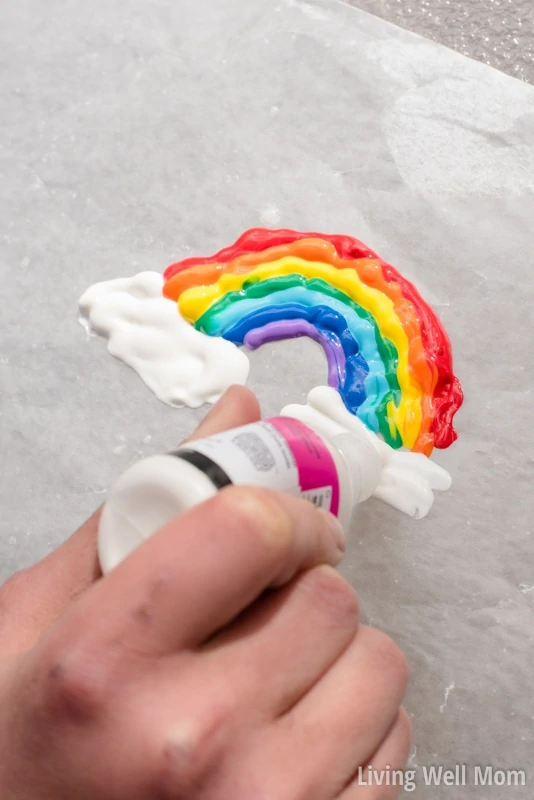
Hand them each a container of puffy paint and let them begin creating.

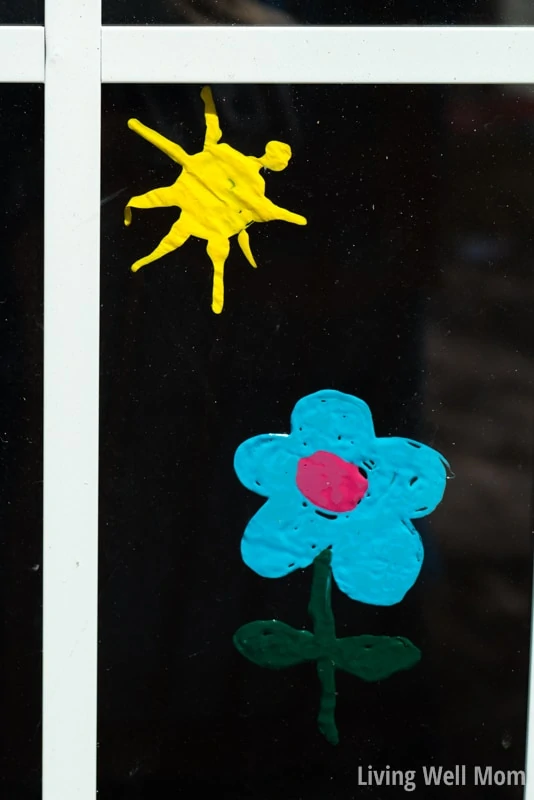
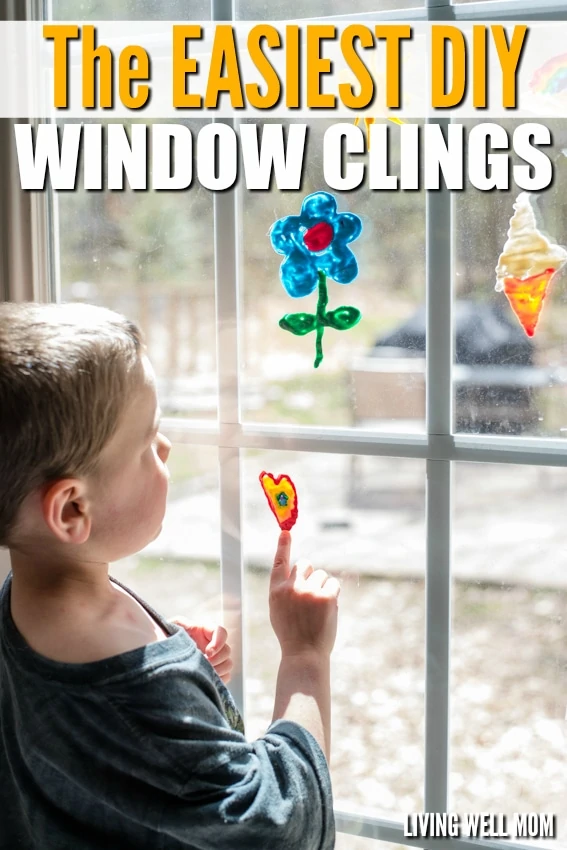
Since it’s May, my kids wanted to do “summer” paintings, so they made suns, flowers, ice cream cones, rainbows, and other fun designs.
Joshua and Luke, who are 6 and 5, had fun, but they also expressed a little frustration at not being able to make as fancy of things as “Nathan and Emily do.” Younger children may need some help making their window clings as I discovered.
One note: fatter, thicker window clings work better than very thin lines that may break or not stick as well.
When the kids are done painting, carefully move the wax paper sheets to a safe place where it can dry. If you leave it “out,” little fingers will want “test” the paint and you’ll wind up with paint all over! (Yes, spoken from experience!)
Let the paint dry for about 24 hours. Thinner pictures will take less time and thicker creations might take even more.
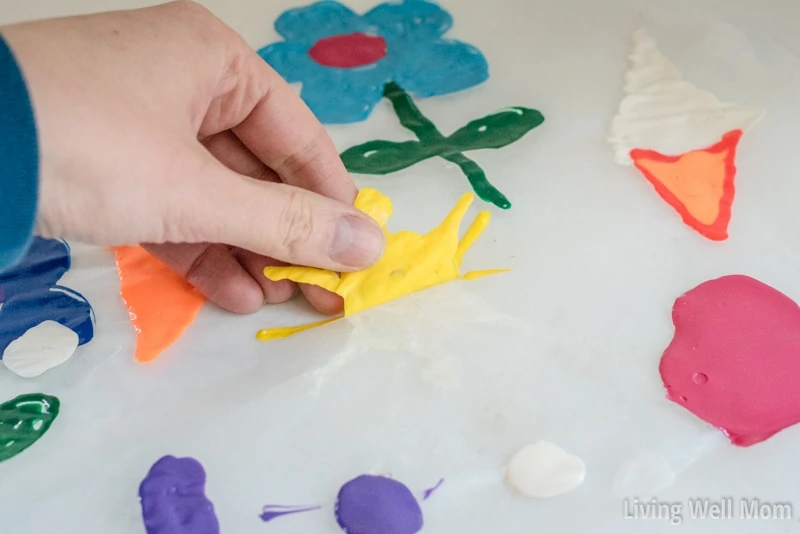
Carefully peel each picture away from the wax paper – older children and Mom should do this step.
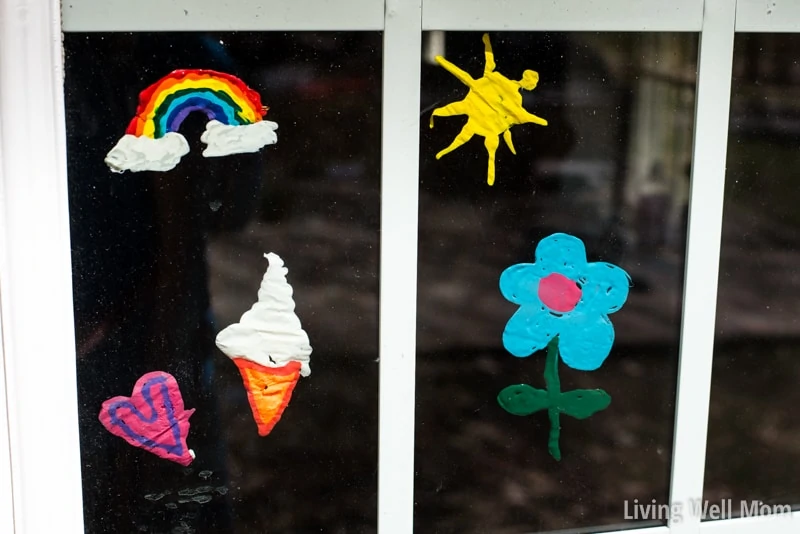
Press onto a clean window! You shouldn’t have any issues with your DIY window clings sticking. Ours stuck quite nicely – the only one that detached slightly was one of the suns’ rays that was very thin.
And that’s exactly how you make the easiest DIY window clings for kids!
Super simple, easy, and fun – DIY window clings are a great way to spend a rainy day inside with a little creativity! Or take it outside on the patio table on a nice sunny day!
 How to make your own DIY window clings:
Brandy says
These are super cute and look super easy. I may have to try to do this with my toddler niece, I think she would love it!
Janeane Davis says
This is such a great idea! I am excited about my children being able to make creations like this. I cannot wait to share this with them.
Ryan Escat says
What a fun idea! I’m sure my kids would love this idea! It’s really pretty cool I totally like it.
Crystal says
They turned out super cute! I know the hardest part will be waiting for them to dry. Love easy projects like these.
Dawn Lopez says
This looks like a totally fun craft project! I love how easy it would be to create a design for whatever holiday or event you are planning for. I think this would be fun for any adult OR child myself. I can think of several fun designs I’d like to try. 😉