If you’re hunting for salt dough ideas that are equal parts adorable and meaningful, these salt dough flower magnets are it. With just two pantry staples and a little kid-powered thumbprint magic, you’ll end up with sweet little keepsake flowers that double as decor for your fridge for years to come.
We play with sat dough quite a bit…and honestly, this is one of my favorite projects we’ve ever made. Each petal carries an actual imprint of my kid’s thumb, which means these aren’t just cute salt dough decorations — they’re a tiny record of how small their hands used to be. Cue the tears!

Why You’ll Love This DIY
My kids love working with salt dough more than any other kind of dough. Don’t get me wrong, we definitely love playing with our homemade playdough too, but there is a whole list of reasons we keep coming back to salt dough!
- It’s soft and forgiving like playdough, but once it bakes, it hardens into something they can actually keep
- Only 2 main ingredients — flour and salt are probably already in your pantry
- A keepsake, not just a craft — captures little fingerprints you’ll treasure long after they’re grown
- No-fuss prep — mixing and shaping the dough takes just a few minutes
- Budget-friendly — one of the most affordable salt dough ideas out there, costing pennies compared to store-bought crafts
- Great for all ages — toddlers can press petals, older kids can paint details
- Functional decor — they’re cute AND they hold up your kids’ artwork on the fridge
Want to try your hand at another salt dough craft? These DIY glitter snowflake ornaments are SO fun to make and display!
What You’ll Need
- Flour
- Salt
- Small container
- Measuring cup
- Acrylic paint
- Paintbrush
- Coin magnets
- Hot glue gun and glue sticks
- Cookie sheet
- Parchment paper


Instructions
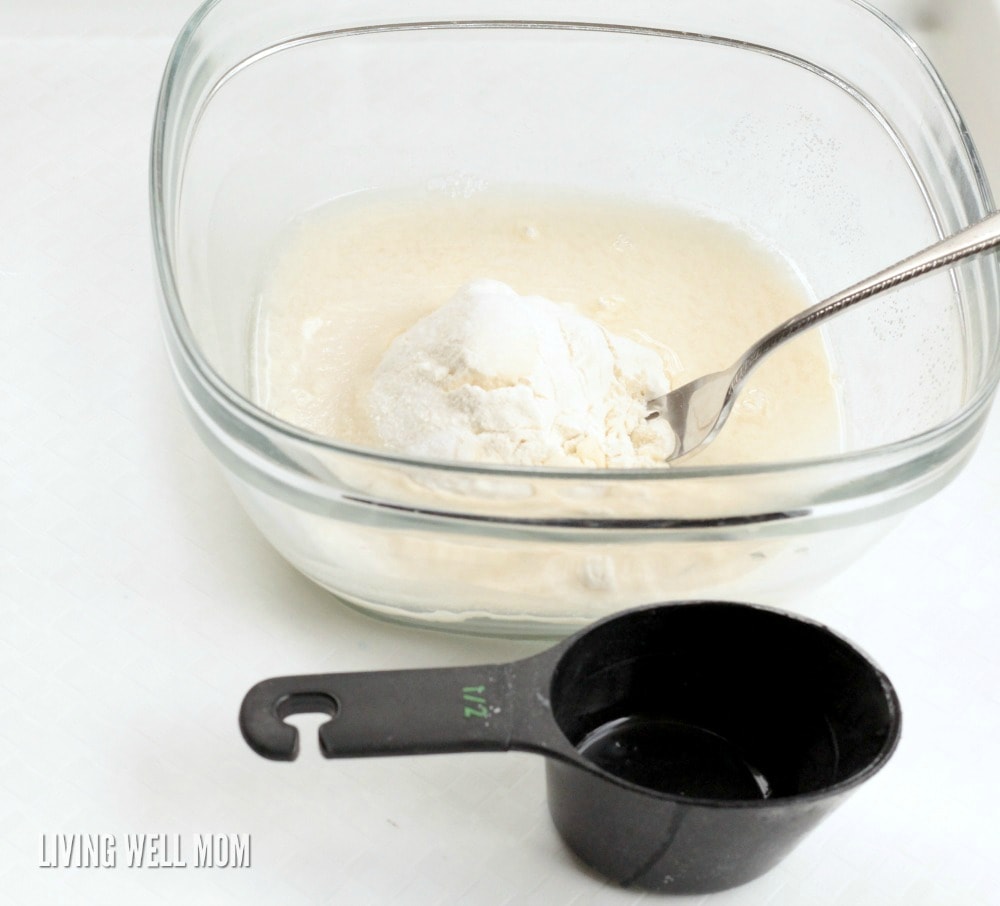
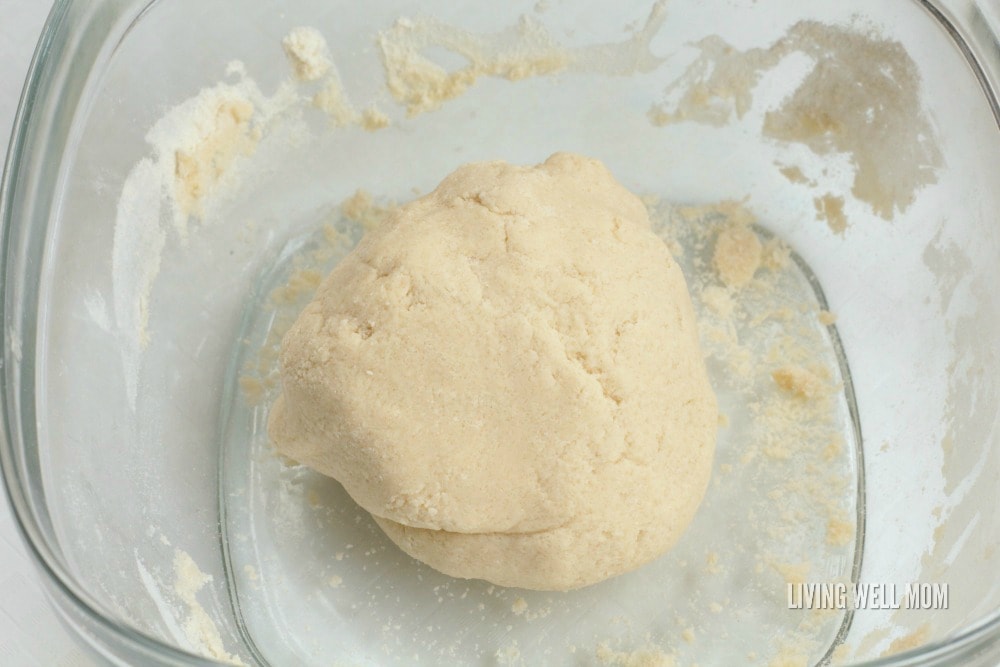
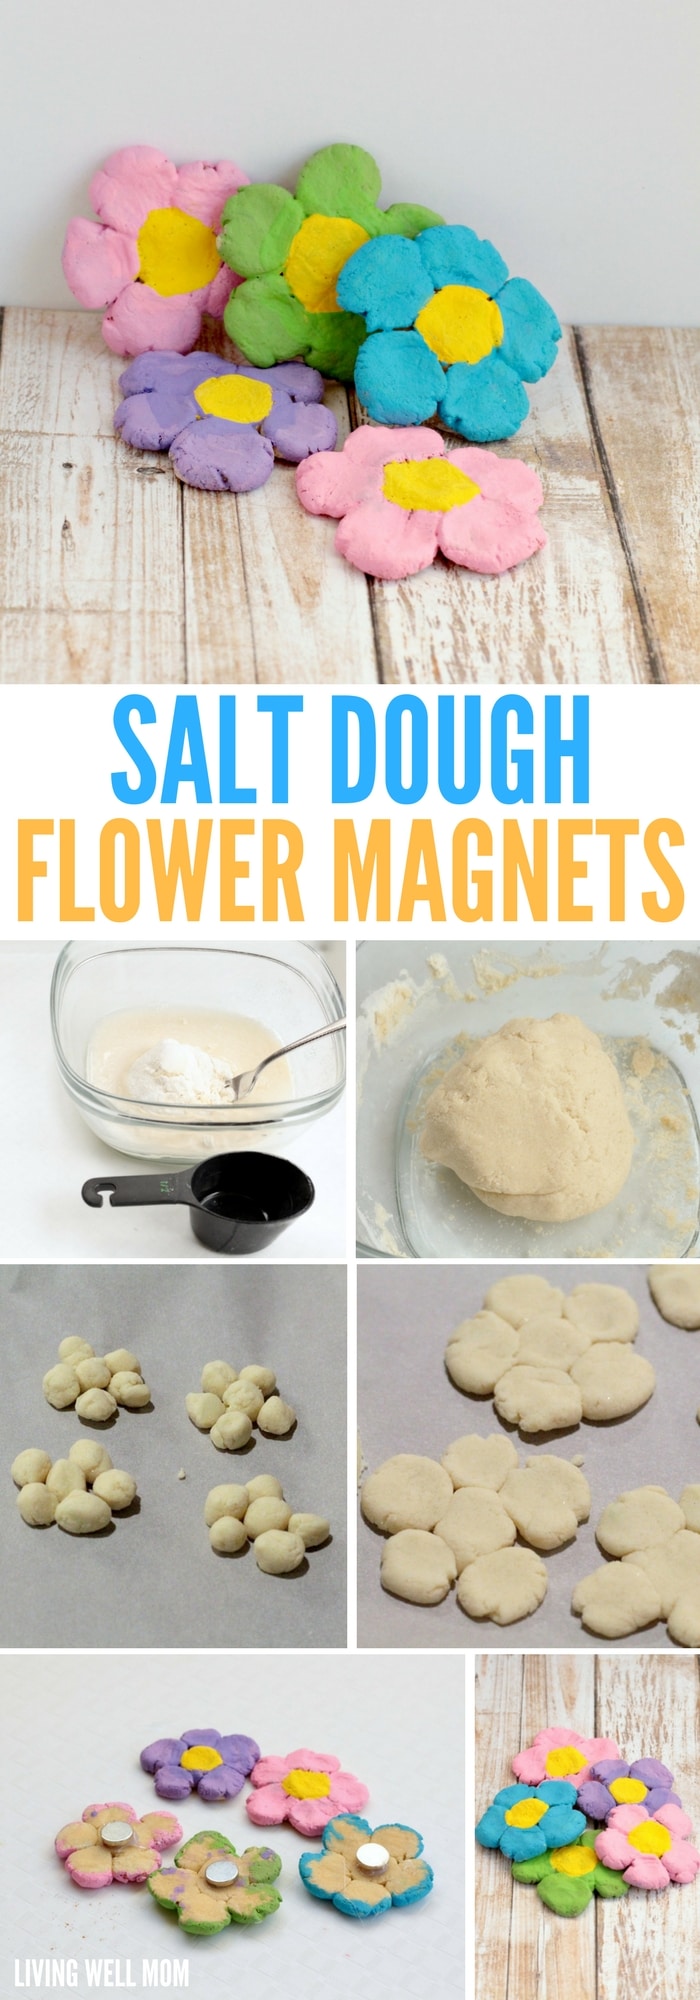
First up, make your dough. Mix 1 cup of flour, ½ cup of salt, and ½ cup of water in a bowl, then knead it until it forms a smooth, soft ball.
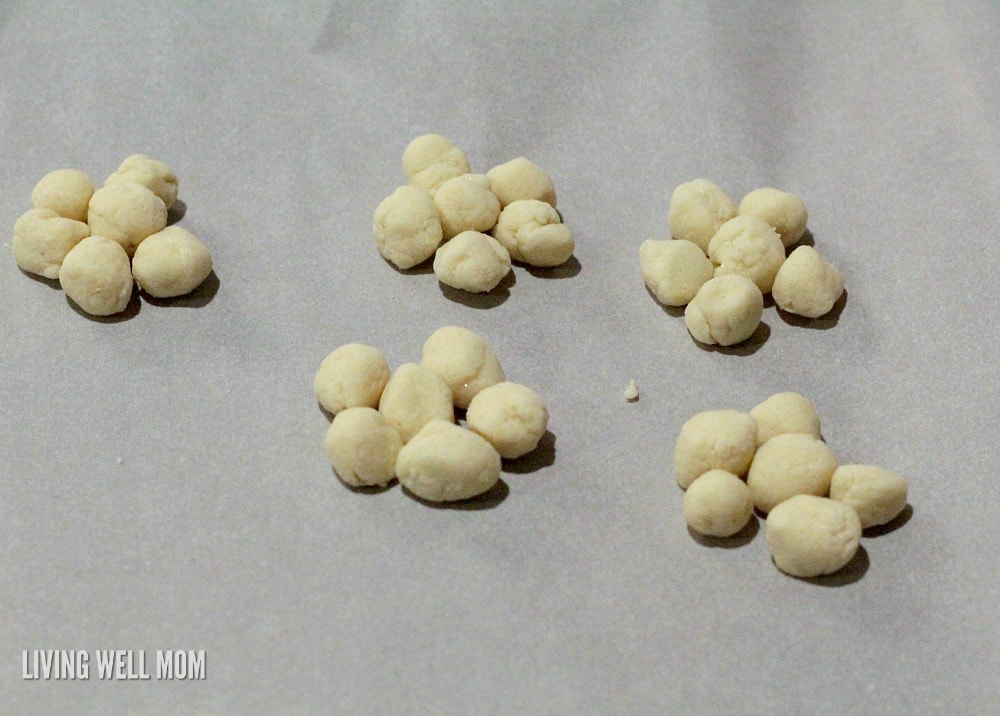
Next, pinch off small pieces of dough about the size of your child’s fingertip and roll them into balls — you’ll need six per flower. Arrange them on a parchment-lined cookie sheet with one ball in the center and five more circled around it like petals.
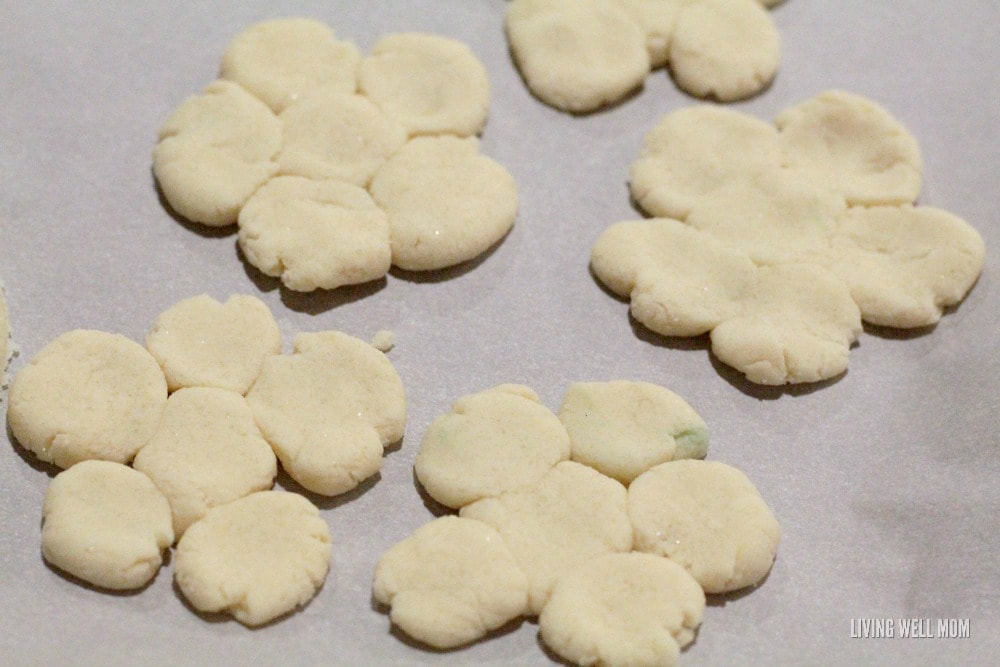
Now comes the best part: have your kids press each petal flat with their thumb, making sure every petal connects to the center so the flower holds together once baked. This step is where all that fingerprint magic happens, so let them take their time and really get their thumbprint in there.

Once your flowers are shaped, bake them at 250°F for 1 hour, then flip and bake for another hour. This low, slow bake is what hardens the dough without cracking it.
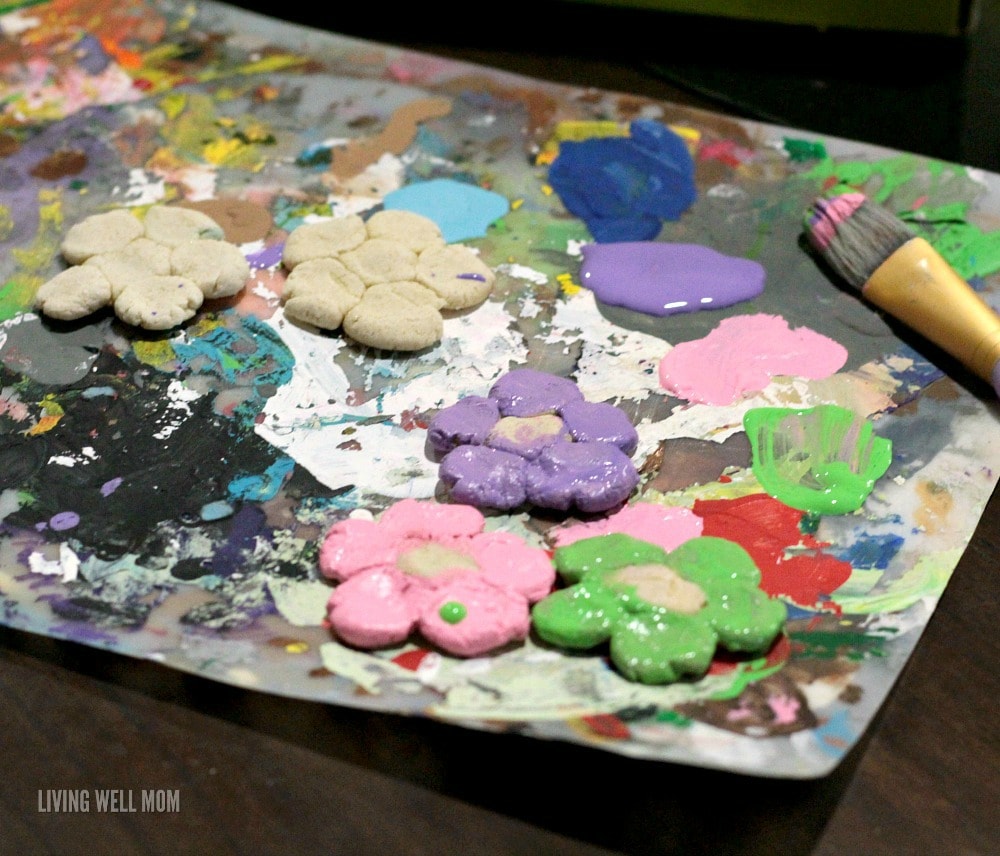
Let the flowers cool completely, then bring out the paint. We love spring pastels — pink, blue, and green petals with bright yellow centers — but let your kids choose their own colors too.
Once the paint is fully dry, flip the flowers over and hot glue a coin magnet to the back of each one.
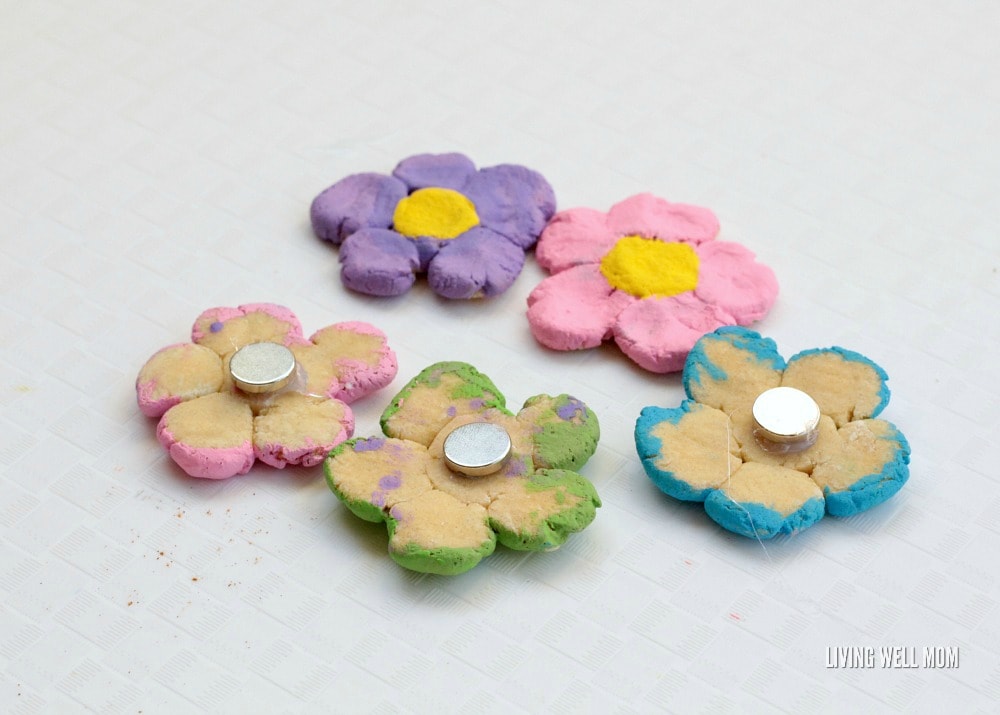
Let the glue set for a few minutes, then they’re ready to stick straight on your fridge or any metal surface.
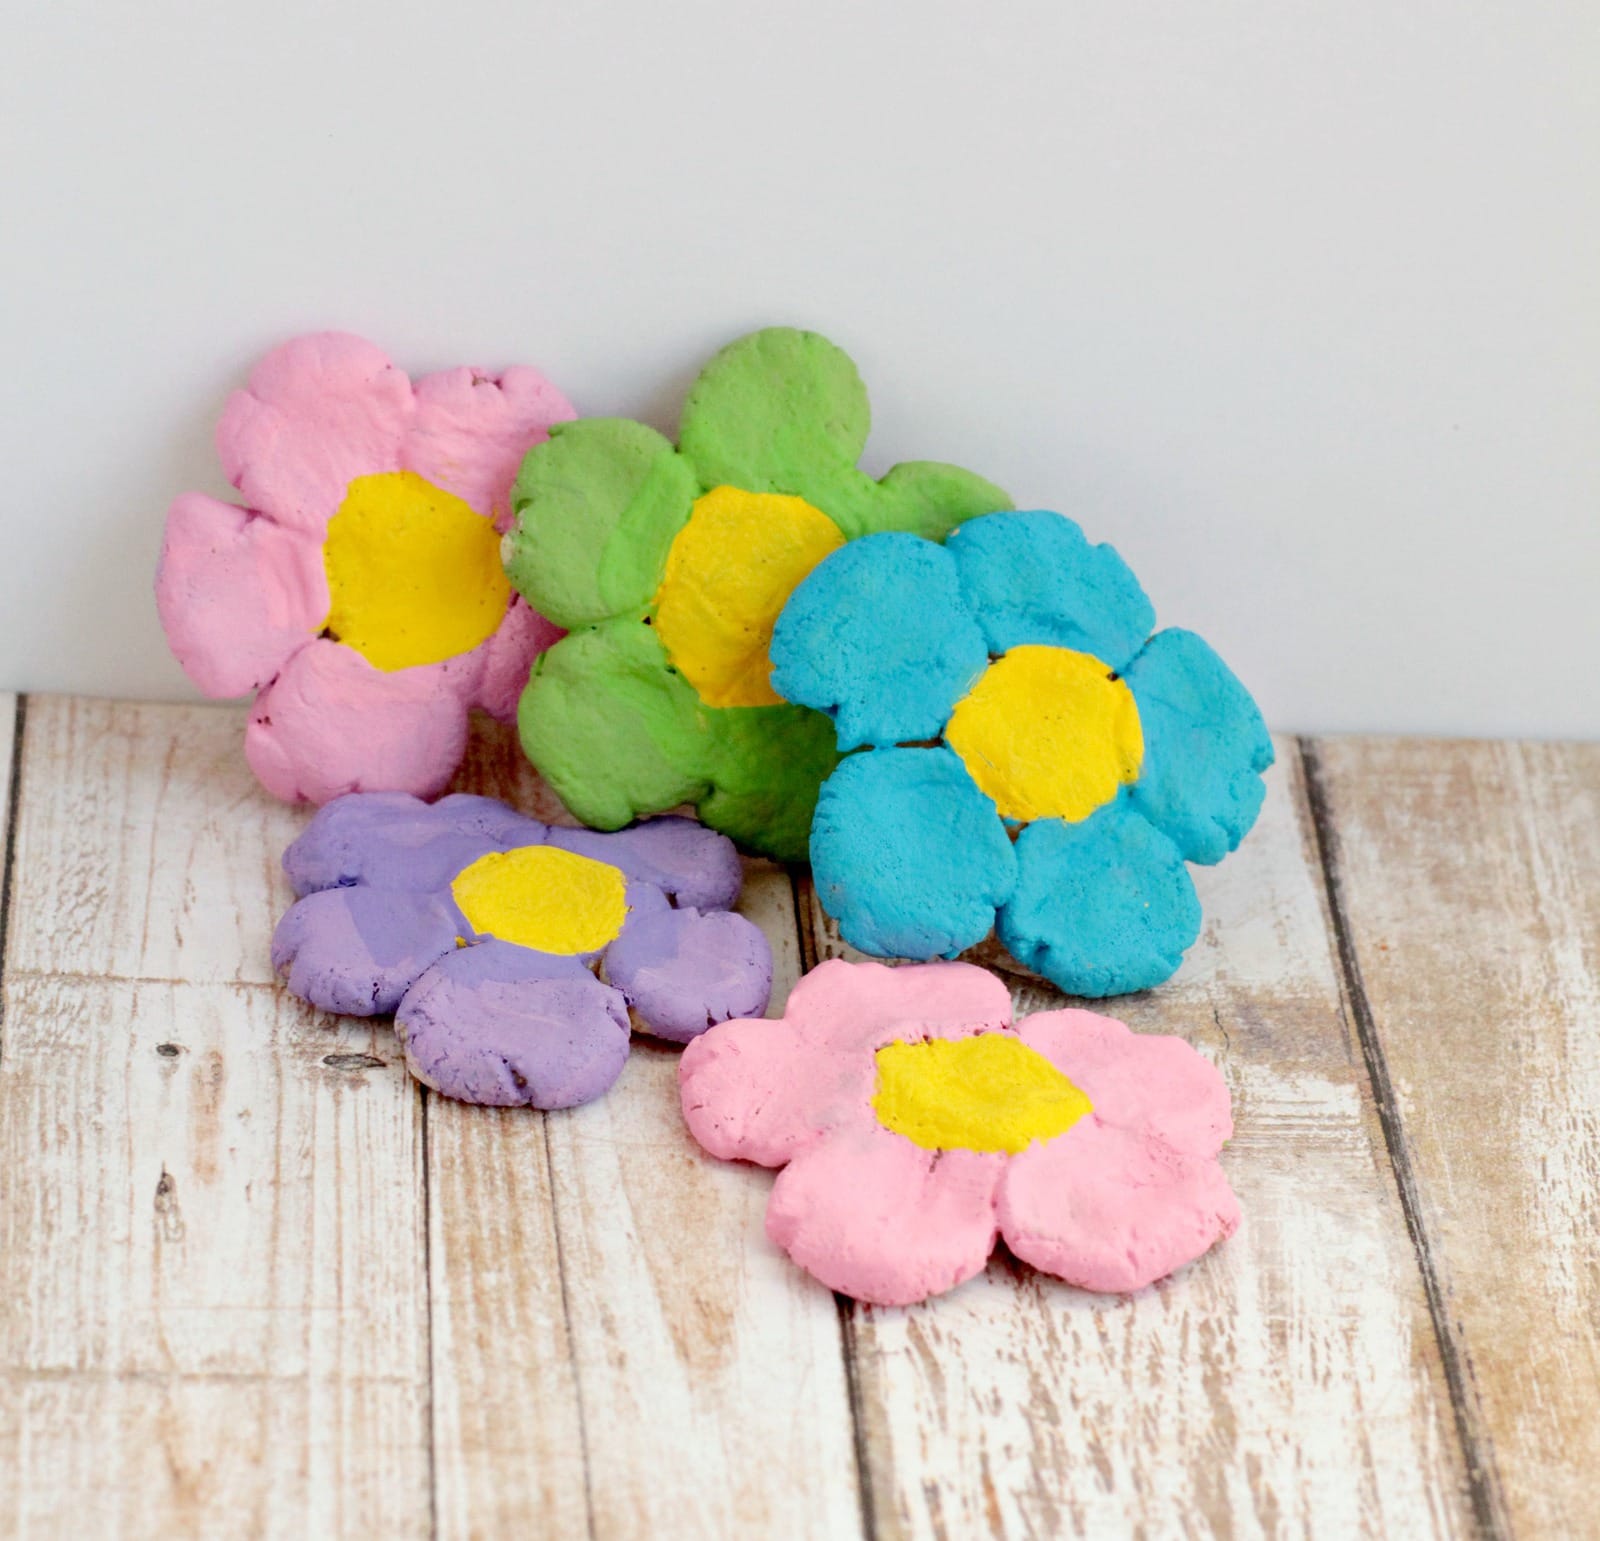
My kids were delighted with this project and tried sticking the salt dough flower magnets to every surface in the house. Of course, they would only stick to the metal surfaces! This ended up being a fun and quick lesson in magnets and what makes something magnetic too.
Storage
These magnets don’t need any special storage — once they’re baked, painted, and sealed with the magnet, they’re shelf-stable and can live on your fridge indefinitely. If you want to store extras, keep them in a box or drawer away from humidity, since salt dough can soften or warp if it gets damp over time.
If you have leftover unbaked dough, wrap it tightly in plastic wrap and refrigerate for up to a few days, or freeze for longer storage. Let it come to room temperature before reshaping.
Tips + Tricks for the Best Salt Dough Flowers
- Keep the dough ratio exact. Too much water makes the dough sticky and hard to shape; too little makes it crumbly.
- Press petals firmly together. Gaps between the petals and center are the #1 reason flowers crack apart during baking.
- Bake low and slow. Don’t be tempted to crank up the oven temp — a low, long bake prevents bubbling and cracking.
- Let pieces cool completely before painting, or the paint won’t adhere evenly.
- Seal for extra durability. A light coat of clear sealant or Mod Podge over the dried paint helps protect the color and adds shine.
Variations
- Handprint flowers: Instead of thumbprint petals, try pressing a full handprint into a larger piece of dough for a sunflower-style design. This would make such a cute mother’s day gift idea!
- Ornaments instead of magnets: Skip the magnet and poke a small hole at the top before baking, then thread ribbon through for a hanging keepsake or ornament. Or, check out our salt dough ornaments for more ideas!
- Seasonal colors: Swap spring pastels for fall oranges and reds, or red and green for a holiday version.
- Glitter finish: Mix a little glitter into the paint or add a glitter topcoat for extra sparkle.
Leave a Reply