One of my favorite parts of the Christmas season is all the holiday baking! However, just like you, I’m a busy mom, so I’m always looking for easy recipes that look—and taste—amazing. That’s why this easy peppermint cake recipe is my go-to each year!

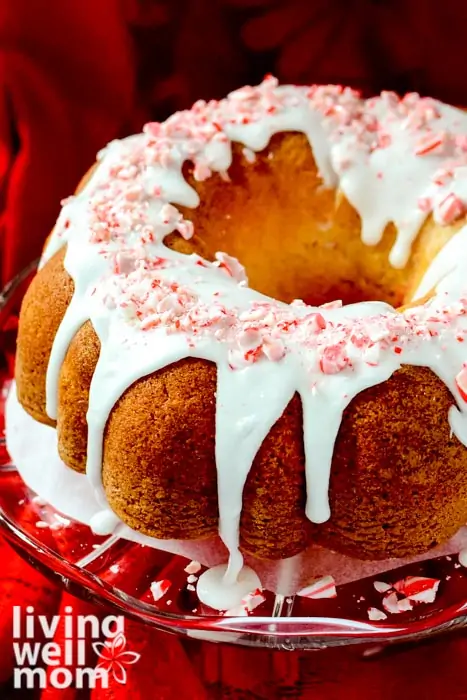
This delicious, festive dessert is baked in a bundt pan, drizzled with icing, and topped with crushed candy canes for the prettiest Christmas bundt cake ever.
This cake has all the cozy holiday vibes—sparkling lights on the tree, Bing Crosby on the radio, and the cool flavor of peppermint in every bite.
Best of all? It’s simple to make and can even be baked ahead (in under an hour!), so you’ll spend less time in the kitchen and more time enjoying the season with your family.
Why You’ll Love This Peppermint Cake
- Festive and fun – candy canes make it instantly holiday-ready.
- Quick to make – about an hour start to finish.
- Family-friendly – kids and adults love the light peppermint flavor.
- Make-ahead option – bake it the day before and frost when ready.
- Perfect for parties – everyone will be impressed with this beauty!
- Not overly heavy – this candy cane cake is not too rich or overly sweet. This is a great option for a lighter dessert.
- No special skills needed – bundt cakes look impressive without the extra work! Plus, the bundt shape makes it super easy to slice and serve too.
Looking for more holiday desserts? These frosted eggnog cookies have just the right amount of eggnog-inspired flavor!
Ingredients
Here’s what you’ll need to make this yummy cake:
- 1 package white cake mix or you can make your own white cake batter from scratch*
- peppermint extract – this is important to get that yummy peppermint flavor
- red food coloring
– part of the magic of this cake is that it has a colorful ribbon swirled through the layers of the cake
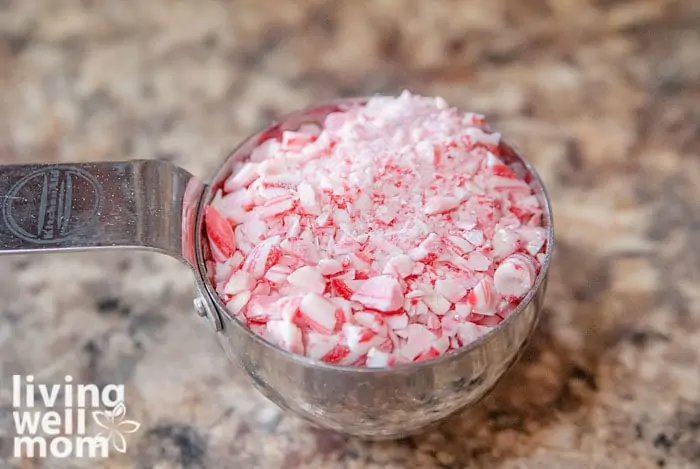
- crushed peppermint candies – don’t have peppermint candy on hand? Just grab a few peppermint candy canes off your tree!
- powdered sugar – if you don’t have powdered sugar, you can add regular granulated sugar to a blender and give it several blitzes
- milk – full fat tastes best, but use what you have on hand

Plus, don’t forget a nonstick bundt cake pan too!
*I made my own white cake batter from scratch – mainly because I didn’t have a white cake mix in the house and it was quicker to do it by hand than run to the store. So that’s up to you.
Instructions for Making the Peppermint Cake
Making this Christmas bundt cake is so simple!
First, mix up your cake batter according to the package directions or your own from-scratch recipe. I recommend doing this in a stand mixer or by using an electric mixer on medium speed.
Then, take 1 cup of the batter and pour it into a small bowl. This is how we are going to set aside the peppermint cake layers from the white cake.
Add the half teaspoon peppermint extract to the small bowl with the batter.
Tip: don’t overdo it with this one – too much peppermint extract will make a recipe icky. Trust me – I did that once – NOT good flavors, unfortunately.
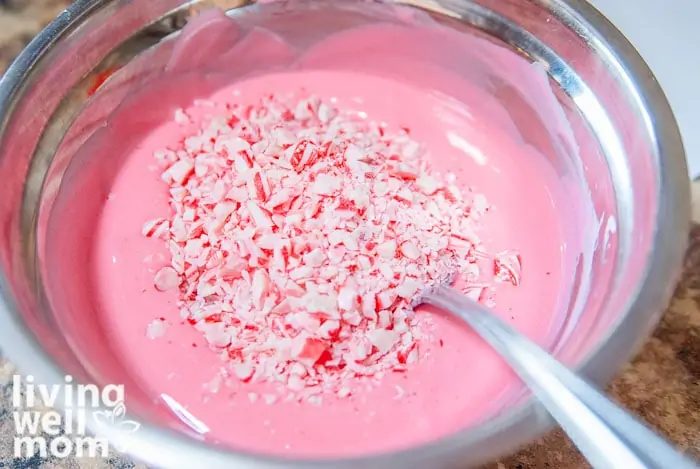
Then add the red food coloring and crushed peppermint candies. Simply put the candy canes (or candies) in a zip topped bag and seal it. Next, pound them with a hammer or something heavy.
Just make sure you use a regular zipped storage bag and not a produce one with the little air holes. I accidentally grabbed a produce bag and oops – there were peppermint bits all over the counter! But of course, you would never do that, right?
Next, mix it all up really well to create the peppermint layer! Isn’t that pink and red combo pretty?
Now we’re going to add the batter to our cake pan. You’ll need a bundt pan or tube pan. Grease and flour it well – or use my favorite kitchen helper – Baker’s Joy nonstick spray
How to Layer the Cake
First, spoon 2 cups of the white batter into your cake pan.
Then, spoon the red peppermint cake batter on top of this. Do not swirl the batter.

Don’t worry about covering it perfectly – you won’t notice either way. Then top with the remaining plain batter. Again it doesn’t have to be perfect.

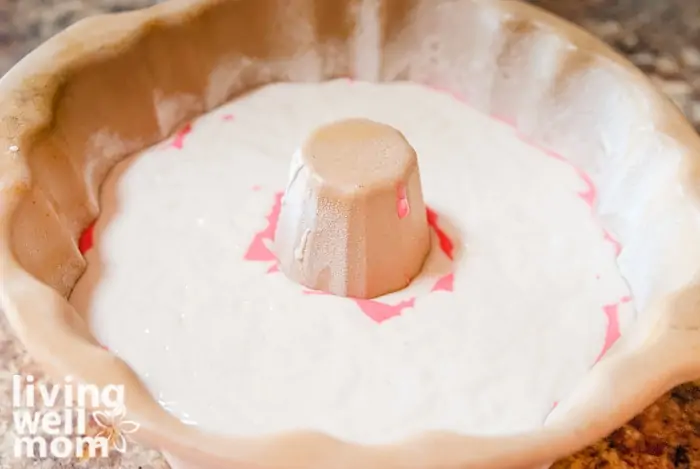
Now again, do NOT swirl the batter with a knife. Resist the temptation! Just leave it and put it in the oven like this.
Bake at 350° for 35-45 minutes or until it tests done. You know by testing with a toothpick and checking to see if any batter sticks to it.
Cool for 10 minutes before removing it from the pan onto a wire rack.
Let it cool completely.
Ice the Cake
Next, we’ll make the icing. Don’t be nervous – this part is so easy. Whisk together the cup powdered sugar and milk using a fork.
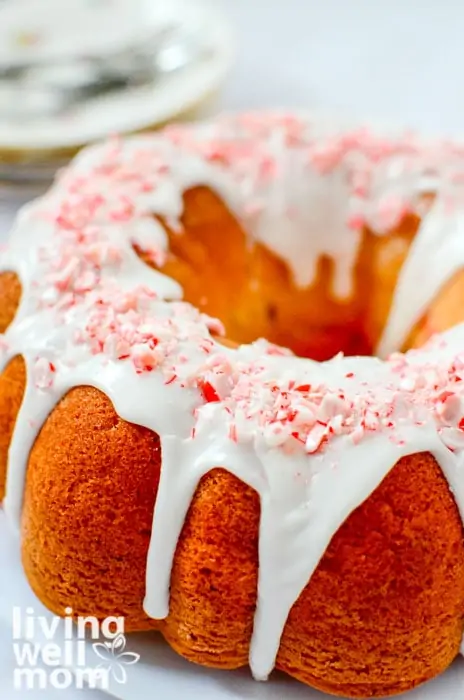
Then drizzle the icing over the cake. I took the fork and drizzled the icing over the peppermint cake with it, but use whatever method works best for you. Try out a spoon, spatula, whatever.
Lastly, sprinkle the remaining crushed peppermint candies or candy canes on top.
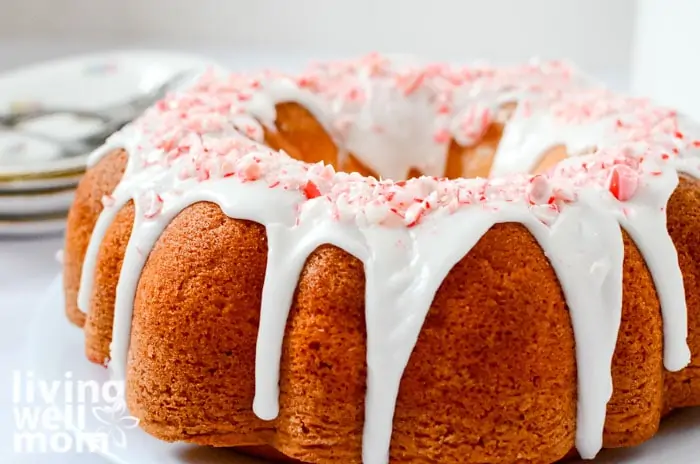
Look at your beautiful cake! Doesn’t it look festive?
Warning: this candy cane cake won’t last for long!
How to Store the Christmas Bundt Cake
We rarely have leftovers of this cake, but if you do, the bundt cake can be store in a large airtight container or bundt cake keeper.
Since it has milk in the glaze, I’d recommend storing it in the fridge. When you want to enjoy a slice, let it sit out on the counter for a few minutes to come back to room temperature. Enjoy!
More Christmas Baking Recipes:
- Gluten Free Frosted Ginger Cookies
- Chewy Caramel Cookie Bars
- Chocolate Mint Cookie Sandwiches
- Soft and Chewy Gluten Free Sugar Cookies
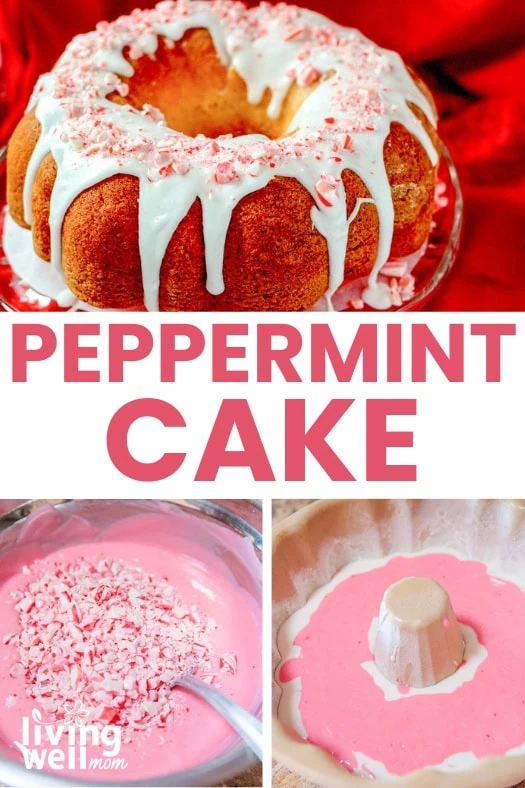
Peppermint Candy Cane Bundt Cake

This delicious and festive candy cane bundt cake is perfect for a holiday get-together. It looks impressive yet it’s super easy to make!
- Prep Time: 20 mins
- Cook Time: 40 mins
- Total Time: 1 hour
- Yield: 8–10 servings 1x
- Category: Dessert
- Method: Baking
- Cuisine: American
Ingredients
- 1 package white cake mix (18.24 oz)
- + ingredients for cake mix
- 1/2 tsp peppermint extract
- 1/2 tsp red food coloring
- 1/2 cup + 2 tablespoons crushed peppermint candies, divided
- 1 cup confectioners sugar
- 1 tablespoon milk
Instructions
- Prepare cake batter according to package directions. Transfer 1 cup to a small bowl; stir in extract, food coloring, and 1/2 cup crushed candies.
- Spoon 2 cups of remaining batter into a greased and floured 10″ fluted tube pan or bundt pan. Carefully top with peppermint batter; do not swirl. Top with remaining top batter.
- Bake at 350° for 35-45 minutes or until a toothpick inserted near the center comes out clean. Cool for 10 minutes before removing from pan to a wire rack to cool completely.
- Combine confectioners’ sugar and milk; drizzle over cake. Sprinkle with remaining crushed candies.
Notes
*Nutritional facts provided are only an estimate, accuracy is not guaranteed.
Carrie Phelps says
This is beautiful & so going to make it to my table for Christmas. Thanks for the recipe!
Erika says
You’re welcome!
JDaniel4's Mom says
This really looks delicious! What beautiful cake.
Karly says
So pretty!
Brianna Williams says
I made this cake last year and am making anither one now. It is so delicious and everyone loves it! This is great recipie that is easy and quick. Highly reccomend trying it!
Cathy says
My whole family LOVES this cake!! It says a lot because I have a VERY picky family! Thank you so much for this amazing recipe. This recipe has been added to our recipes for a lifetime! ❤