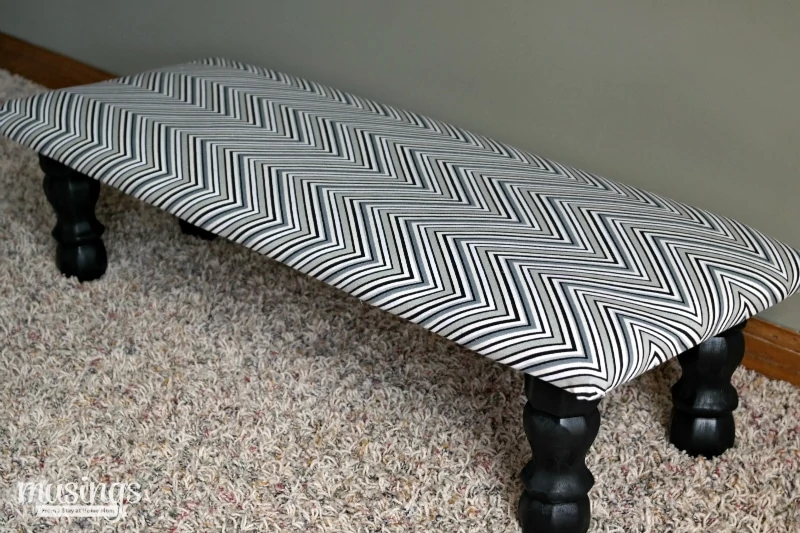
We’ve been doing a lot of rearranging in our home the last several weeks. Some of it has been spring cleaning but a lot of it has been making changes to the house to accommodate three little boys who are changing and growing. We’ve been creating better storage options for toys and rethinking our furniture uses and arrangements. This weekend we made an adorable DIY Bench to go in our play area. It was easy to make and affordable!
Supplies:
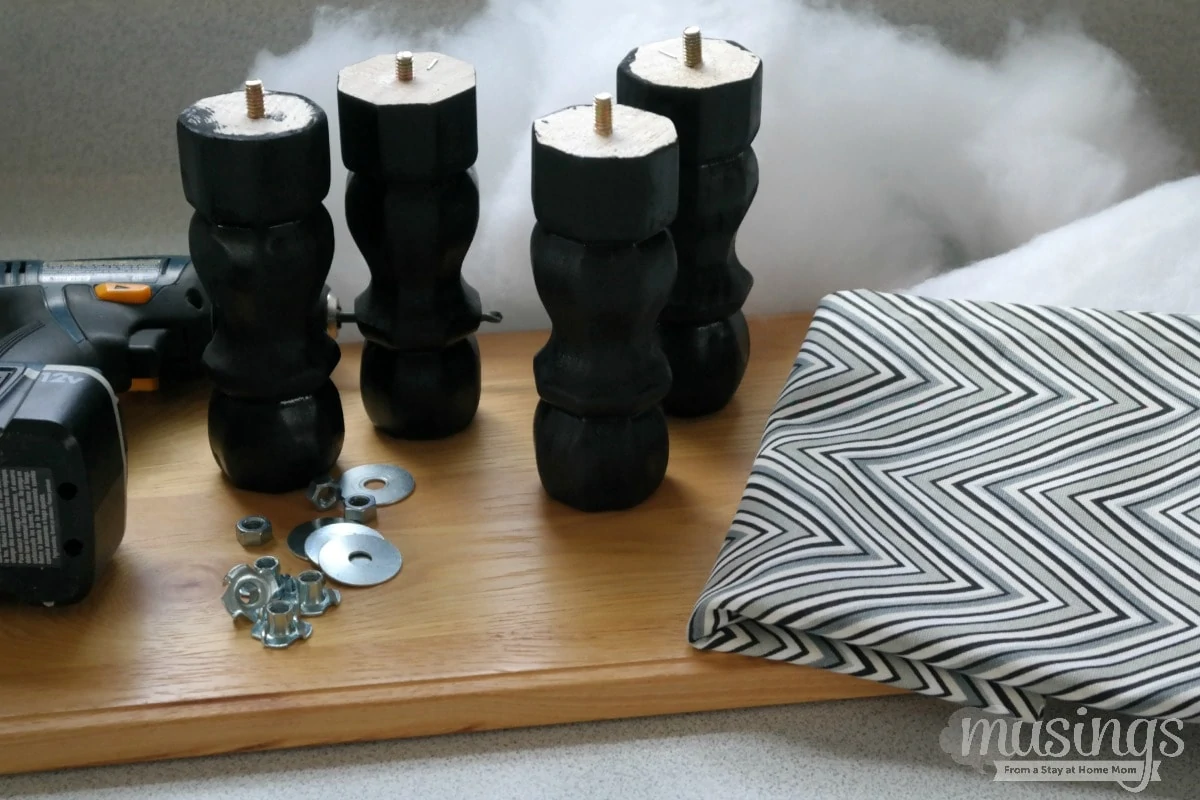
- 1 sturdy wooden board – size can vary based on how big you want the bench
- 4 wooden legs – height again can vary based on how tall you want the bench
- fabric
- polyester filling and quilt batting
- staples and stapler
- insert nuts that match the leg screws – you’ll find these in the specialty hardware area
- drill with bits that the insert nut packaging calls for
Instructions:
Begin by cutting your board to size. You can find boards at the home improvements store already cut to size or cut them yourself. I used an old cabinet drawer front that is solid wood that I found at the thrift shop. You could also use an old wooden shelf. This is a great way to up-cycle old items!
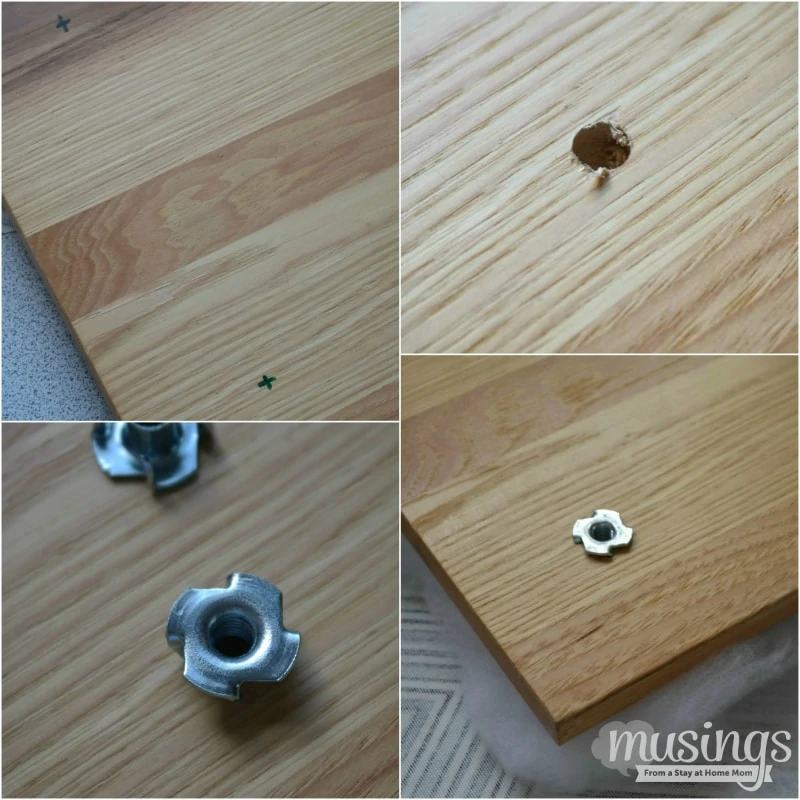
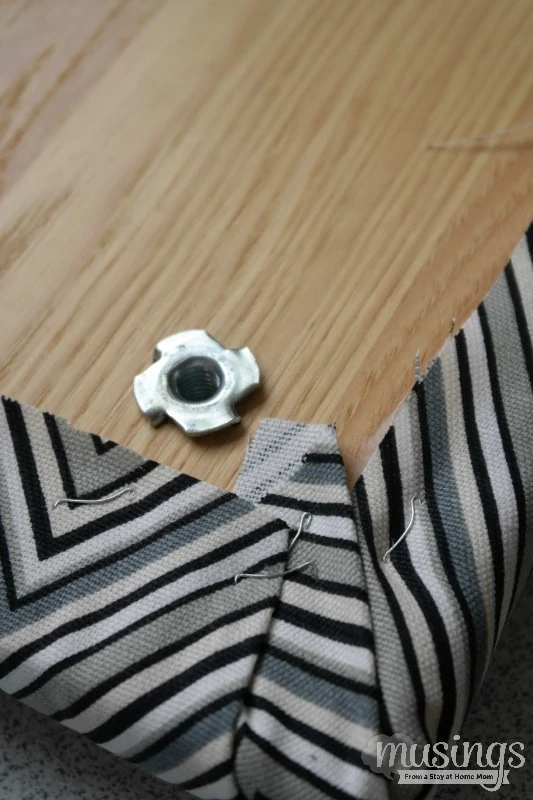
Once your board is cut to size you’ll want to insert the nuts into the bottom side. Measure and mark the four corners of the board where you will want the legs to be placed. Follow the package instructions and drill a hole the correct size for each leg. Depending on the insert nut type, hammer the nut into the hole or use a hex screwdriver to get it into place.
Next finish the legs with stain or paint of your choice or leave bare. A lot of times these can be purchased at thrift shops like Habitat ReStore for only a few dollars. If you’re painting your legs or staining them be sure to apply two coats and allow adequate dry time between coats and after.
While the legs are drying begin covering your bench top. You’ll want to cut the fabric approximately 6″ longer and 6″ wider than your board. This will give you plenty of fabric to wrap around the board and secure on the bottom side. You’ll cut the quilt batting about this same size.
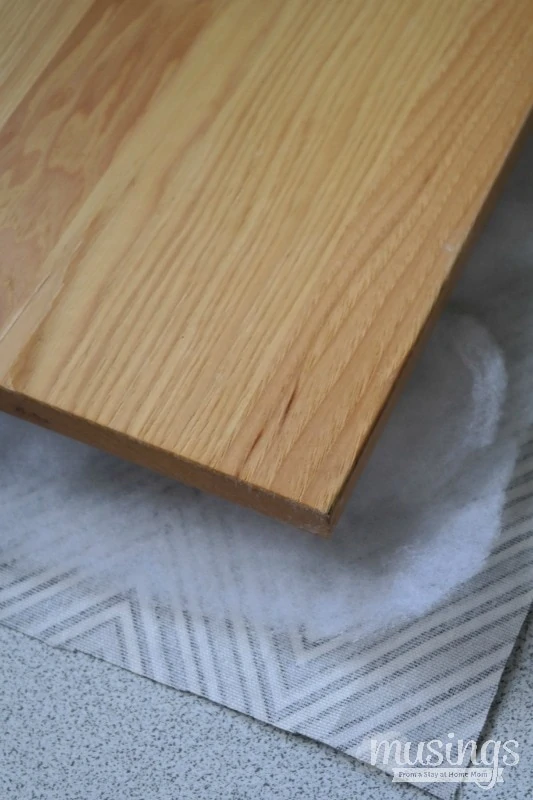
Place the fabric face down on your work surface. Layer the quilt batting on top of the fabric. Add a thick layer of polyester filling to the quilt batting. This will give the bench a little padding to be more comfortable for little bottoms!
Place the board over top of the filling, batting, and fabric. Make sure the insert nuts are facing out!
Fold the batting and fabric tightly over the filling and staple to the underside of the board on all edges. I did the two long sides first and then the shorter sides. You may have to work with the corners a little to get them to lay just right.
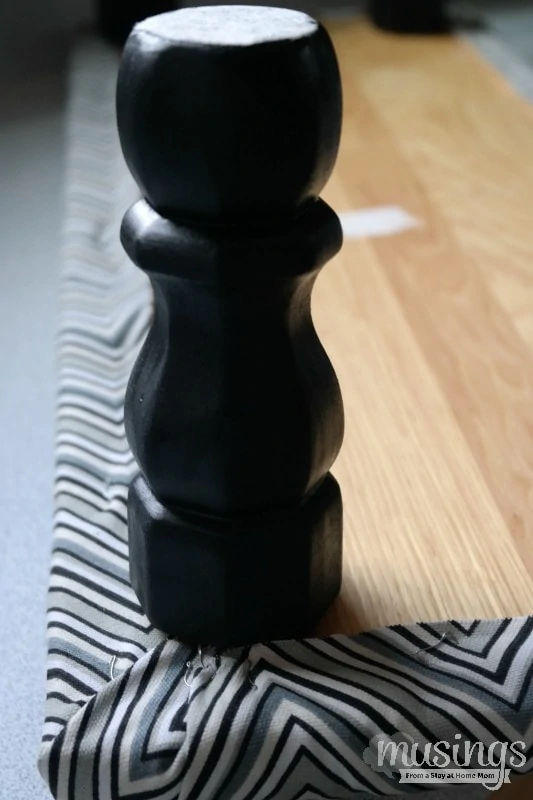
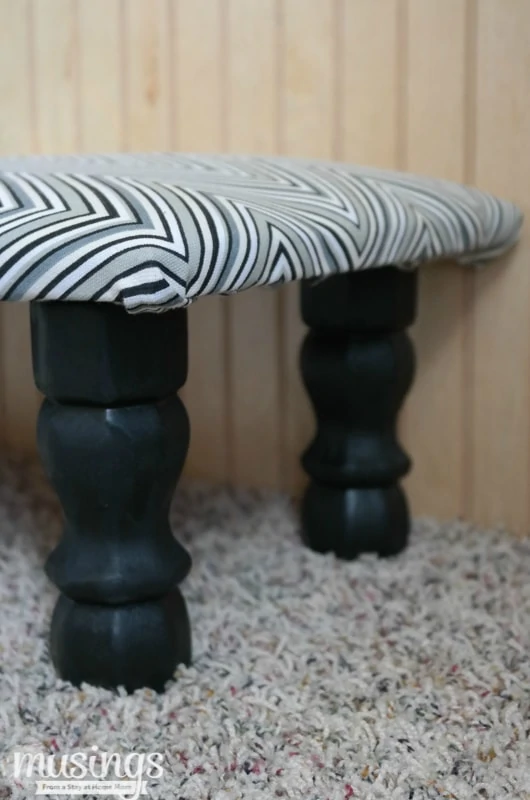
To finish the bench simply thread the legs into the insert nuts…
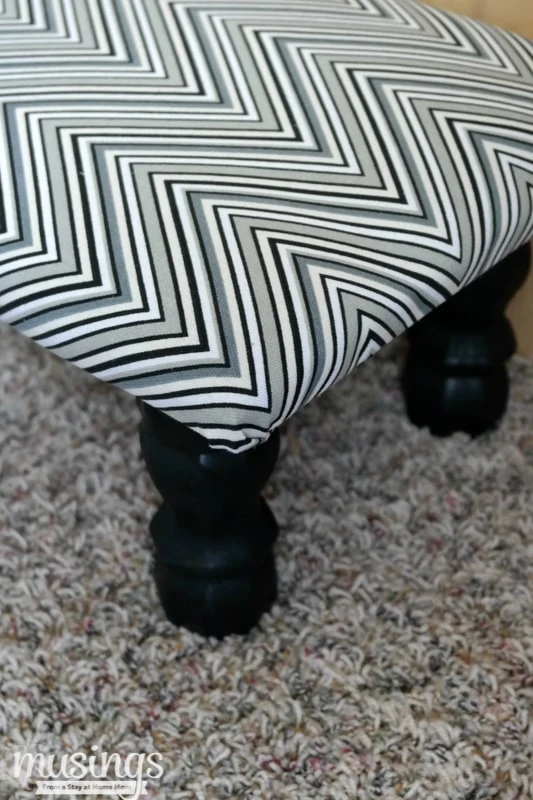
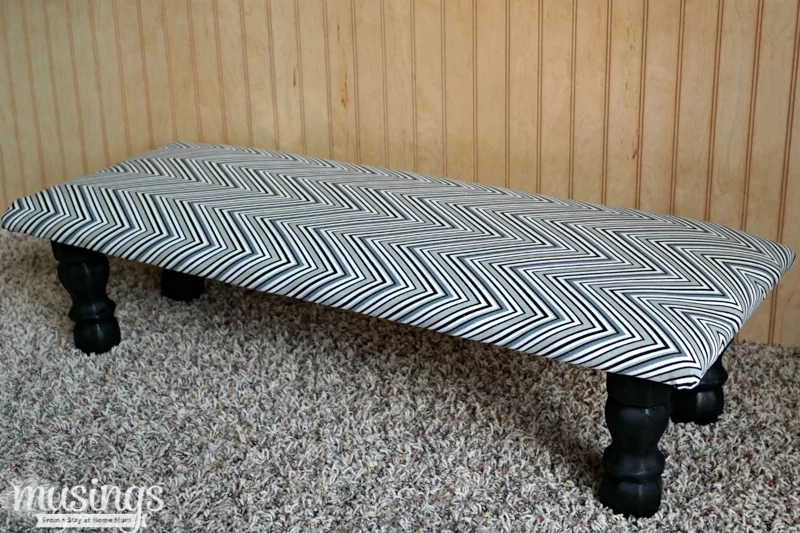
…and turn your bench over!
You can put the bench anywhere you need it – in the kids’ playroom or by the front door as a place for the kids to put on their shoes.
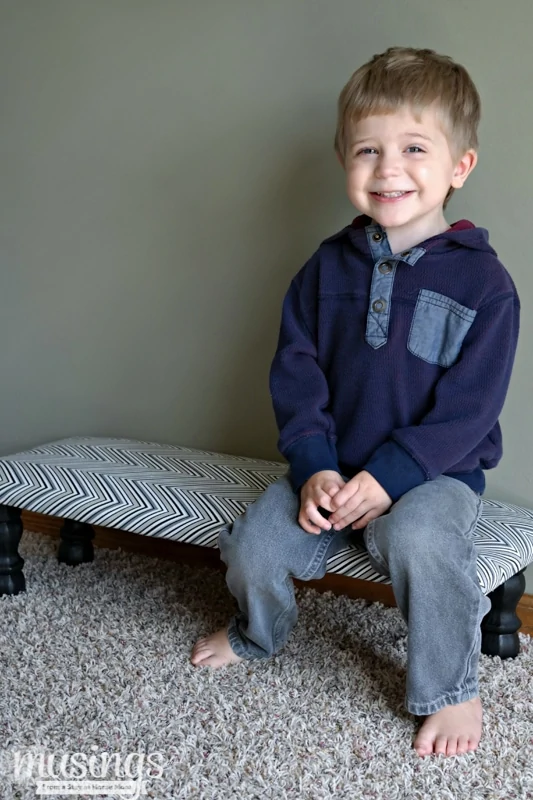
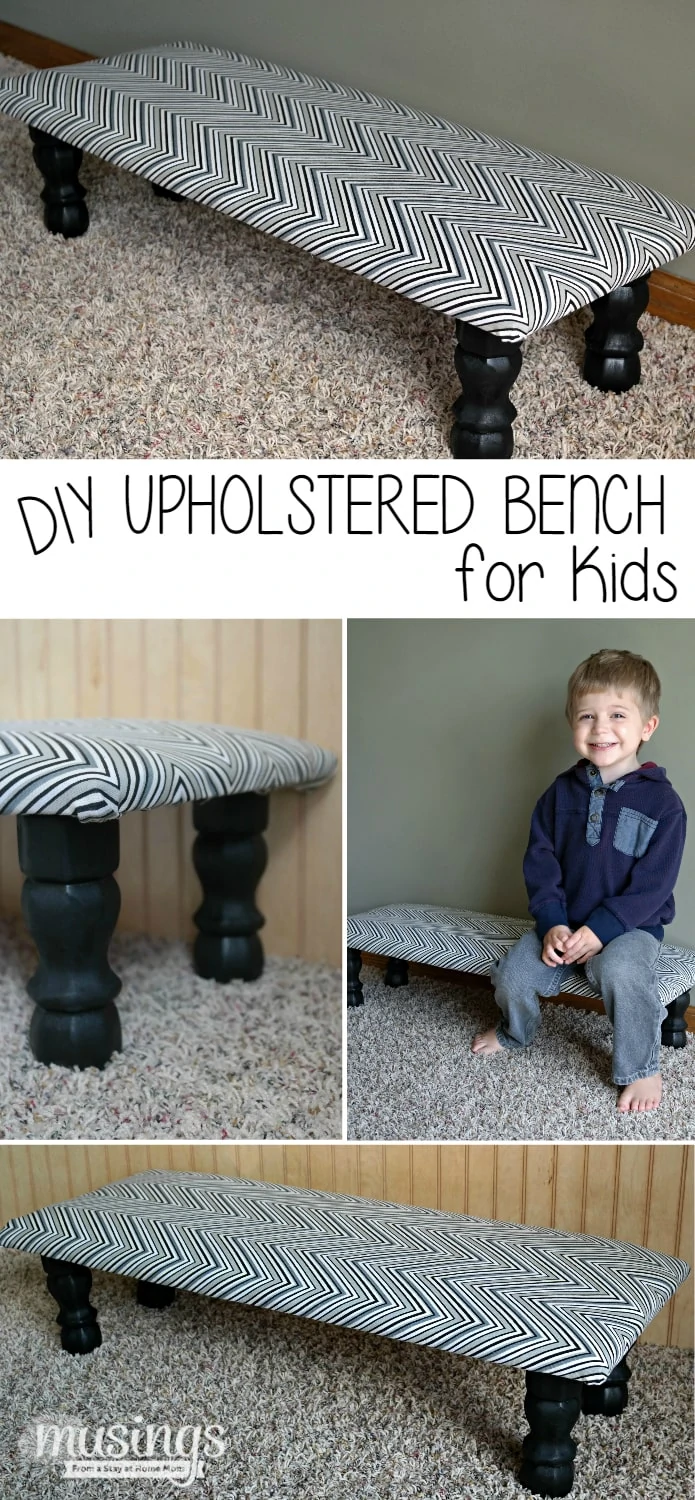
This bench is perfect for my little guys and I love how much they love it!
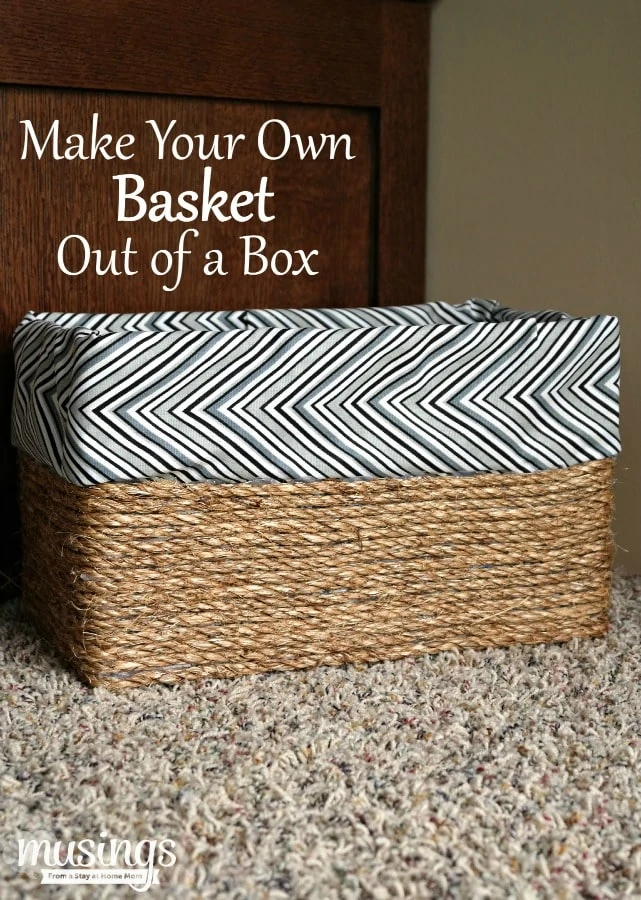
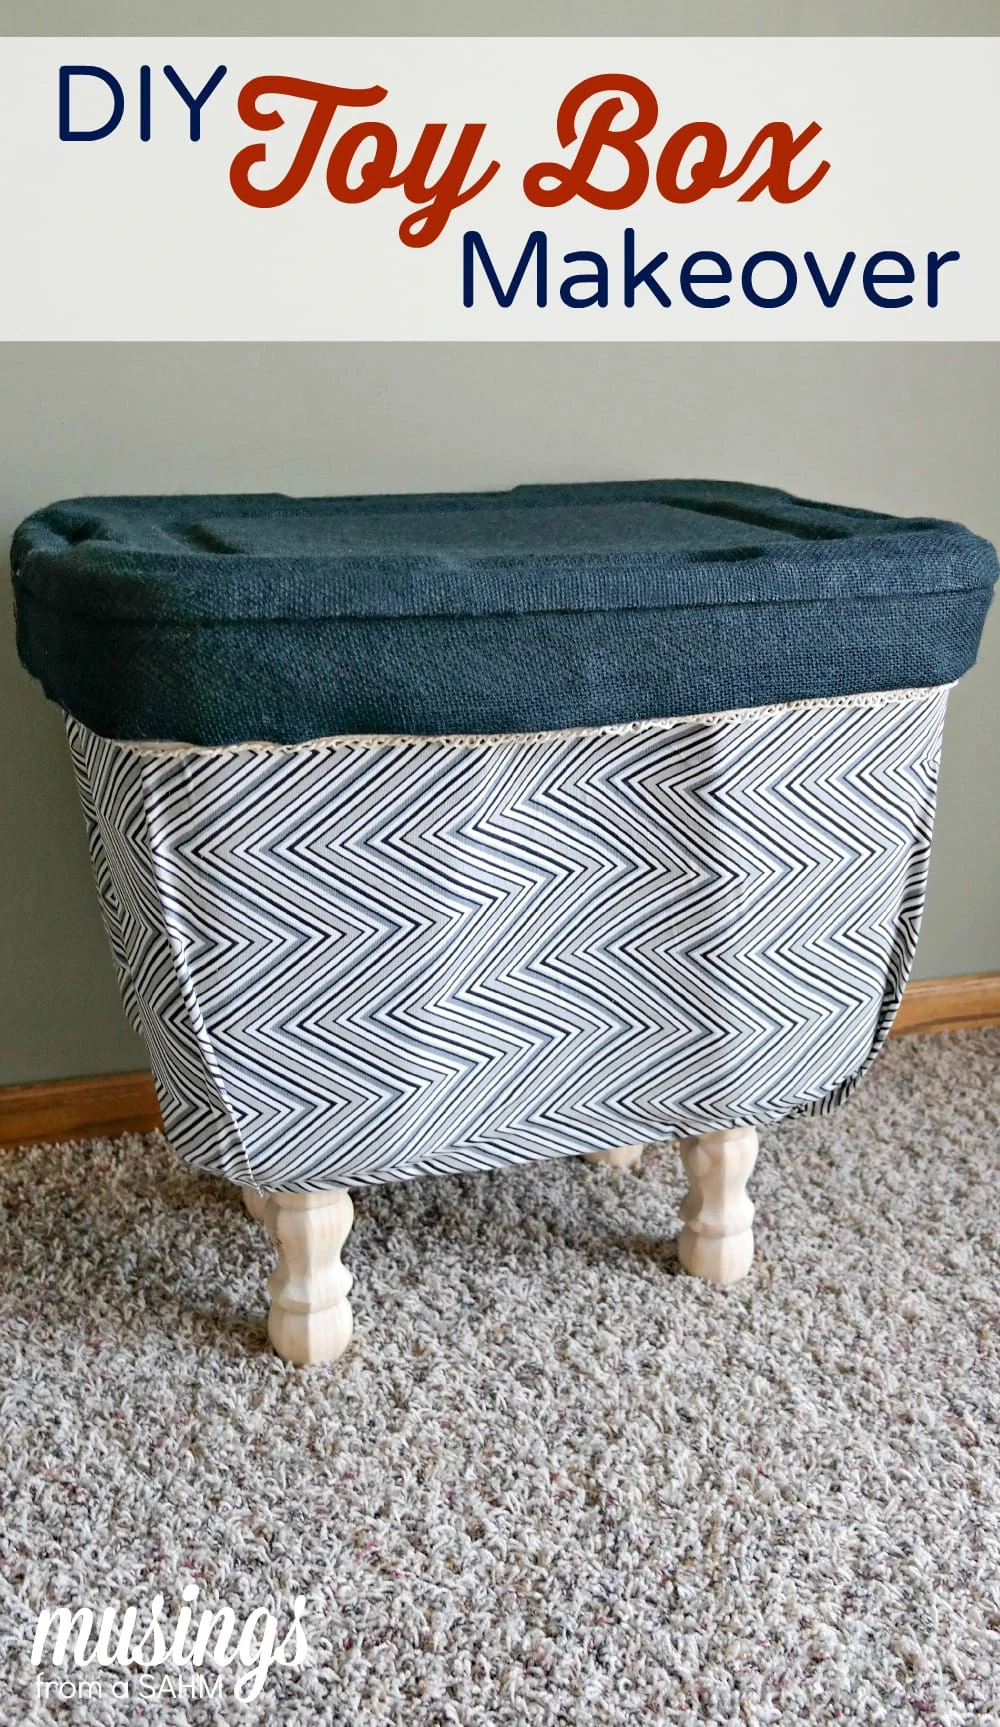
I made the bench to match my Toy Box Tote and my Basket Out of a Box. I love that the fabric is the same – everything looks great together in the play area in our living room.
I love it so much, I’m already planning a larger version of this upholstered DIY bench to use at our dining room table!
Check out these other great DIY projects while you’re here:
Marria says
Messy zone is common problem which home has kids. I am one of them. I have to busy max time to arrange of my kids messy toys. It’s really tough. I am searching how to get rid from messy toys. Thanks for sharing amazing ideas. It’s really helpful for me. Now i am free from my kids huge messy toys. Thanks for helping to buy toy storage bench ideas. It’s can multi purpose. Really helpful guideline.
Monika Quernheim says
Very good idea!
Rosa says
Really Amazing idea! Mess is common problem in every home which have child. My house also a messy zone because of my kids huge stuffed animal. I have to busy max time to arrange of my kids messy toys. It’s really tough. I am searching how to get rid from messy toys. Thanks for sharing amazing ideas. It’s really helpful for me. Now i am free from my kids huge messy toys. Thanks for helping to buy toy storage.