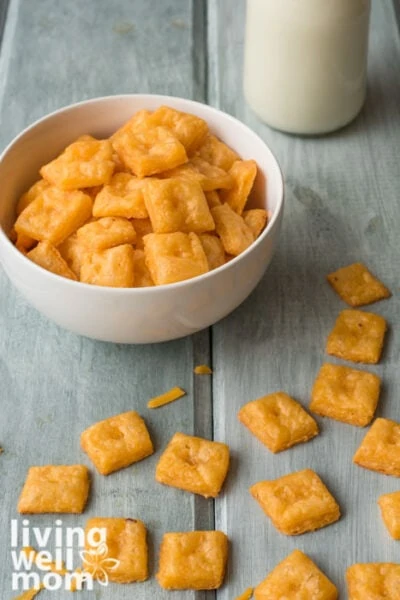
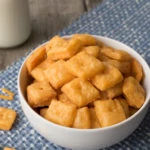
If you are looking for a nutritious snack that your children will go crazy for, look no further than these homemade cheese crackers! You won’t believe how much flavor is packed into each tiny square or just how easy they are to make!
I’ve been on a quest to replace processed foods in my kitchen with healthier options. It’s been a gradual process because it’s not realistic or affordable to switch everything all at once. At least gradual is working for me, and I’m happy that my family is eating healthier now than ever before.
Homemade Cheese Crackers (aka DIY Cheez-Itz!)
Cheez-Its have always been a favorite snack for my kids, and they are tasty. I’ll give them that. I’ve been known to enjoy them as a snack too. But while Cheez-It’s aren’t a bad snack, they’re still processed, so they’ve been added to my “avoid-if-possible” list.
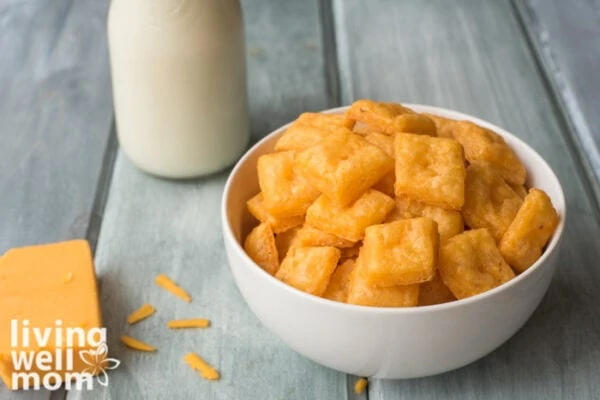
And then I found a recipe for Homemade Cheese Crackers (aka a Cheez-It copycat!).
Making your own little square cheddar crackers is surprisingly simple. The first time I tried it, I was like, “Really? That’s it?!” It was one of those “Why haven’t I tried this before?” moments.
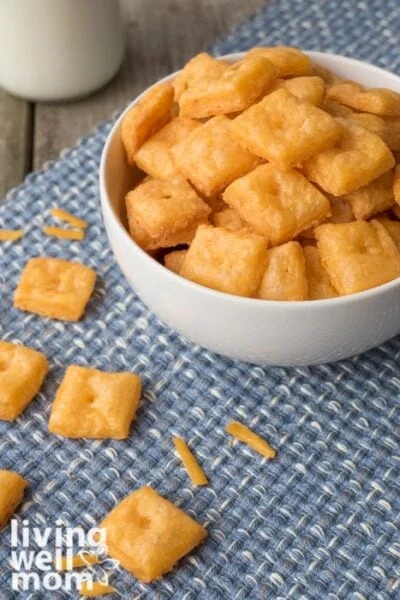
These cheese crackers taste a little different from the store-bought kind, but that’s probably because they’re made with fresh ingredients and have no preservatives other than a little salt for taste.
As a heads up, the texture is slightly different. These are not as crispy as the processed version, though I found you can bake them for just slightly longer to increase the crisp factor.
Kid-Friendly Lunch or Snack
My kids love these cheese crackers! Well, Emily won’t eat them right now, but she’s eight (going on sixteen), and her food preferences change right along with her mood. Which is often.
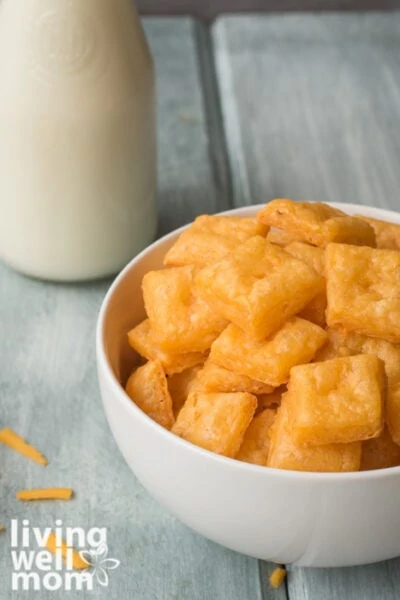
Since I stopped homeschooling and we put the kids in public school last fall, I’ve joined the lunch box wagon that so many moms ride on. It’s more challenging than you’d think to come up with a variety of healthy snacks. Add in picky kids, and it’s even more tricky.
We rarely (if ever) buy the school lunches because I don’t find them that nutritious. Plus, they’re expensive for what the kids get. So that leaves it all up to me. And I’m perfectly fine with that – it’s been kinda fun to figure out this challenge.
I love packing a bag of these crackers with the kids’ lunches and knowing that I know exactly what they’re eating today. Plus, they have lots of protein thanks to the real cheese, butter, and milk, so it will help keep the kids fuller longer than a bag of pretzels or whatever old snacks I used to pack.
Even if your kids don’t go to school, everyone appreciates a delicious homemade cracker! Use these as a complement to a meal—they go great with a big bowl of hearty soup. Or, serve them up as a tasty snack to munch on during your next family game night!
Easy Cheese Cracker Recipe
This recipe also checks the box of being incredibly simple to make. Mom win!
Would you believe me if I said there are only SIX ingredients in Homemade Cheese Crackers? You probably already have many of these at home! All you need is cheddar cheese, butter, flour, salt, a little milk, and optional red pepper flakes.
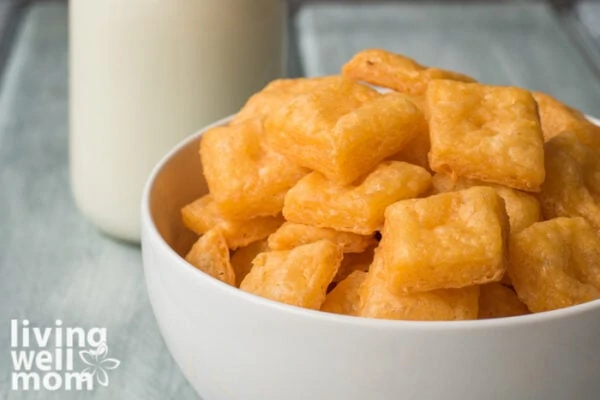
Have I convinced you yet that you need to try these? These cheese crackers are absolutely worth the effort.
Ingredients
- shredded cheddar cheese (I prefer sharp cheddar cheese, but you can also use mild)
- butter (softened and cut into chunks)
- all-purpose flour
- sea salt
- milk
- crushed red pepper flakes
(optional)
Supplies
- food processor
- rolling pin
- silicone mat
or parchment paper (for rolling out the dough)
- pizza cutter or knife
- something to poke holes in the crackers, like a chopstick (optional but recommended!)
- baking sheet
How To Make Cheese Crackers
First, preheat your oven to 350 degrees.
Then, put all of the ingredients except for the milk into your food processor and pulse until it forms into a dough.
Now add the milk – start with 1/2 tablespoon and pulse. Add more if it’s still too crumbly. It should look like this:
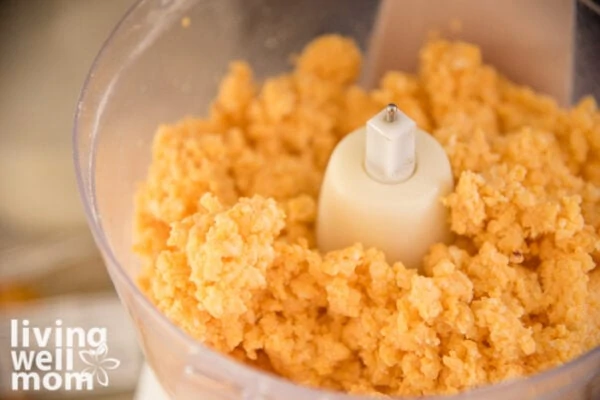
Just a quick note: I always double the recipe because one batch doesn’t last long with my four hungry kids. That’s why my food processor looks more full than yours might unless you double it too!
Turn all or half of the cheese mixture onto your silicone mat and knead it until it comes together in a ball – just for a quick minute or so.

Roll it out with your rolling pin. You want to aim for a square or rectangle shape. But if you’re like me, that never happens – and it’s okay. It doesn’t have to be perfect – just try to roll it out so that the thickness is fairly even. You don’t want it too thin, or it will burn.
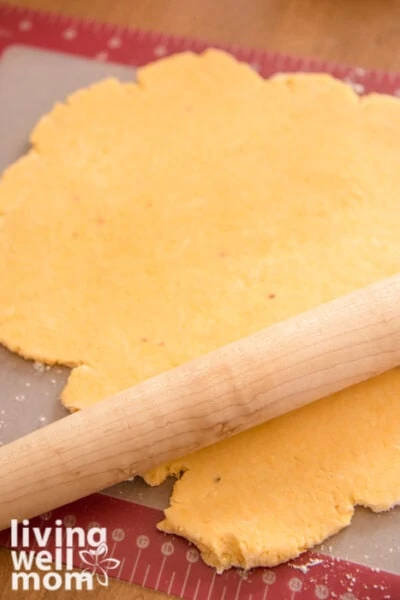
You’ll get the hang of it as you go!
Next, cut little squares using your pizza cutter. You can use a knife, but it’s quicker and easier with a pizza cutter. Again, don’t worry about it being perfect.
These are homemade, y’all! Be proud of your homemade efforts!
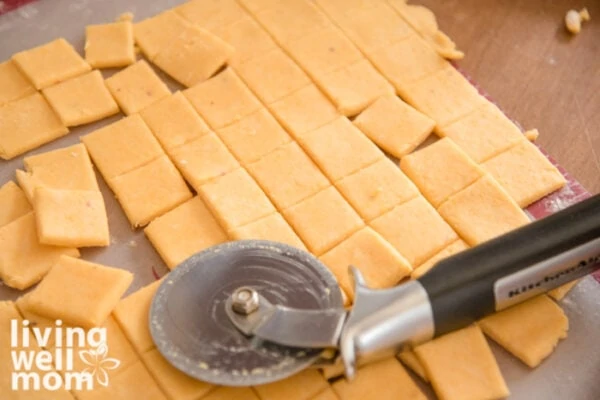
Grab a piece of parchment paper and line it on a baking sheet. Then, put the cheese dough squares on your greased or parchment paper-lined baking sheet. You can put them close together because they don’t spread too much.
(Later, if you do have some that bake together, you can just break or cut them apart.)
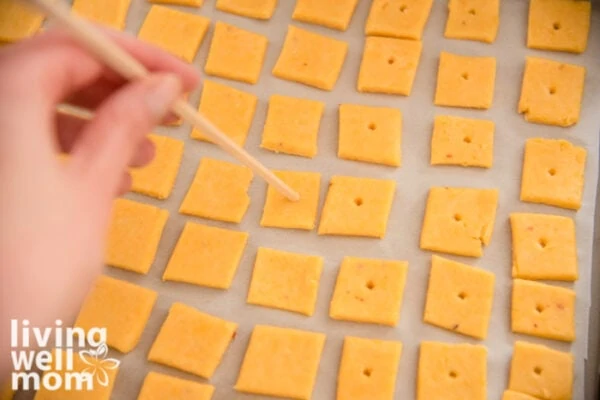
Use a chopstick or some other small object to poke little holes in the center of each cracker. This is completely optional, so you can skip it if you want. I do think it helps the crackers bake a bit more evenly and get that pretty golden brown color, though, so I recommend giving it a try.
Bake The Cheese Crackers
Bake your cheese crackers for 12-15 minutes. I usually start at 12 and add a minute or two on as needed. Bake until the edges are just starting to turn golden brown.
You can bake them slightly longer for crispier crackers, but keep a close eye on them because it’s easy to burn them once they reach that “crispy” point.
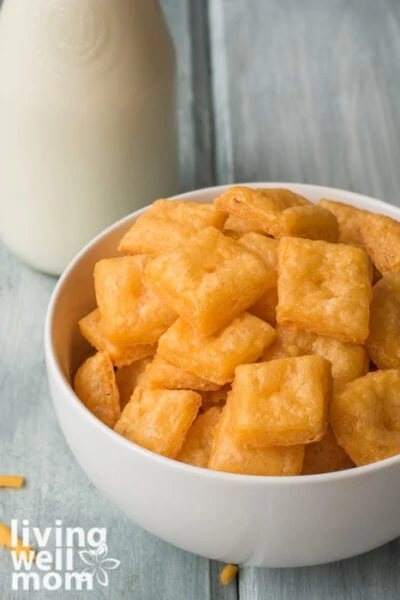
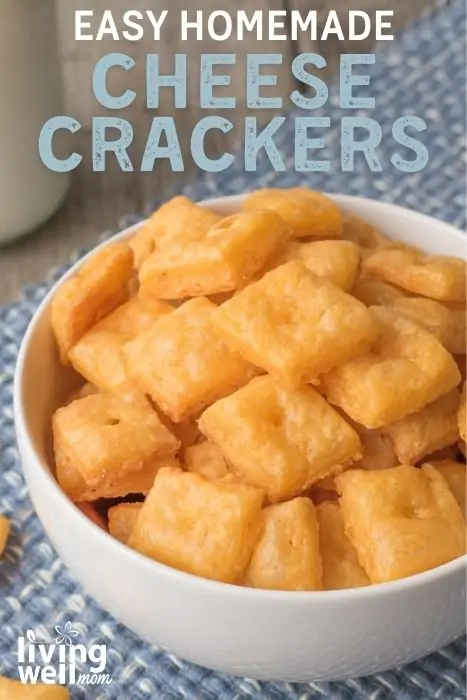
Let them cool on a wire rack for a few minutes before letting your kids have at ’em (or before trying a handful yourself). Believe me, they’re just as addicting as Cheez-Its!
Storage
Storing these cheese crackers is easy. Once they have cooled to room temperature, you can put them in an airtight container. They’ll keep fresh in the pantry or fridge for about 3 days.
You can also place the airtight container in the freezer if you want them to keep longer. Here, they’ll be good for 3-6 months, if you can get them to last that long! 😉
More Recipes For Kids
- Crispy Baked Chicken Nuggets With Just 7 Simple Ingredients
- 15 Minute One-Pot Easy Sloppy Joes
- Instant Pot Mac and Cheese (Gluten-Free and Kid-Approved!)
- Rainbow Fruit Salad…Kid-Approved!
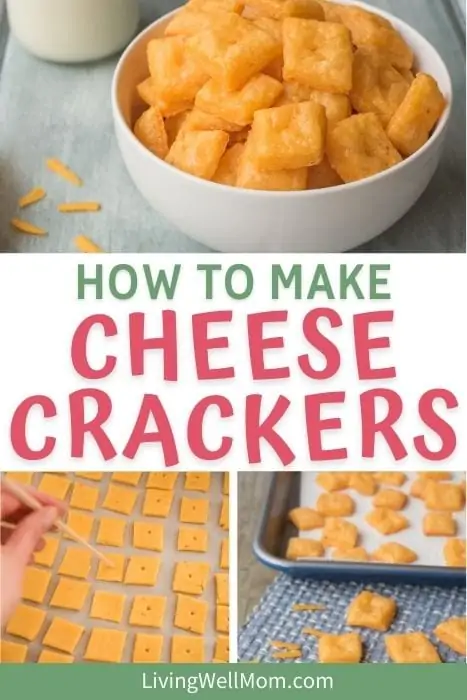
Homemade Cheese Crackers
A tasty homemade version of cheese crackers with just six ingredients.
- Prep Time: 20 mins
- Cook Time: 15 mins
- Total Time: 35 mins
- Yield: 50
- Category: snacks
- Method: baking
- Cuisine: American
Ingredients
- 6 ounces cheddar cheese, shredded
- 1/4 cup butter, softened and cut into chunks
- 3/4 cup all-purpose flour
- 1/2 teaspoon salt
- 1/2–1 tablespoon milk
- 1/2 teaspoon crushed red pepper flakes (optional)
Instructions
- Preheat your oven to 350 degrees.
- Put all 4 or 5 ingredients, except the milk, in your food processor and pulse until it forms into a crumbly dough. Add the milk – start with 1/2 tablespoon and pulse. Add more if it’s still too crumbly.
- Turn all or half of the cheese mixture onto your silicone mat and kneed it until it comes together in a ball. Just for a quick minute or so.
- Roll it out with your rolling pin. You want to aim for a square or rectangle shape, but it doesn’t have to be perfect. Just try to roll it out so the thickness is fairly even. You don’t want it too thin or it will burn.
- Next cut little squares using your pizza cutter.
- Put the cheese dough squares on your greased or parchment paper lined baking sheet. You can put them close together because they don’t spread too much.
- Use a chopstick or some other small object to poke little holes in the middle. This is completely optional, so you can skip it if you want.
- Bake your cheese crackers for 13-15 minutes. I usually start at 12 and add a minute or two on as needed. Bake until the edges are just starting to turn brown.
- Let cool and enjoy!
Robin Rue (@massholemommy) says
I love this so much. My little one is obsessed with Cheez-Its, so he is going to LOVE these.
susan says
My husband just loves these cheese crackers! To be able to make them at home, well I am sure he would be so happy!
Dawn says
Those look so yummy! These are pretty much home made Cheese Its! Yay!
Amy says
My kids love Cheez Itz so much! This recipe is super easy and tasty I bet!
Laura (Lauras Little House Tips) says
What a beautiful job you did. I love making crackers. It’s crazy how easy they are. Your photography is to be commended. I just love everything about this recipe. Kuddo’s.
Marcie W. says
My kids absolutely love cheese crackers, especially my son, and the thought of making them from scratch at home sounds amazing. I am sure they put the processed versions to shame!
Shauna says
I am totally making these… OH MY GOODNESS< I love cheese crackers and these sound delicious.
Felissa @ Two Little Cavaliers says
These cheese crackers sound super tasty! I love that there are only a few ingredients!
Tammileetips says
I never would have thought these were this easy to make!! They sound delicious, I have been trying to cut out processed foods as well.
Nancy @ Whispered Inspirations says
This is amazing! I know my kids would love them and I am always concerned with what’s in store bought crackers!
Becca Wilson says
I definitely pinned this for later to try. My kids love cheese crackers and these look so simple to make 🙂
kristin says
YUM! This looks easy and tasty. My girls would enjoy these.
Danielle H says
Ok, that was crazy simple. Definitely going to have to give this a try. I’d love to get all the processed junk out of our house.
Nolie says
My kids would love these. Thank you for sharing.
Ronni says
I love the idea of making these at home! The kids would love them too!
Coley | Coley Cooks says
Yes! My family loves cheeze-its, but I hate buying them – they’re full of so much crap. These look incredible! And I bet they’d be really good with some caramelized onion cheddar, too. I’m totally making these for Christmas. Thanks!!
Erika says
Thanks, Coley. Great idea!
Samantha says
Do you happen to know the nutrition facts? (How many per serving and how many calories per serving)?
Erika says
Hi Samantha, I don’t, but you can plug in the ingredients on any of the online calorie/nutrition counters and find your answer there.
Cora says
These look so good! How would you store them to keep them around a little longer?
Erika says
I would store them in the refrigerator for up to a week. I wouldn’t expect them to last much longer because they’re not full of processed ingredients. Great question, Cora!
Sara says
Great recipe ! I’ve had success substituting whole wheat or chickpea flour as well. (Almond flour did NOT work for me,btw).
Ruby says
I just tried to make them with oat flour and they just melted together in the oven. I will try whole wheat flour next time.
Maddie says
I would love to try these! Does the recipe work with Almond milk?
Nea says
Wow . I made these this morning for my 13 month old and I can’t believe how easy and super delicious they are. Good job with the recipe!!
I have a question I made these to get my LO calcium intake up. I made 50 so how much cheese will be in 1 square?