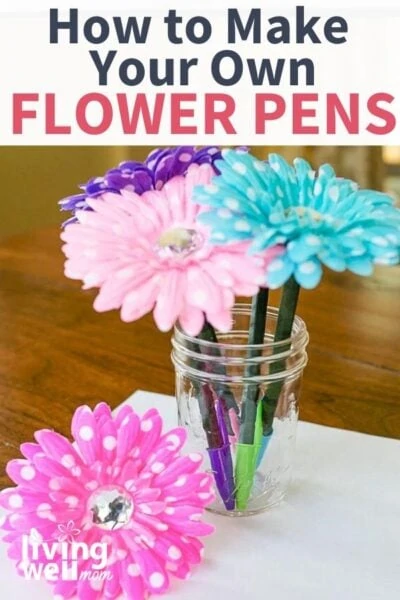
Making flower pens is a fun, simple DIY that will bring joy to your home for months afterward. Everyone in the family will enjoy learning how to make flower pens.
If you ever wanted to know how to make your pens look festive and fun, look no farther. I’ll show you how to make this fun craft today! DIY flower pens are easy to make. Plus, they also make fantastic homemade gifts!
It’s so quick and easy to make your own, you can have a pile in no time. They’re easy enough for kids to help too!
An Inexpensive DIY Gift
At first glance, you may not think these flower pens would be great gifts, but they really are. We’ve gifted these so many times, and have always gotten the best responses!
The fun part with these is that you can package them in different ways and with different items to make a custom gift. Here are just a few ideas to get you started:
Make a Flower Pen Bouquet for Mother’s Day
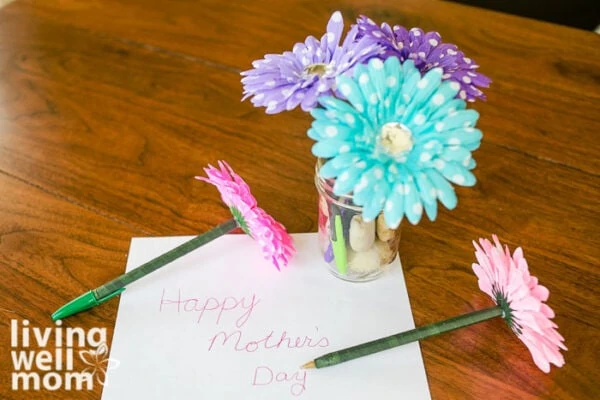
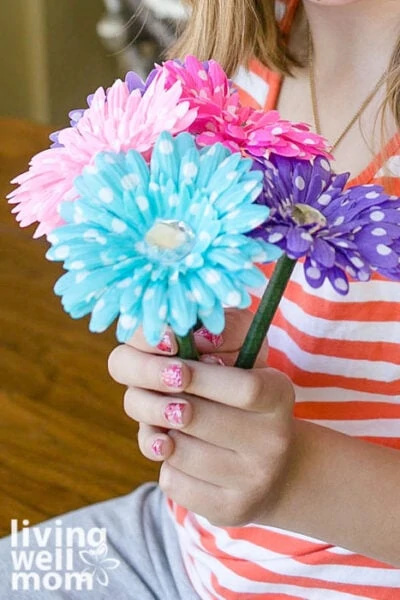
With Mother’s Day just around the corner, this DIY is a perfect gift for Mom or grandma. Make the flowers in her favorite colors, then bundle 10-12 together with some ribbon together.
Give as a Housewarming Gift
I’ve found these are the perfect housewarming gift. Give these away together with a magnetic kitchen notepad—it’s the perfect gift to help get settled in a new space!
Perfect for Teacher’s Gift
Trying to come up with the perfect teacher appreciation or Christmas gift can be challenging. However, the last few years I’ve found that putting several different colored flower pens in a pretty vase for my kids’ teachers has been a huge hit!
Thank a Favorite Doctor
If you have a doctor or medical provider that you want to spend a special thank you to, look no further! This practical and pretty gift will help keep pens from wandering away from the reception area.
Make These as Party Favors
Grab a ribbon and tie the flower pen to a cute journal for a fun party favor. Even tweens will love these if you pair it with a pretty box of stationery.
Honestly, who wouldn’t want one of these adorable pens? I want one for my desk!
To level up your gift-giving, wrap up a purple flower pen on a bar of this easy homemade lavender soap. It’ll be a beautiful token of appreciation!
How to Make Flower Pens
I recommend buying a lot of supplies because I guarantee that you’ll want to make a bunch of these flower pens once you get started! Here’s how to make flower pens the easy way.
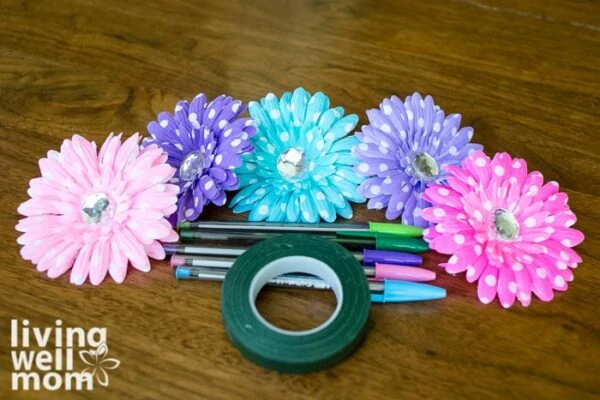
DIY Flower Pen Supplies
- ballpoint pens
– this brand
works best for easily removing the top (you’ll see why that’s important below)
- floral tape
- artificial flowers
– for the best selection, check out your local craft store or Etsy.
- super glue
or hot glue gun
How to Make Flower Pens Step by Step
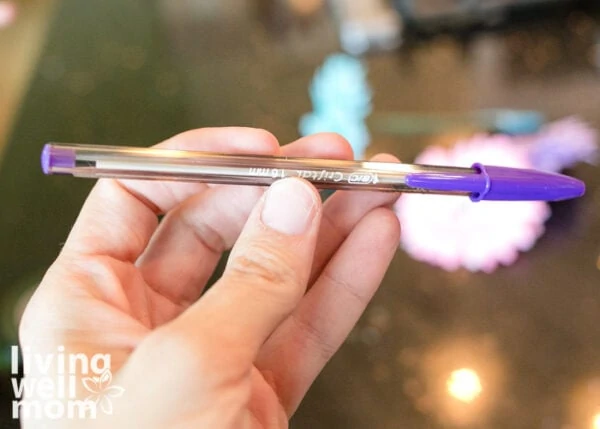
First of all, make sure you have the right type of pen. Your ballpoint pen should look like the following photo.
Remove the Caps
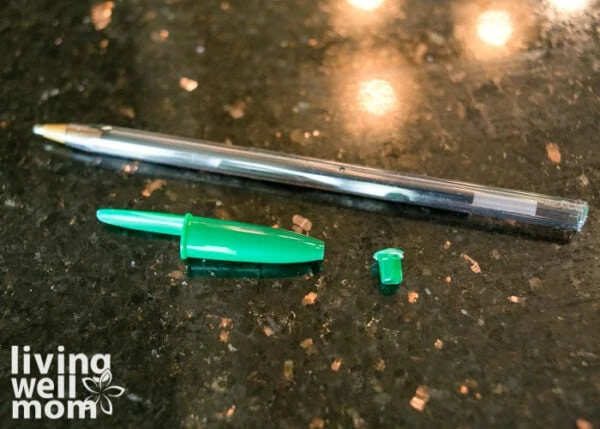
Next, remove the cap and the plastic cap from both ends of the pen. Save the pen cap, but discard the plastic end piece.
Sometimes you can pry the end cap off neatly, but if it is difficult, cut it off with a pair of sharp scissors. Since the floral tape and flower will cover the end, it won’t matter if it cracks or is broken on the end.
Cover the Pen in Floral Tape
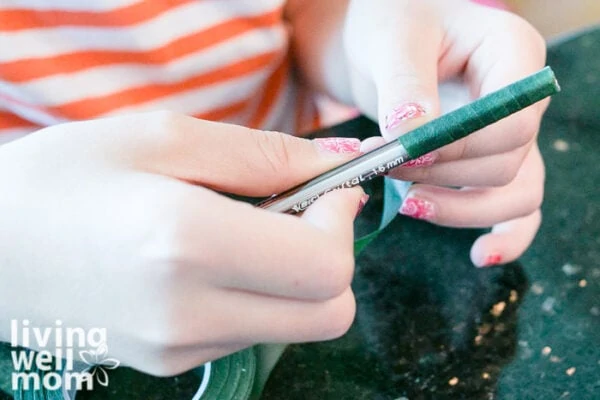
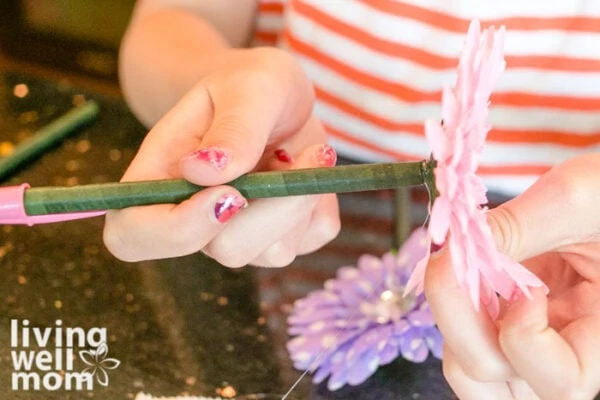
Wrap floral tape from the top of the pen all the way down to the writing point of the pen, then replace the pen’s cap.
Add the Faux Flower
If you are using colorful ink, it can be helpful to coordinate the flower to whatever color the pen’s ink is.
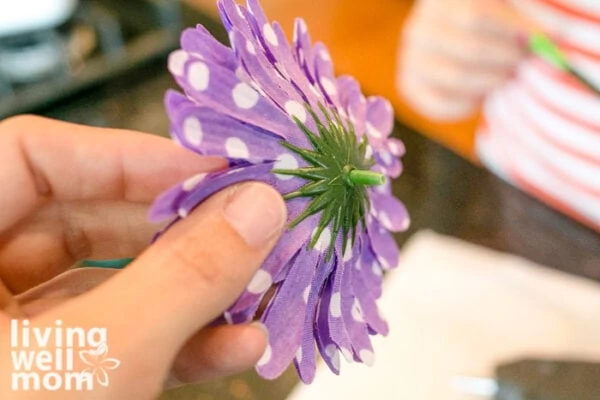
Your artificial flower should have a stem just like the following photo. If your flower has a long stem, cut it to about 1/2 an inch long.
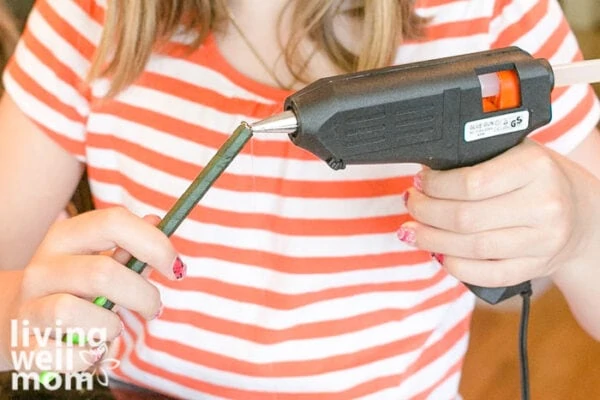
Put a generous drop of glue in the top of the pen, where the plastic end cap used to be. You can use your favorite craft glue, super glue, or a hot glue gun.
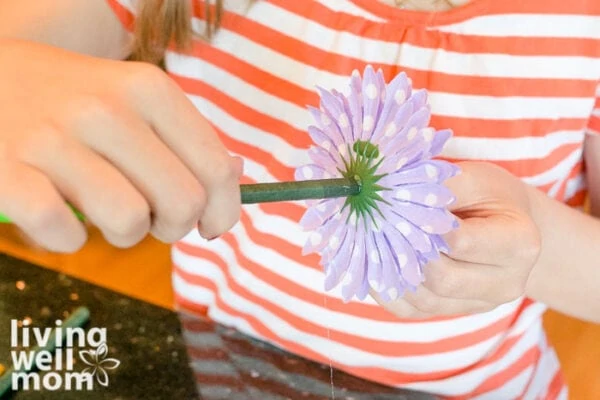
Stick the artificial flower stem down into the pen and let it dry.
There you go. And that’s how to make flower pens! Aren’t they cute?
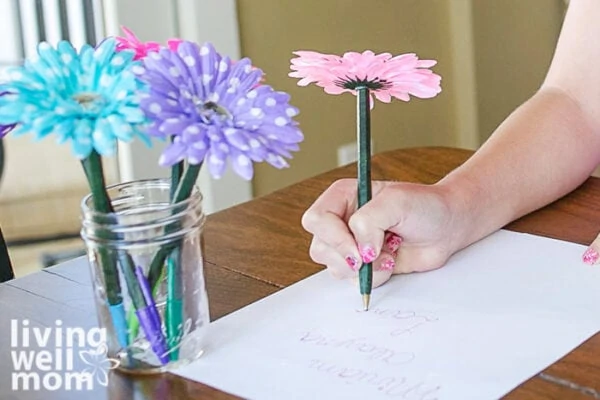
My daughter and I cannot wait to make more of these pens for gifts! In spite of all our great giveaway plans, we put our pens in a vase on the school desk.
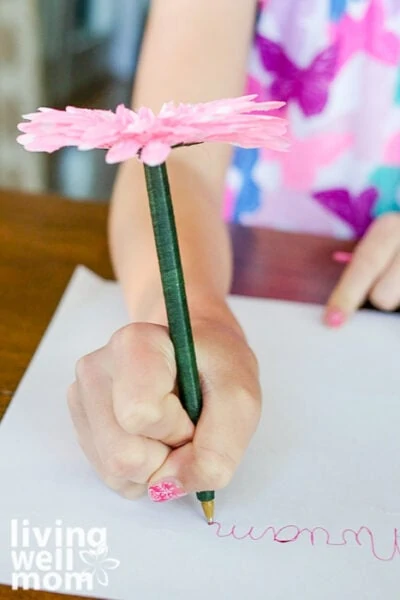
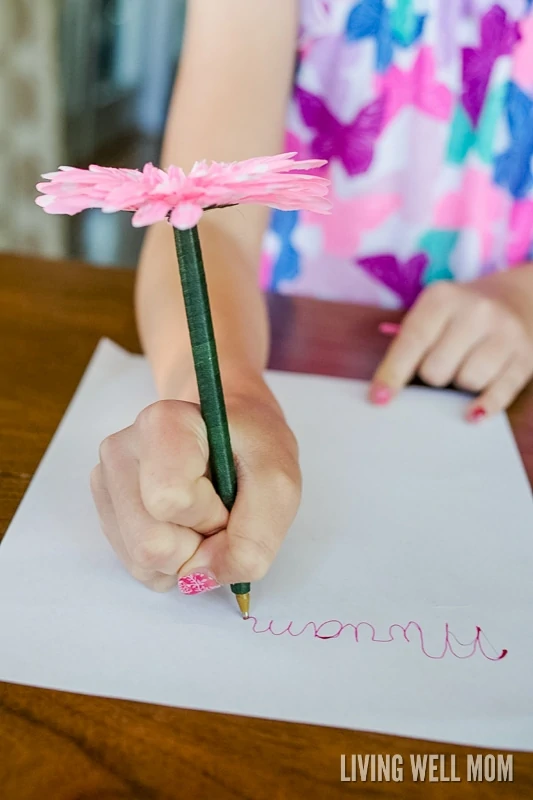
They really brighten up the space and are so much fun to write with! I also like that they are hard to wander away with—no more losing all of our pens!
Will you keep your homemade flower pens or give them away?
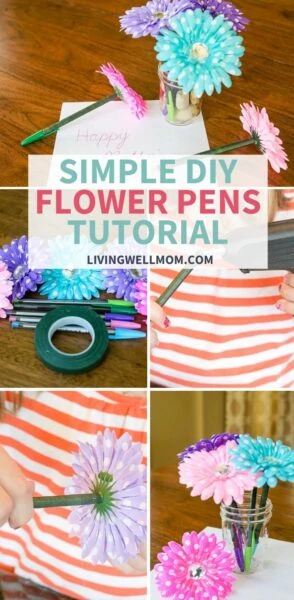
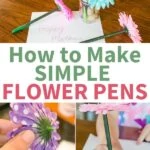
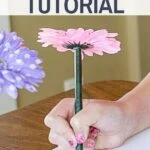
Pin the image below to save the tutorial for later.
Kelly Hutchinson says
What a cute craft that does not take too long to make but looks so good! My daughter would love making these..for herself lol
Amber Edwards says
Definitely adorable pen flowers! And so easy to make too! They make an excellent centerpiece and then you never have to hunt for a pent again!
Nichol says
I love crafts I can actually make! This is so cute. My daughter would love making these, which I think I’ll pick supplies up and do them for my mom!
Scott says
Our doctor’s office has these and my girls always want to take one. Now they can make their own!
mel says
Those are incredible and so crafty!! My daughter would love making these!
Lee Lee says
I love these pens but….. I made a bunch and not they’re not writing. I am wondering if it’s because the hot glue got in to the ink chamber maybe? Any suggestions? I have seen that some people leave the cap on and wrap the flower on the side with the floral tape. The hot glue is just so easy. But I gave these as gifts (and made some for myself too!) but mine aren’t writing right now and I’m hoping that didn’t happen to theirs.
Let me know if you’ve experienced this and if you have any suggestions.
Thanks,
Lee
Marisa Peck says
I see this is an old post, but I had the same problem. The pens worked before I hot glued the flower on top. I also believe it was due to the glue getting into the ink chamber.
Tijuana Knox says
I see an old date but maybe this will help others. Ink stops flowing to tip if the tiny hole on the barrel of the pen is blocked. This hole allows equalized pressure in the chamber for ink to flow down. Hope this helps.
Lori Nielsen says
I have the same problem. I believe it maybe due to the air chamber becoming clogged with the glue. In order for the ink to flow down, air must be able to flow upward in order to release more ink. I have a bunch of really cute pens that no longer work to write with, but look great as a flower arrangement.;) I’m going to try experimenting and see what else I can come up with, because I don’t like putting the stem on the outside either. Personally, the floral tape is a little tacky to the touch, can come loose with a lot of use, and comes in limited colors. I love using duct tape instead. A piece approx 5 inches long is great for covering a single pen (apply vertically). Now scented duct tape is available. I love the bubble gum pink!!
Shawna says
We had this happen with pens that were transformed into feather quills. We had to cut the tips off to make them work again.
Amanda says
Where did you find the artificial flowers?
Robyn says
these are super cute! I’ve bought most of the supplies to make them, but I’m just curious where you found those particular fake daisies that you used? I can’t seem to find them anywhere! (I’ve tried Michaels, Hobby Lobby, etc. maybe I’m just not looking hard enough though!)
Thanks for the tutorial!
Sarah says
I have the exact same question. I want to do this as the main craft at my daughter’s birthday party.. having a hard time finding the adorable and reasonably priced flower heads… any ideas?
Erika says
I found these at Michael’s. Do you have a craft store nearby? Good luck!
Amanda says
I found these on Etsy!
Jennifer says
I have used different types of flowers. Not just daisies. Small roses, pansies, chrysanthemums. I also like others have have taped the stem ont outside of the pen. I just snip the stem shorter and hot glue it a little bit to help it stay in place better.
Tara says
So cute but impossible to get the ends off easily which really slows down this project. I’ve tried a knife, pliers, scissors . . . there must be an easier way!
Erika says
I’m so sorry it’s being stubborn for you, Tara. Amanda was one of my contributors (she has her own blog now) and she’s the one who did this project. I haven’t personally, so I can’t speak as to what works or doesn’t. My only suggestion would maybe be to try a different kind of pen?
I hope you can make this work!
Amanda says
They can be really difficult! I cut mine off with really strong scissors. Since the glue and tape covered the area, it wasn’t noticeable.
Later I found that Pentel RSVP pens are the best, because they have a top that unscrews.
Hope this helps!
Glenda says
I love your pen idea and really glad you posted the instructions. I was at one of our local hospitals in my community and they had these at all their desks. It was so unexpected to see and brightened up the place. People couldn’t help but comment.
essay writer says
I’m glad to you for sharing this amazing creative ideas. Do you have a YouTube channel? I would be really happy to see your video tutorials on creating such interesting things. Hope that you will continue doing this type of content.
Jennifer says
I have wanted to make these since I first saw them. I finally took the time to make these, and now I’m hooked! I will be selling them at local craft fairs and farmer’s’ markets. I have a hack to share. My grandmother gave me a pair of scissors from KUHN RIKON. They are heavy duty, very easy to use, and will literally cut through anything I have tried to get them to cut. I am able to cut the artificial flowers without wire cutters because of these!
Erika says
That’s a great tip, thank you, Jennifer!