Spring is finally here! That means all things flowers, green grass, and leaf buds on the trees, bunnies, and eggs! But it can also mean rainy weather. If you’re stuck inside this spring, make these spring sensory bottles to bring a bit of spring inside!
A spring sensory bottle is a fun addition to a science center or independent learning center in the classroom. At home, they look pretty sitting in a window letting the light shine through.

Benefits of a Sensory Water Bottle
You’ll be amazed at how beneficial making this simple sensory water bottle is. Kids will love making these spring sensory bottles, and the cheerful contents will brighten up even the most gloomy of days. Here are just a few things to try with your sensory bottle:
- Use this bottle as a calming tool. One of my favorite ways to use sensory water bottles is to encourage my kids to calm down. If you catch your child in the midst of a tantrum or if they are having a hard day, have them sit or stand in front of the sensory bottle. Then shake it up and let them watch the pieces swirl. It sounds odd, but it really does help!
- Try this sensory water bottle as a timer. Similarly, you can also use this bottle as a timer. You’ll need to use a timer to see how long the swirling bottle lasts, but if it could be used as a timer for tasks such as teeth brushing, hair brushing, a quick toy clean up, etc.
- Use it as a teaching tool. Depending on what you put in the bottle, you can use these spring sensory bottles to help your child learn about the weather, plants, spring animals, the Easter story, or any other spring theme you can think of!
- Encourage sensory play. Of course, the main point of a spring sensory bottle is to encourage sensory play! Encourage your little one to touch and shake the bottle, and have FUN!
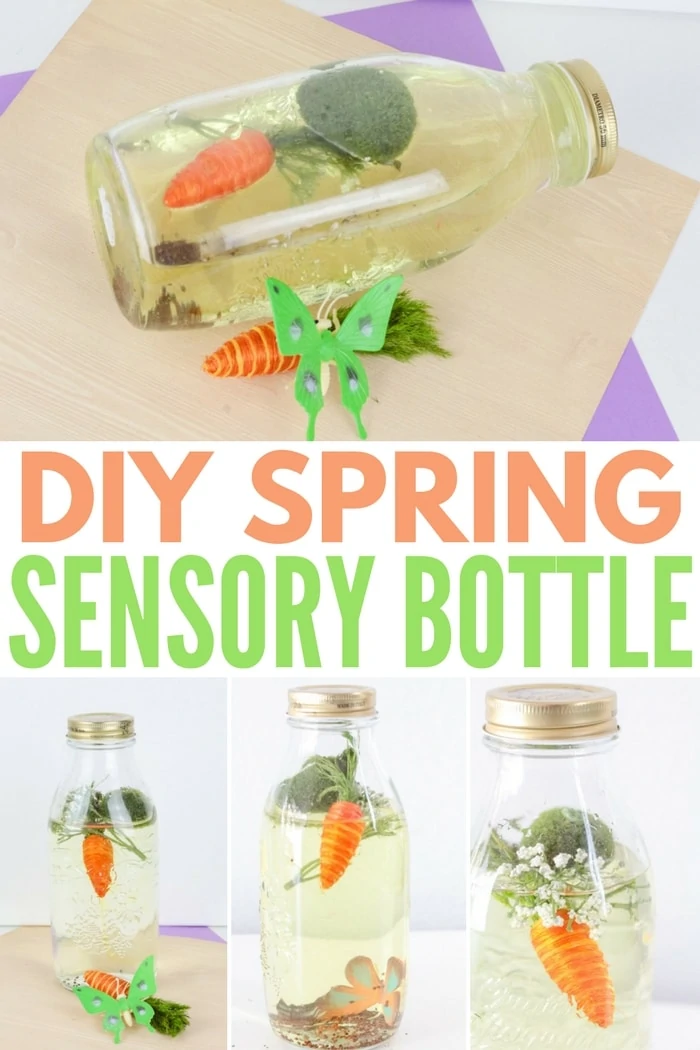
How to Make a Spring Sensory Bottle
Follow these simple directions to make your own DIY spring sensory bottles for kids!
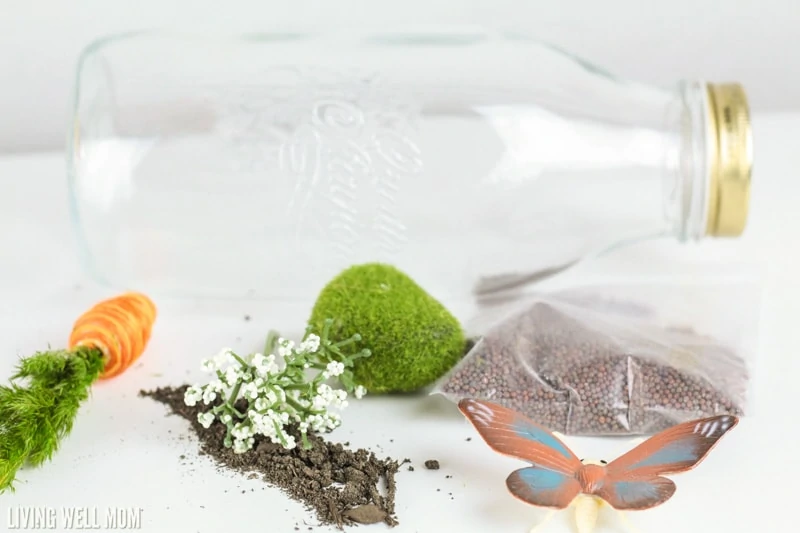
What You’ll Need:
- Plastic bottles (small soda bottles make wonderful sensory bottles)
- Waterproof glue
- Spring items (we used seeds
, moss
, flowers
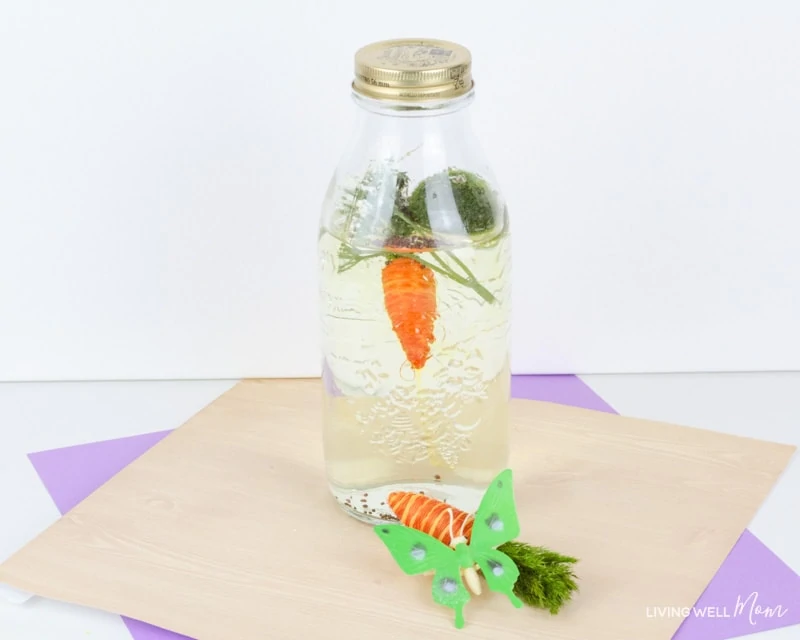
, a carrot
, and a toy butterfly
in ours)
- Distilled water

How to Make Spring Sensory Bottles
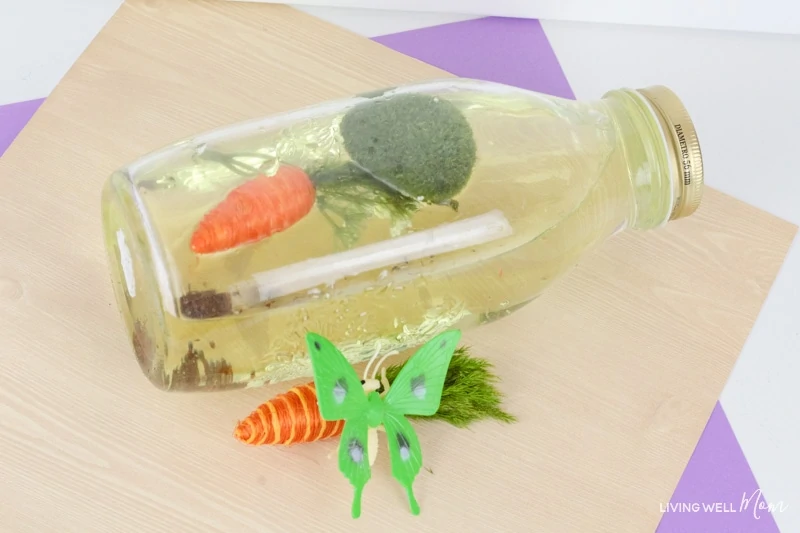
Place your items in your bottle. Start with the heaviest item and add in lighter and lighter things. Kids can fill the bottles on their own with a little supervision. Let the kids pick what they want to put in their spring sensory bottles.
After placing your items in the bottles, fill them with distilled water.
Apply a line of waterproof glue around the inside edge of the bottle cap.

Screw the cap onto the bottle tightly.
Kids can start playing with the bottles right away, but the glue won’t be fully dry for 24 hours. If you don’t think that the kids will be able to play with the bottles without trying to open them, then you should wait until the glue is dry before handing them over to the kids.
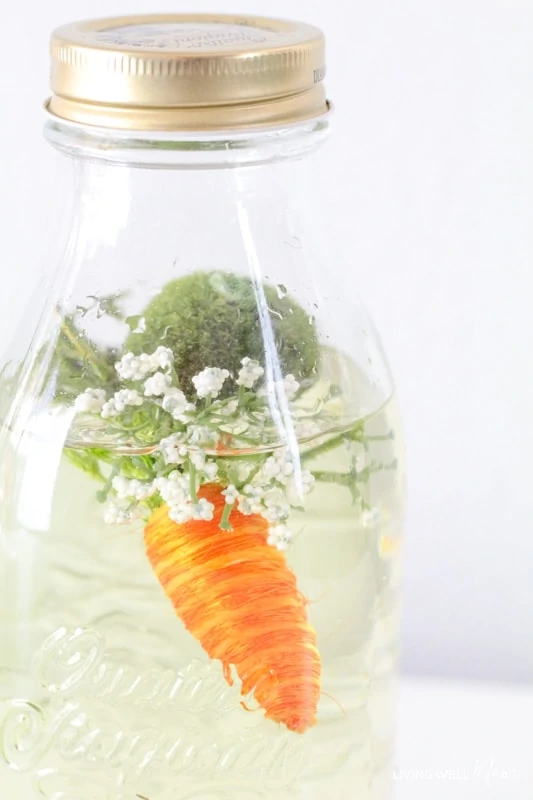
Make several spring sensory bottles to represent all aspects of the spring season.
Tips for Making DIY Sensory Bottles
Before putting your bottle together, think about what theme you want it to have. Our spring sensory bottle theme was spring garden, but you can also have a flower sensory bottle, a rainbow sensory bottle, a weather sensory bottle, an Easter sensory bottle, or an animal sensory bottle.
I like to use natural things inside my bottles, but they do not last as long and will get moldy after a few days. If you don’t want to deal with mold or mess or want to reuse the bottles from year to year, go ahead and use all water-safe materials inside your bottles.
If you want the bottles to last, you’ll also want to use distilled water as this will prevent discoloration and mold growth over time.
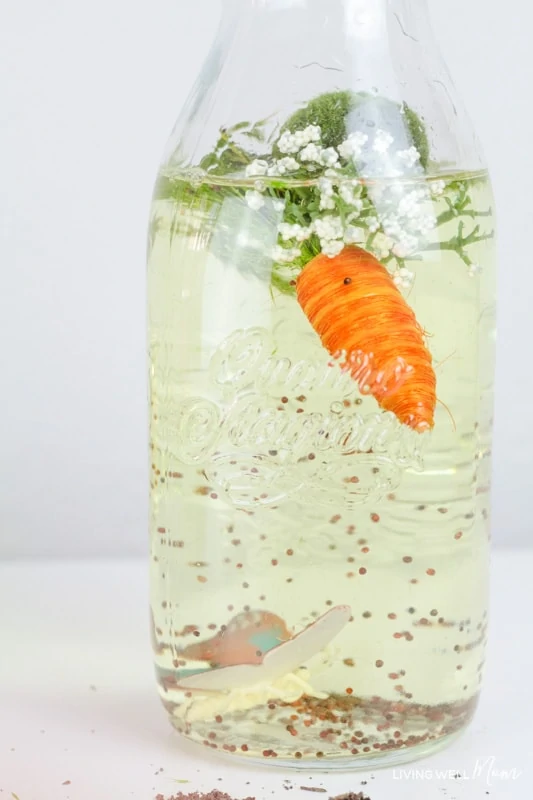
Pick a theme and stick with it for your bottle. 4-5 different items are enough for each theme.
If you add more than that, your bottle may become too cluttered. Use items of different densities so that some will float and some will sink. This will give your sensory bottle more interest.
More Spring Ideas for Kids:
- How to Make Fluffy Slime for Easter
- 52 Easter Basket Fillers (that are NOT Candy)
- Bottle Cap Flowers
- How to Make Salt Dough Magnet Flowers
- Sprout Seeds on a Sponge Garden
Pin the image below to save the tutorial for later.
Leave a Reply