These lavender lotion bars are an easy DIY that is great for your skin. Not only do you get the benefits from the lavender essential oil (hello aromatherapy!), but these bars add moisture to dry skin as well.
These bars are perfect for those areas of skin that are stubbornly rough and cracked, such as the feet, hands, elbows, and knees. I like to always have at least one homemade lotion bar around to use when I want something nourishing to my skin.
In short, if you want something moisturizing, all-natural, and truly good for your skin, these lavender bars might be just what you have been looking for.
Moisturizing Lavender Lotion Bars
These lavender bars are deliciously-scented with the addition of lavender essential oil as a natural fragrance. Plus, all of the other ingredients in this recipe are free of any preservatives, fragrances, or other toxic fillers.
When I use these homemade lotion bars, I know that I am only putting the best ingredients on my skin. This is especially important when I make any kind of product for my family. These lavender bars are safe and mild enough for even children to use safely.
Once you make lavender lotion bars, you’ll never want to go back to conventional lotions again! This is particularly true when you consider all the awesome benefits of lavender oil for your skin:
- Helps soften skin. Lavender oil is fantastic at keeping your skin soft and moisturized, which is especially beneficial for dry or cracked skin.
- Treats blemishes. Lavender oil contains a lot of potent antioxidants that support healthy skin and fight the appearance of unsightly blemishes.
- Soothes rashes. Whenever one of my kids has a skin flare-up, I always reach for lavender oil. Lavender is known to help soothe and treat skin rashes of all kinds.
- Treats itchy skin. If your skin is inflamed and itching, lavender oil can help provide relief while encouraging healing for that uncomfortable, irritated feeling.
- Stimulates circulation. Lavender has long been used in body care products for its ability to stimulate circulation, which can reduce swelling and discomfort.
Plus, we haven’t even talked about the aromatherapy benefits of lavender! It smells amazing and always puts me in a calming mood (ye, even if my kids are screaming). 😉
These homemade lavender lotion bars are such an easy skincare DIY that I recommend anyone try out for themselves. It is the perfect beginner recipe for those interested in making their own natural skincare products.
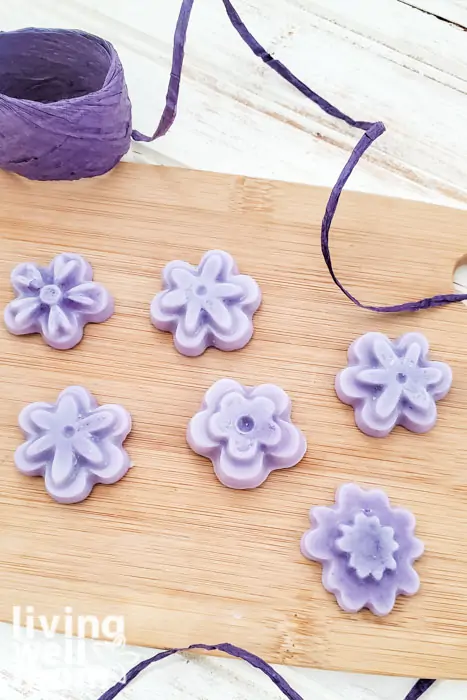
What Are DIY Lotion Bars?
If you have never heard of homemade lotion bars, you may be wondering what they are exactly.
Despite their name, these bars are nothing like the bottles of lotion that we have all used at some point. The term “lotion” is typically used for any moisturizer that has been created by blending moisturizing ingredients with water.
However, these lotion bars have oils, shea butter, and beeswax, making everything solidify into a bar. There is no water added since it can cause the oils to spoil and become rancid. You may also hear these called butter bars because they have an incredibly soft, buttery consistency.
Note: if you are new to these bars, it’s important to know that this skincare product is richer and heavier than traditional lotion as it is made with butter and oils. In turn, this also means that they moisturize much deeper into the skin, treating dry or rough patches much better than water-based lotions can.
How To Make Lotion Bars
DIY lotion bars are so easy to make at home, and they are possibly one of the easiest skincare items that you can make for yourself. All you have to do is melt everything together, pour it into your mold or container, and leave it to set. How simple is that?
Possibly the most important ingredient in this recipe is beeswax, as it holds everything together, creating a solid bar. It also helps to make the lavender bars even more nourishing to your skin as it locks in the moisture, keeping your skin smooth and soft for longer.
Simply mix up the ingredients, then let the bar set. Soon you will have the perfect moisturizing bar for dry and tired skin.
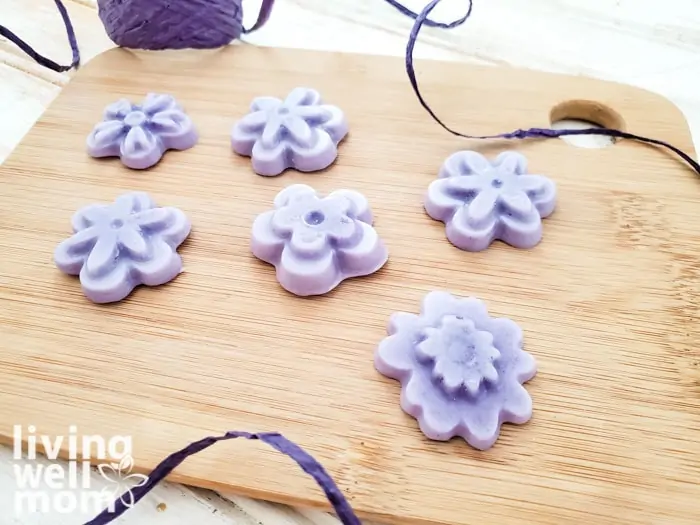
How Do Lavender Bars Work?
To use these lavender bars, all you need to do is hold the bar for a moment and then start to rub it on your skin. The heat from your hands will begin to melt the bar slightly, making it easier to rub in.
A lotion bar is perfect if you are prone to dry skin and need something more deeply moisturizing than water-based moisturizers. It is also a good option to drop in your purse to use as needed or when you are traveling.
How To Make DIY Lavender Lotion Bars
This recipe makes 6 bars. Need more? You can easily double or triple the ingredients!
Ingredients:
- 1 oz beeswax pellets
- 1 oz shea butter
- ½ tsp golden purple mica powder OR this colorant from Etsy
- 1 oz sweet almond oil
- Lavender essential oil
- Flower minis candy mold (for the exact one used in the photos) or this cute set from Amazon
- Microwave-safe measuring cup with a spout
- Small kitchen scale to measure ingredients
Note: Regular measurements like a tablespoon or cup are not as accurate with this type of homemade recipe, so I highly recommend that you use a small kitchen digital scale. If you don’t already have one, they are inexpensive and handy to have in your kitchen for many purposes.
Step by Step Directions
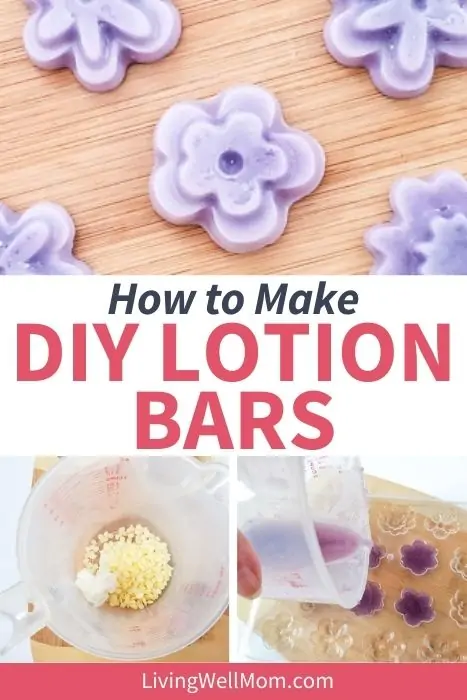
Making this DIY is super simple. First, place the beeswax and shea butter in a measuring cup and microwave for 1 minute.

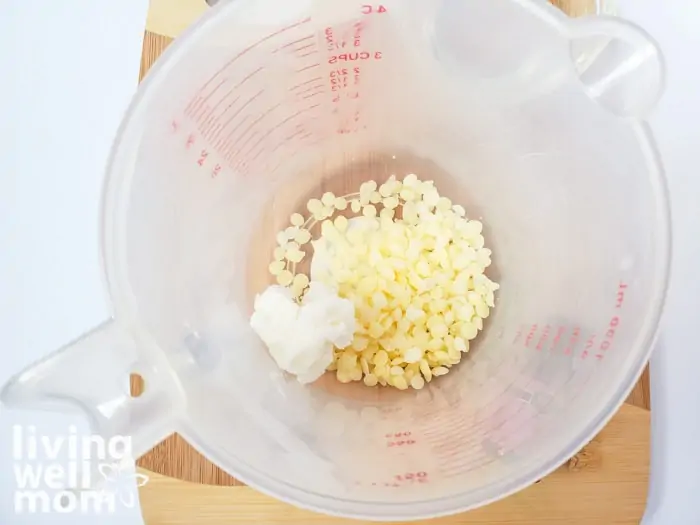
Then, remove and stir well. Repeat in 30-second increments until it is liquid. The beeswax pellets will take the longest to melt.
Allow everything to melt. Then, stir in the almond oil.
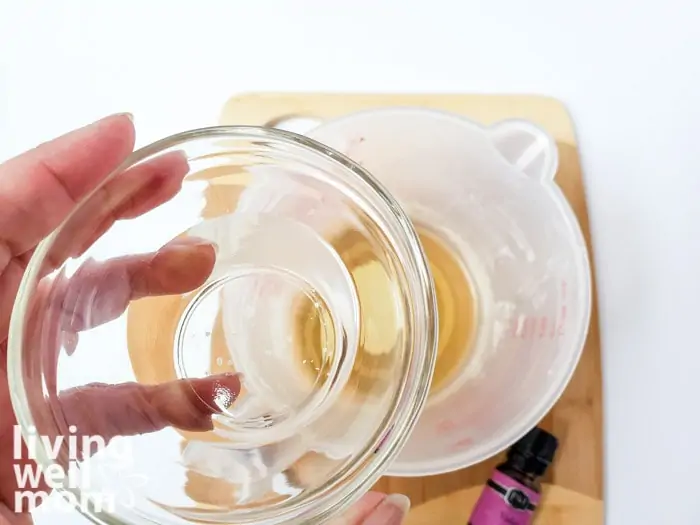
Now it’s time for some color! I opted to make these bars purple because of the lavender, but you can choose whichever you like best. Just add the mica powder and stir well.
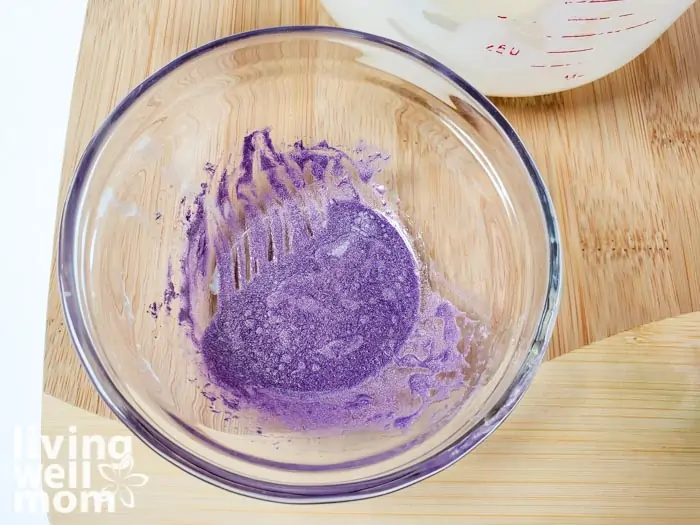
Then, add 15-30 drops of your lavender essential oil, depending on how strong a scent you prefer. Stir well once more.
Pour into the molds and let it sit for 1 hour. Of course, if you use deeper or bigger molds, you’ll need to let it sit for longer.
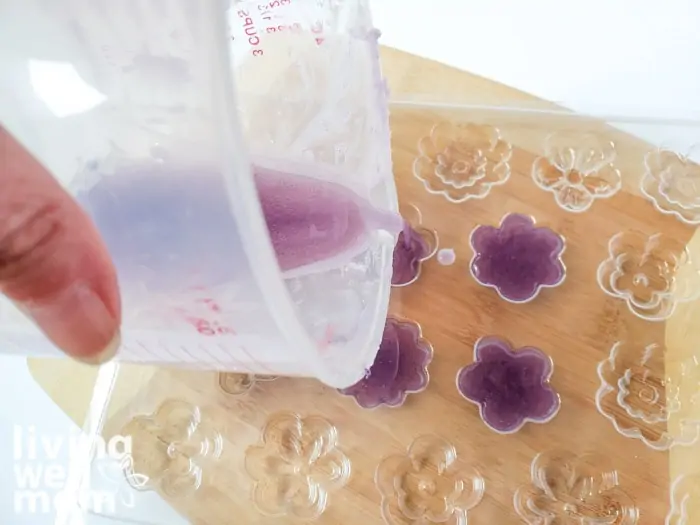
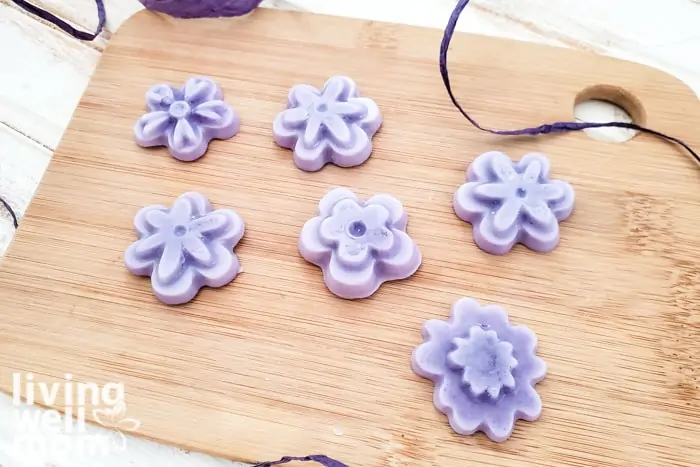
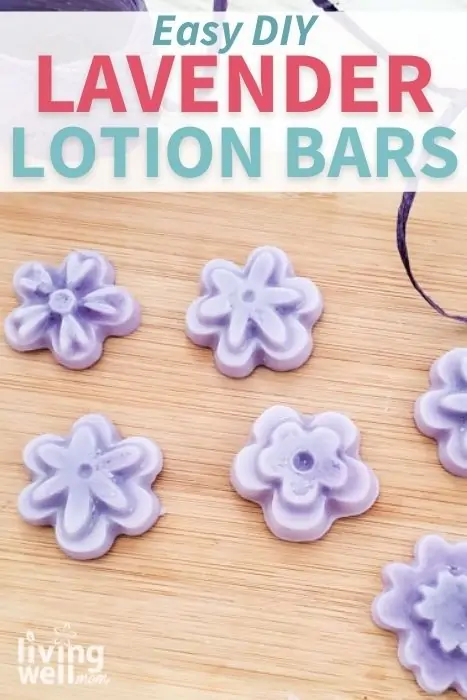
Once your lotion bars are set, flip the mold over and tap each mold to gently remove the lotion bars. See how easy it is?
FAQ About These Lotion Bars
How do I use a lotion bar?
To use these bars, all you have to do is warm the bar up between your hands. The heat from your skin will help the bar to melt gently.
Then you can rub the butter along your hands, knees, elbows, or anywhere else that needs a little moisturizing. Remember, these bars are made from oils so they work very well on dry, rough areas of skin.
Just remember that these lavender bars are rich, and a little goes a long way!
How long do lotion bars last?
Because this bar is about 3 oz., it can last up to 6 weeks if used on a daily basis. However, it will last much longer if you use it sparingly. In that case, it may be best to store it in the refrigerator to elongate the shelf life.
Are lotion bars sanitary?
Some people might be concerned when using a skincare product that is handled frequently and cannot be washed off. The good news is, this shouldn’t be a concern as long as you are keeping the bar clean and away from water.
The best way to keep your bar clean and sanitary is to wash your hands before using it. Just make sure to completely dry your hands off to avoid introducing it to water.
If you are using it on your body, it is best to use it after taking a shower since your skin will be much cleaner. Again, just make sure to dry off completely first!
How to store homemade bars?
Homemade bars of lotion are best stored in a cool dark place away from direct sunlight and moisture. You can store them in a container or a tin.
If you live in a warm climate or your house is typically kept warmer, you can store them in the refrigerator to keep them nice and solid.
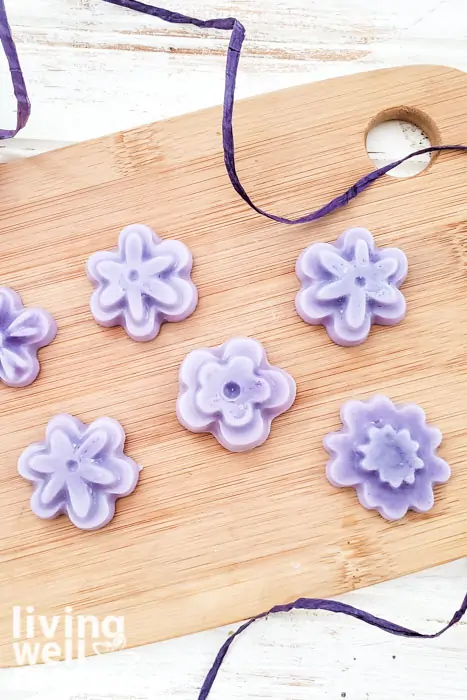
If you make these, please let me know in the comments. I’d love to hear how you like them.
More DIY Skincare Recipes You’ll Love
- DIY Anti-Itch Cream For Bug Bites
- Homemade Peppermint Foot Cream
- DIY Cuticle Softener
- Homemade Cracked Heel Cream
- Homemade Bug Repellent Lotion Bars
Pin the image below to save the recipe for later.
Leave a Reply