It can be hard to find an activity that is both fun for kids and filled with learning opportunities. This DIY salt crystal snowflake project combines the best of both, plus adds a fun seasonal twist!
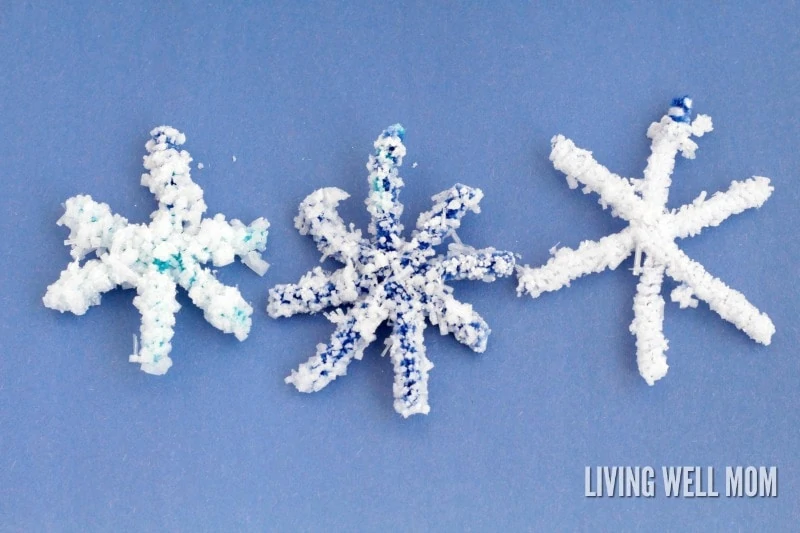
Over the course of a few days, salt crystals slowly form on pipe cleaner snowflakes, creating a sparkly, one-of-a-kind winter decoration.
If your kids are anything like mine, they are obsessed with snow and snowflakes. And who can blame them? Each snowflake is unique and they are seriously pretty!
We don’t get a lot of snow where we live, but we do love it and anything to do with snowflakes during the winter. This year, we decided to bring some winter into our house with these pretty salt crystal snowflakes.
Why You’ll Love This Activity
- Uses simple supplies you probably already have on hand!
- Budget-friendly winter activity that can be done indoors
- Combines crafting and science
- Perfect for elementary-aged kids – but cool enough to keep older kids interested too
Salt Crystal Snowflakes: a STEM Activity
Have you heard of STEM activities? If not, let me explain what it is.
STEM is an acronym that stands for:
- Science
- Technology
- Engineering
- Math
With today’s technology-centered world, STEM activities help prepare children for the future through play! This is a perfect example. In this activity, kids explore science by observing crystal growth and engineering as they design snowflakes that can support growing salt crystals.
Salt crystal snowflakes are simple to make and so much fun, kids won’t even realize they’re learning about science too!
Psst…If you are looking for another fun indoor option this winter, give these playdough mats a try!

Supplies
Not only will your children learn those STEM skills, but this also happens to be an incredibly easy and frugal project too! Here’s what you’ll need to make salt crystal snowflakes:
- Salt (regular table salt works great)
- Mason jars (1 for each snowflake)
- Pipe cleaners (also called chenille stems)
- Clothes pins
How to Make Snowflake Crystals Step by Step
Note: This project is best for ages 4+, and you’ll need adult supervision during the boiling water step.
This project was a seasonal take on one my kids did in the fall. We had such fun making our salt crystal leaves, I knew our salt crystal snowflakes would be even prettier!
We used off-brand salt to keep the costs low. Our salt container was less than $1! You definitely don’t need the fancy salt for this one.

Insider mom tip: Before letting your kids join you for this project, I recommend making the saltwater in advance. You will need to heat about 3 cups of water per mason jar (what we did was fill the jar and dump it into a pot).
When the water boils, start adding salt. Keep pouring it in until crystals start to form on the surface of the water. It will take almost the entire container of salt for three snowflakes, so don’t be shy about adding it.
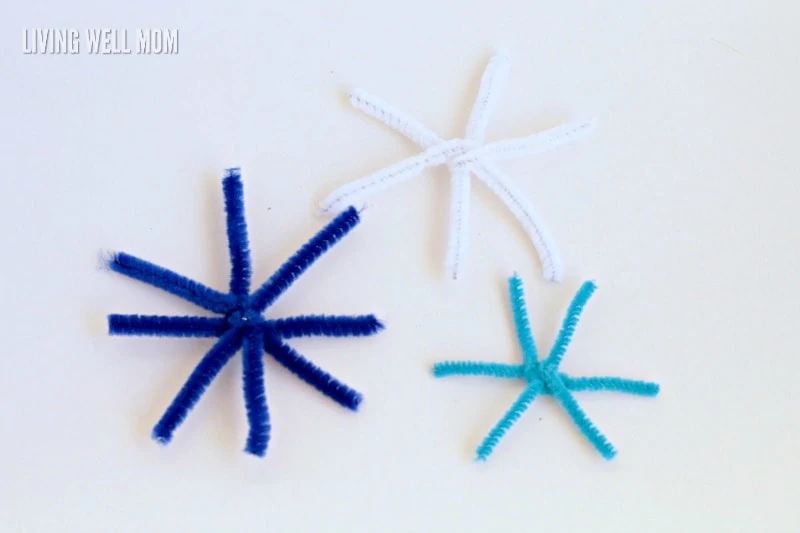
When the water is cooling, let the kids design their own snowflakes from chenille stems. You may have to provide some guidance or help for younger children, but older ones can easily do this on their own. Just make sure the snowflakes can fit easily through the mouth of each jar.
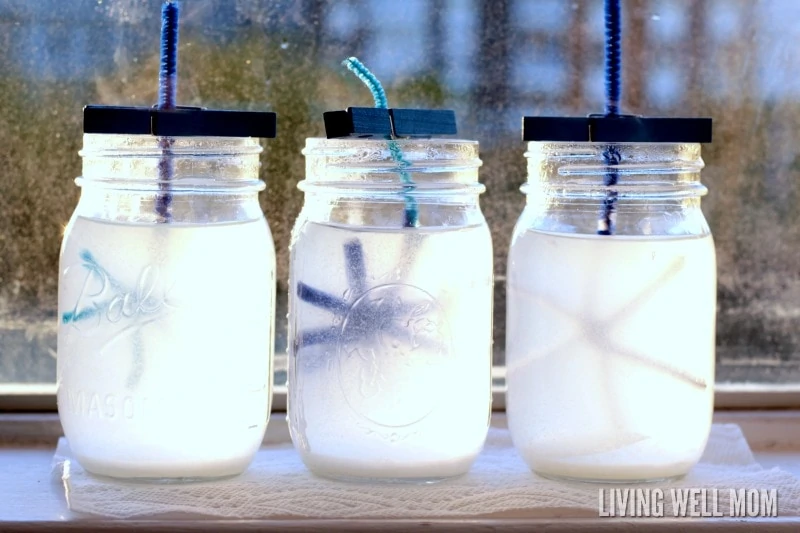
When the snowflakes are designed, attach a chenille stem hanger to the top of each snowflake so you can suspend it in the mason jar.
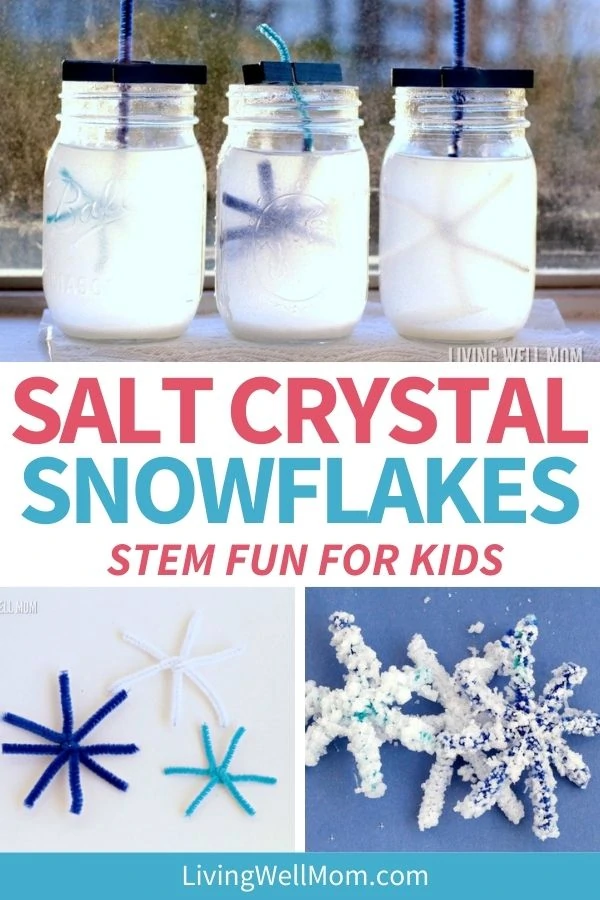
Suspend the snowflakes in the saltwater using a clothespin to hold them in place. Let the snowflakes sit in a sunny window for 2-3 days.
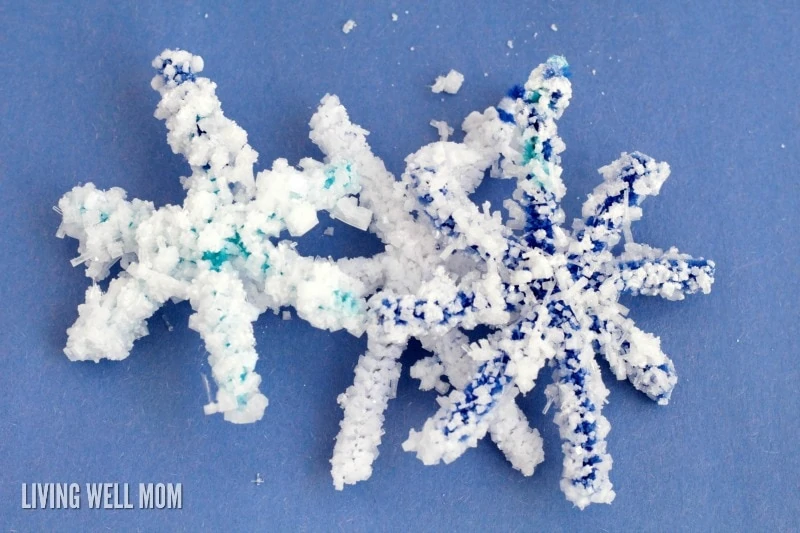
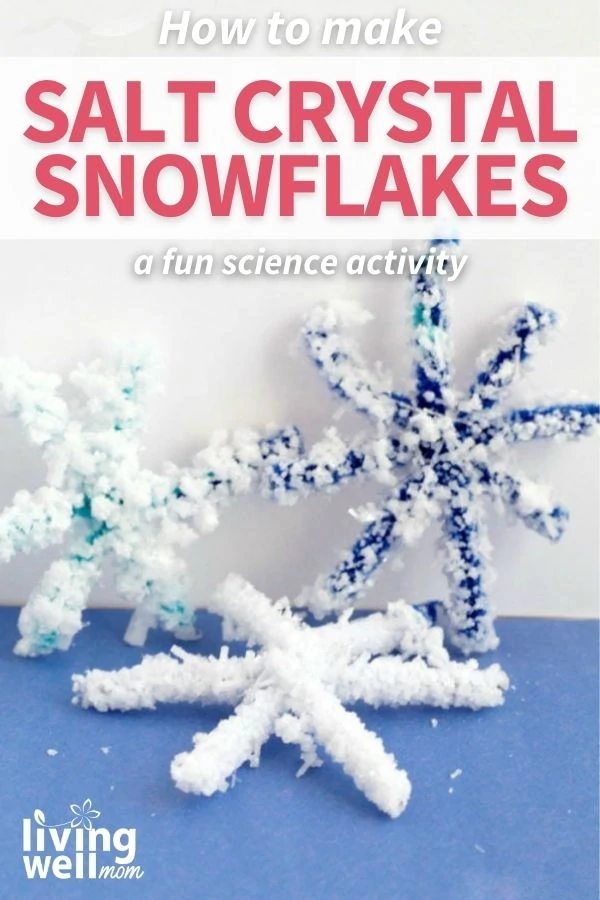
After 2-3 days, remove your snowflakes and let them dry. Your salt crystal snowflakes are ready!
“What’s Happening?” (The Science Explanation)
Okay, now for the actual lesson! How are the snowflake crystals forming?
Well, science, of course!
As the saltwater cools and slowly evaporates, the salt molecules bond together and form crystals. The pipe cleaners give the crystals a surface to attach to, which is why you see them growing along the snowflake shape.
Tips & Troubleshooting for Salt Crystal Snowflakes
- Use very salty water. The more salt you dissolve into the hot water, the better your crystals will grow. Keep adding salt until it no longer dissolves and starts settling at the bottom.
- Make sure the snowflake isn’t touching the jar. If the pipe cleaner snowflake rests against the sides or bottom of the jar, crystals may form unevenly or stick to the glass instead.
- Don’t bump or move the jars. Once the snowflakes are suspended in the saltwater, try not to move them. Disturbing the water can slow crystal growth or cause crystals to break off.
- Be patient. You may start to see small crystals forming within the first day, but the best results usually happen after 2–3 days.
- If crystals don’t form: The water may not be saturated enough. Reheat the water and add more salt, then try again.
- If crystals form on the jar instead of the snowflake: This usually means the snowflake is too close to the sides. Re-center it using the clothespin so it hangs freely in the middle.
How to Use the Snowflake Crystals
Now that your salt crystals are made, your kids can continue learning! Hang them from a window or just admire their beautiful designs!
My kids loved inspecting the snowflakes with a magnifying glass to see the individual crystals up close. You can even have them log their observations in a journal or a notebook.
More Fun Activities for Kids:
- Instant Ice – STEM experiment
- How to make Oobleck for Kids
- DIY Stress Ball for Kids
- How to Make a Glittery Underwater Volcano
- Seed Sprouting Indoor Activity
And don’t forget these fun playdough mats too!

Pin this image for later!


Abigail Lopez says
Hi!! My daughter and I tried this but they didnt turn out how the picture looks. Do you know how long I let the water and salt boil for and do I stire it at all. Also do i let the salt water cool off in the pot before transferring to the mason jars? Thank you so much!
Abigail L.
Bhavna L says
Use Borax instead of salt. The crystals are translucent – prettier than the salt and works!
Kathy Nutter says
Can you use something besides chenille strips to make the snowflakes? Or is that the only thing they would stick to?
Scarlet says
What a fun crystal snowflake project for the kids. I love that it is focused on the season, crafty, and science related all at once:)
Erika says
Thank you, Scarlet!
Amy says
These are great! I can’t wait to try these with my kids. I just bought pipe cleaners so we can check it out! I wanted to let you know I featured this fun winter kids’ activity in my recent post: https://amysenter.com/january-pinterest-roundup/ Love the blog!
Erika says
Thanks, Amy!
Tracy says
What is the science you explained behind the crystal transformation? I usually have my kids predict first and then explain what happened after. Do you have a simple way you explained it?
Colleen says
I’m not sure how often you respond to questions. I’m planning on doing this activity with my preschool students. How ahead of time can you heat the salt water up before the activity. It would probably be best if I could do this around 7:30 or 8 than have them make the snowflakes and put them in the mason jars around 10 which is there small group time. I’m not sure if it still needs to be warm to work. Thank you
Erika says
The water does need to be warm – you would need to heat it up closer to 10am for it to work. Unfortunately 7 or 8am is too early and it would cool too much.
Kelli says
Hello! I’ve been looking at the leaf and snowflake activity but I can’t determine how much salt to use. I clicked on the link for the salt for the leaves and it showed a 4 lb box. And the snowflake recipe the salt link showed 1.6 lb.
I don’t want to begin the projects until I know how much I need to use for the 3 mason jars.
Thank you! I look forward to creating these! I did it with powdered laundry detergent as a kid.
Erika says
Sorry for the confusion. We are talking about the round 26oz container of salt.
Sammy says
I am so excited to try this! Do you think this would work with sparkley pipe cleaners?