Are you overwhelmed with toys all over your house? Follow these SUPER EASY tips and learn how to organize kids’ toys for good!
Organizing kids’ toys and, even more, keeping it that way, can seem to be an impossible task at times. Especially if you have small children, don’t they seem to undo everything as quickly as you sort it?

How To Get Your Kids To Organize Their Toys
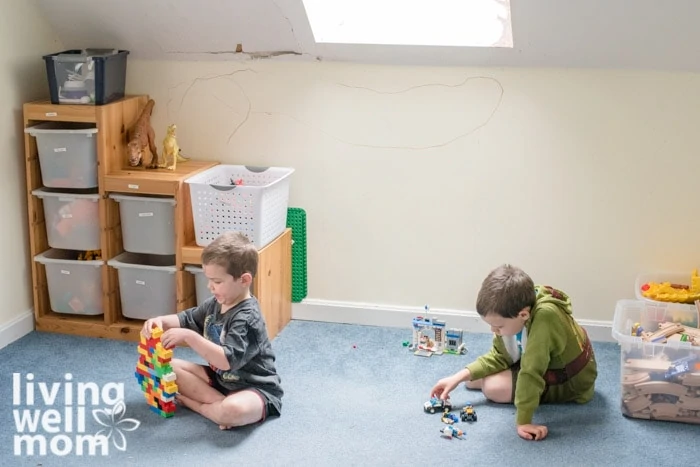
I have four kids and my two younger boys are the ones who make the biggest mess. Joshua is 6 and Luke is 5 and the two of them keep me quite busy. But they’re plenty old enough to clean up after themselves, including organizing their toys, and they do.
I realized some time ago that the key to organizing toys wasn’t a fancy DIY project or an expensive organization system.
You will be fighting this over and over – the secret is to teach your kids to how to organize their own toys. When they take ownership of them, they will learn valuable lessons they will carry into their adult life.
Here’s how to teach your kids to organize their toys.
1) Keep The System Simple
If the organizing system is simple, you’ll be far more likely to actually get it done. If you have a complicated project or expensive organizer in mind for your kids’ play area, there’s nothing wrong with that, but chances are, you’ve been putting it off for good reason.
2) Keep The Organizer Affordable
You will need to make changes – it’s a natural part of organizing, especially with kids.
A fancy organizer might sound like a great idea, but it can be a big source of frustration when you’ve spent a lot of time, money, and/or effort only for it to not work like you had envisioned. Or what happens when your kids get new toys and that expensive organizer doesn’t cut it anymore? You might feel pressured to stick with something that’s not working.
If you keep toy organization simple and inexpensive, it won’t be a big deal to make changes, whether it’s tomorrow or next year.
3) Set Up A System Kids Can Follow
The bottom line is that complicated makes it difficult for the kids to keep their toys organized and that much harder for you.
Toy organizing has to work. If the kids can’t slide fabric bins off the shelf easily or if their toys are sorted into too many categories to remember, it will be that much harder for your kids to organize their toys.
How To Keep Organizing Simple
When you need to organize toys, simplicity is a lifesaver. Here are some practical tips that will help you create a simple organizing system that even your kids can use.
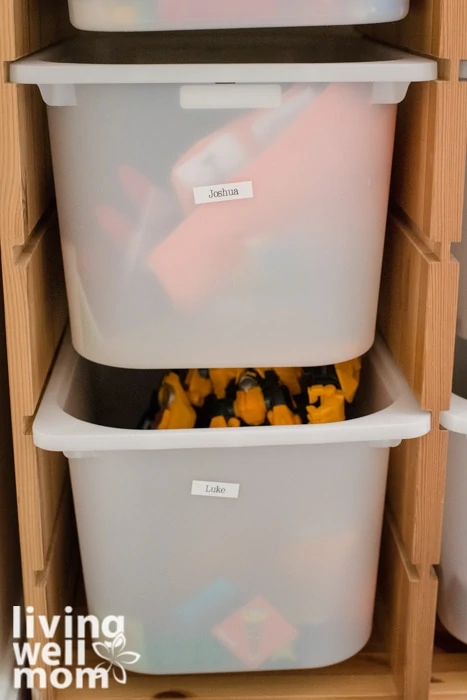
Label All The Bins
For young children, you can print out pictures of the toys – ie LEGOs, Lincoln Logs, blocks, dolls, etc. – and tape to the container and space on the shelf where that particular toy belongs. By doing this, you teach even toddlers how to pick up after themselves!
For older kids, a simple label maker is invaluable. (My inexpensive label maker and cartridge tape replacements are one of the best purchases I’ve made!) Labeling bins or containers and also spaces on a bookcase or storage cube shows the kids exactly where things belong so they can keep their toys organized!
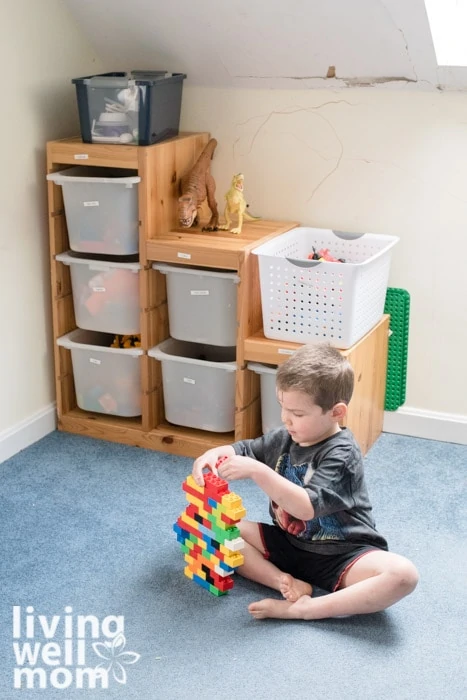
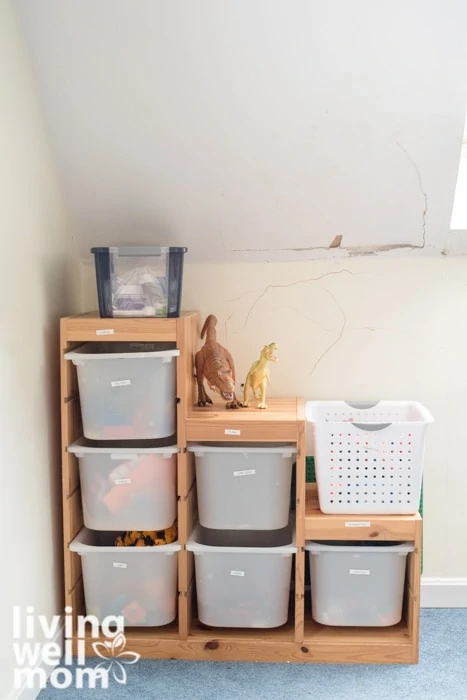
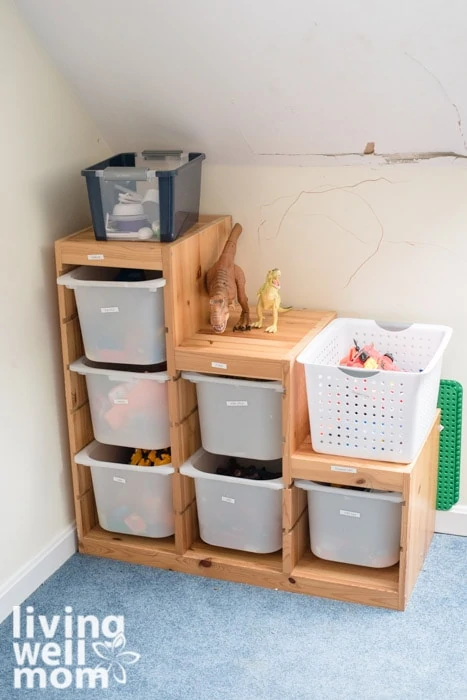
That’s what I did with my boys’ toys:
(Like the rip in the wall? That was there when we bought the house and later, Luke decided to add his touch with a marker. Needless to say, decorating their room hasn’t been a priority.)
I found a used Ikea container on Craigslist for $15 and it’s perfect for what I wanted to do. I highly recommend watching Craigslist or Facebook yard sale groups or summer yard sales for inexpensive bookcases or organizing systems. It’s no big deal if you need to change something later then!
Everything is labeled so my boys are reminded where things go. While Luke can’t read yet, their toys are organized simply enough that it’s not a big deal and for Joshua, it’s great practice with his reading.
Get The Kids Involved In The Process
Make them part of it and they’ll be far more likely to cooperate later.
Ask their opinion too – “Do you want your dinosaurs on the top or the bottom?” Little things will make a big difference. My boys loved helping me organize their play area, especially putting the labels on.
Give each child their own “junk” bin. This is where little miscellaneous toys or papers can go. I let my boys keep just about anything they want in their bins as long as it doesn’t overflow.
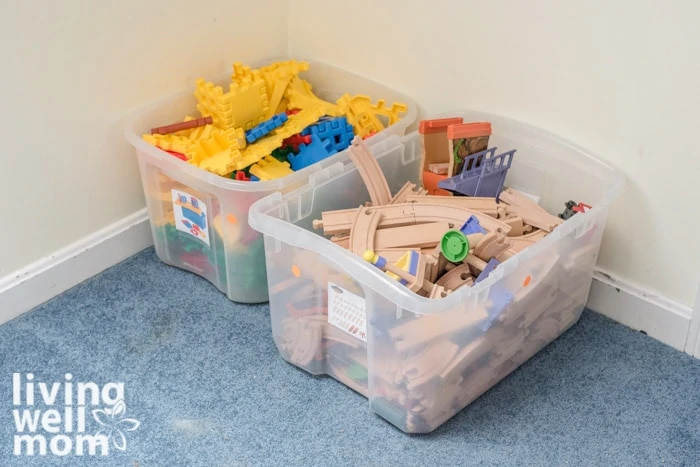
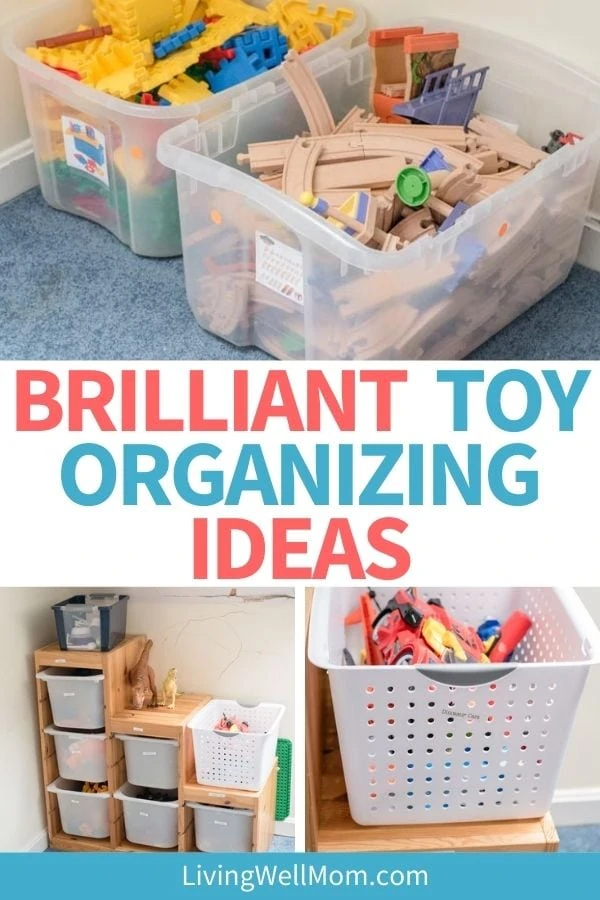
For larger toys, we have two bigger bins that sit in the corner on the floor. (See the picture labels I used previously?)
This simple toy organization system has worked wonders for my boys’ room and my sanity. That’s not to say I don’t ever walk into their room to find toys scattered everywhere, but when I do, I remind my boys to clean up and they do. (Most of the time. )
It’s not magic, but it does help to calm the chaos.
I hope this encourages you that it doesn’t have to be a complicated, expensive process to organize your kids’ toys. You can get your kids helping too and save all of your sanity!
How To Organize Kid’s Toys In 5 Steps
With four kids, I’ve had plenty of days where I’ve been overwhelmed and frustrated with organizing, especially toys! Whether it’s a large playset that won’t fit on a shelf or LEGOS that always seem to sneak underfoot, organizing toys and even more, keeping it that way, can be downright overwhelming.
I’ve learned a few things over the years and have finally figured out a way to successfully organize my kids’ toys. Best of all it’s stayed that way!
Of course, organizing almost always requires maintenance, especially with kids as they’re constantly growing and changing, but with a few simple steps, you too can organize your kids’ toys without all the frustration!
The best part of these steps is that no matter what your situation, ages or how many children you have, you can apply these tips to organizing your kids’ toys and you will see an improvement!
#1 Designate A Home For The Toys
Toys stored in many different spots are confusing for both the kids and you, so the first step to getting a handle on organizing toys is deciding where the toys should be and where they shouldn’t.
I’ve tried a variety of locations for my kids’ toys, but it wasn’t until I decided on one space for everything that we finally made progress. About 9 months ago, I moved all the kids’ toys into their bedrooms and it’s been so much easier!
Set clear boundaries regarding where the kids are allowed to play with toys. There’s no reason for them to run all over the house and leave a trail of their things everywhere they go. That’s not to say you shouldn’t ever let your little ones bring a toy to play next to you (they do love that, don’t they?), just that it’s good to set limits.
I used to get so frustrated with finding blocks on the kitchen table, stuffed toys and LEGOs scattered all over the living room floor and even indoor toys ending up outside, until I realized that was my own fault for not making it clear to my kids where I wanted them to play. It’s easier to tell them they need to keep toys in the playroom or their bedroom compared to letting them play anywhere and then saying “no” to many different spots.
Now my kids know the rules and they also are well aware that I have no issue confiscating toys for repeated offenses.
#2 Declutter
You knew this one was coming, right?
Kids lose things and break things. Mine do. It doesn’t mean you’re an awful mother or your kids are little monsters, they’re just kids. But for the most part, you don’t need to beat yourself up about the fact that your 3 and 4 year olds took Great Aunt Sue’s giraffe puzzle outside when you weren’t looking and left it in the rain. Things happen. And things are just that – things.
Stop feeling guilty. If a toy is broken or missing pieces, get rid of it.
The same goes for toys your kids have outgrown. If your daughter is past the My Little Pony stage, this is a great time to teach her about decluttering and even making extra money by selling gently-used things on Craiglist!
There’s tons of place that accept donations too – from Goodwill to local churches that might love a few nice toys for their nursery. Or you might have nieces or nephews or know a friend’s child who might appreciate something. This is also a great way to teach kids about giving.
#3 Minimize
This is my favorite step because such a big difference!
There’s a ridiculous amount of toys available nowadays, but kids do not need hundreds of toys. They don’t even need 20!
Go through your kids’ toys with an eagle eye. Get rid of things they don’t play with. Even if it is a cool toy, do they really need three different kinds of train sets? (More on this next.)
Instead of 30 toys your kids only occasionally play with and frequently scatter all over, pare that down to 5 or so things. You’ll be amazed at how much easier this is for everyone! As an added bonus, you’ll find your kids enjoying the things they do have.
I got rid of most of my children’s toys last summer and it was one of the best decisions I’ve ever made. Not only are there fewer things for my kids to clean up and for me to organize, but my children love their things now!
#4 Toy Rotation
If you have multiple children like me, you might not want to get rid of the cool building set your oldest son outgrew because your younger kids will probably enjoy it later.
The same thing goes for multiple sets. Maybe you have a beautiful wooden Chuggington train set, fun GeoTrax, and also Thomas the Tank Engine. All three are wonderful and you don’t want to get rid of them.
The solution? A toy rotation.
I’ve used this trick for years and love it! (My kids do too!) The idea is simple – keep a minimal amount of toys available for your kids and store a few select extra toys that are really nice, expensive, or will be used later by younger children.
“Select” is the keyword here because you won’t want to take over your attic or basement with a ton of extra toys. Just save a few that you know will be used later.
Then every so often, swap out a current toy for one in storage. The kids will love it because it will be like something new and you’ll be happy to not be cleaning EVERYTHING up!
#5 Set Realistic Expectations
One of the biggest mistakes I’ve made with organizing toys is to expect too much from my children. Yes they need to pick up after themselves, but there’s also a point where it can be too complicated or simply I’m expecting too much.
They’re not going to keep their toys perfectly organized and that’s okay.
My boys’ bedroom does not look “Pinterest perfect.” And it’s not going to. That’s okay.
Believe it or not, that’s organized for them. And me too. There’s a a puzzle shelf, a favorite game shelf, and books. When we do “clean up” time and I inspect, I have the boys straighten it a bit more, but I don’t expect perfection.
Naturally I do expect more from my older children, but I still try to manage my expectations.
So there you have it – Designate, delutter, minimize, rotate, and realistic expectations.
With these 5 simple steps, you too can get your kids’ toys successfully organized. You’ve got this!
More Organizing Ideas
- DIY Recipe Binder to Organize Recipes
- The Easiest Way to Organize School Papers
- Budget-Friendly Pantry Organization for Busy Families
- The Easy Way to Organize Kids’ Clothes
Pin the image below to save the instructions for later.
Emily says
Where did you purchase these bins and wooden shelving? Thanks!
Erika says
I bought them used from facebook marketplace – I believe they are Ikea. Sorry I can’t point you in the direction to buy them! Maybe Ikea has a newer version?