I help moms with simple, natural ways to look after their families. Find recipes, fun stuff for kids, and simple DIY ideas. Plus natural solutions made easy peasy!
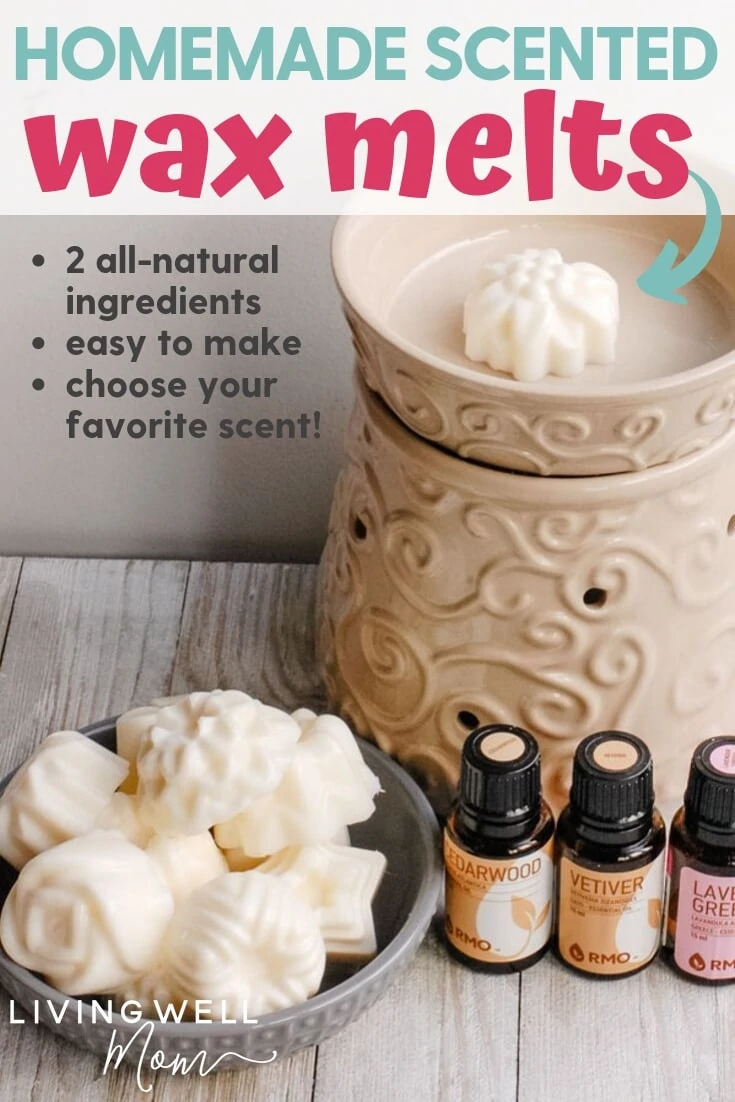
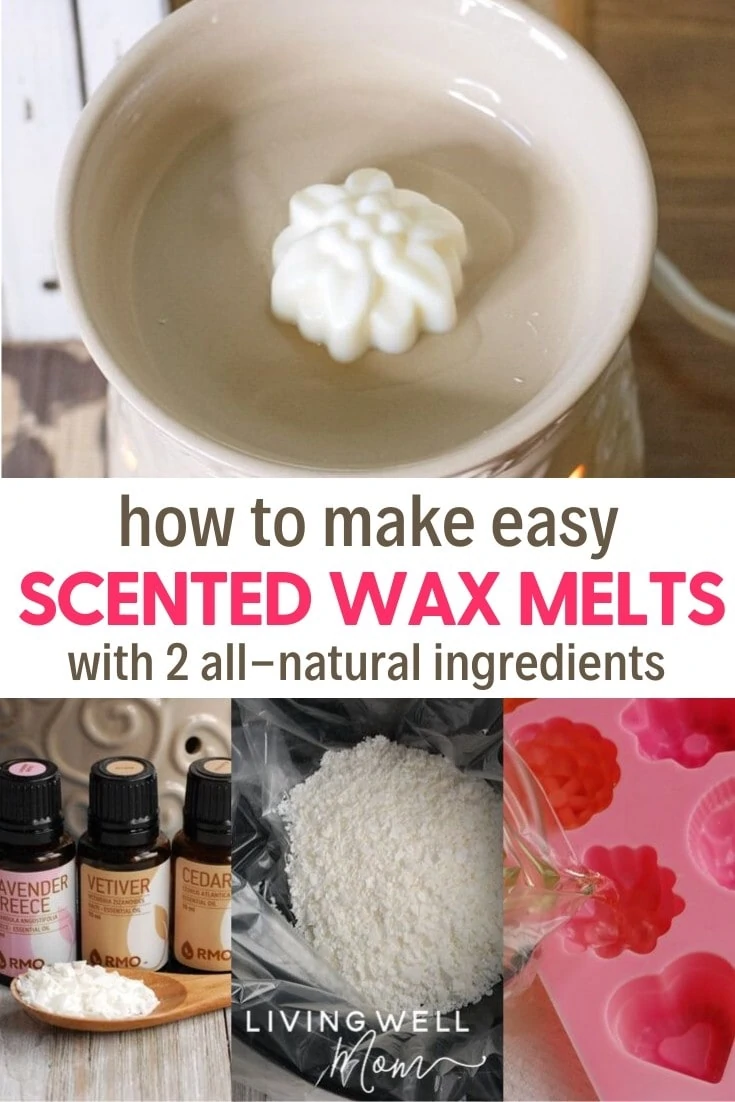
If you love scented wax melts but would prefer a version without chemicals, you should know you can easily make homemade wax melts right at home. I’ll show you how to make scented wax melts using simple all-natural ingredients, including essential oils instead of harmful synthetic fragrances.
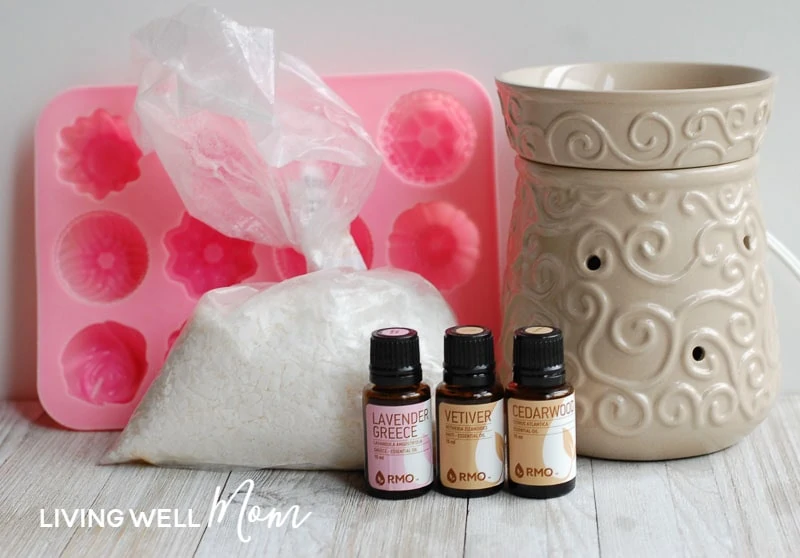
This simple wax melt recipe is extremely easy to make. You only need two ingredients: natural soy wax and essential oils of your choosing.
I’ll also show you how to make scented wax melts that actually have scent! So often I have purchased natural melts that have weak, barely detectable fragrances.
Soy wax was chosen for this recipe as it is non-toxic. This means that no toxins will be released while they are melted. Combine this with natural essential oils, you have an all-natural product with no unnecessary or unhealthy chemicals.
Which essential oils should I use to make my homemade scented wax melts?
You honestly can use any blend of essential oils that are your favorite. This particular recipe though is specifically for the purpose of calming and relaxation.
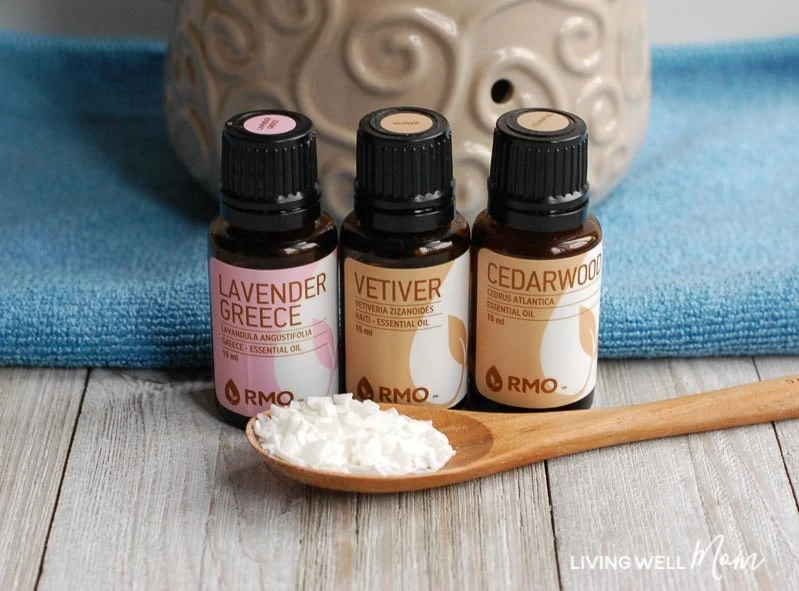
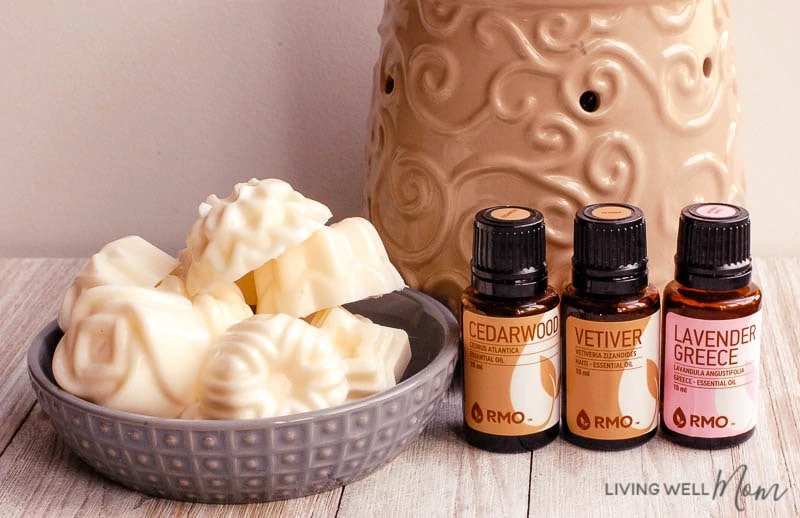
Three essential oils that are chosen are lavender, cedarwood, and vetiver.
Lavender essential oil is known for its sedative properties and may help reduce nervous tension.
Cedarwood essential oil is recognized for its purifying properties and may help with anxiety.
Vetiver essential oil helps with grounding your emotions and has calming and stabilizing properties.
I thought that the easiest way to melt wax mess-free is by using a slow cooker and a liner. That way, when the wax cools, you don’t have to worry about trying to clean it out of a pan or bowl used with a double boiler.
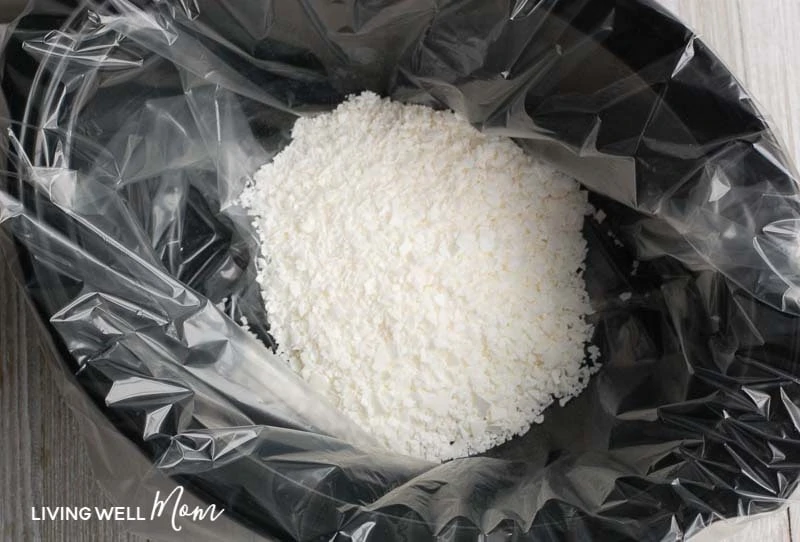
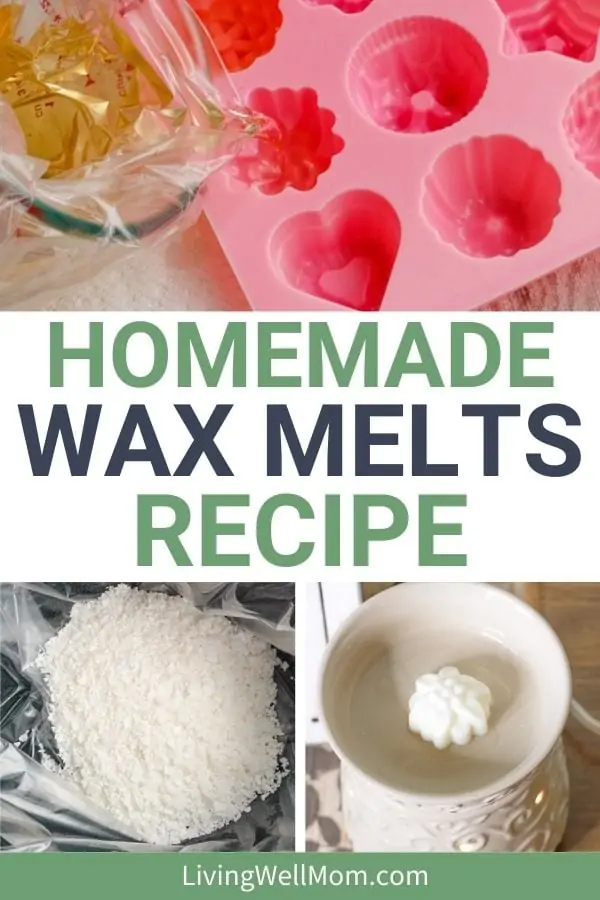
Line your slow cooker with a slow cooker liner, and pour in 2 cups of soy wax pellets.
Turn your slow cooker on low and wait a couple of hours for your wax to melt. (It may not take that long, but you can totally walk away and do something else while the wax melts, and come back to it when you are ready to add the essential oils.)
Step #2: Add Essential Oils
Let the wax melt completely. Next, add 40 drops of lavender, 30 drops of cedarwood, and 20 drops of vetiver essential oils and stir it together.
Step #3: Put into a Glass Cup
Gently remove the slow cooker liner holding the melted wax, and place it inside a glass measuring cup.
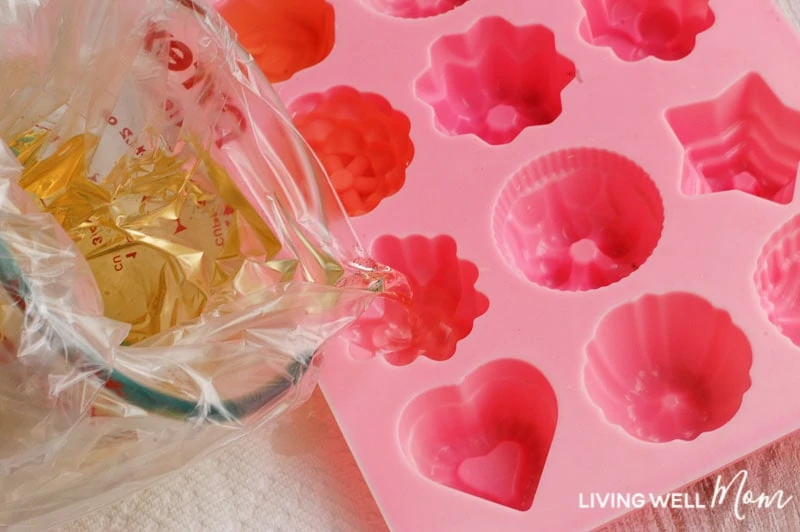
Step #4: Pour into Your Mold
Fold the plastic liner over the lip of the glass measuring cup so that you have easy pouring of your wax into your molds.
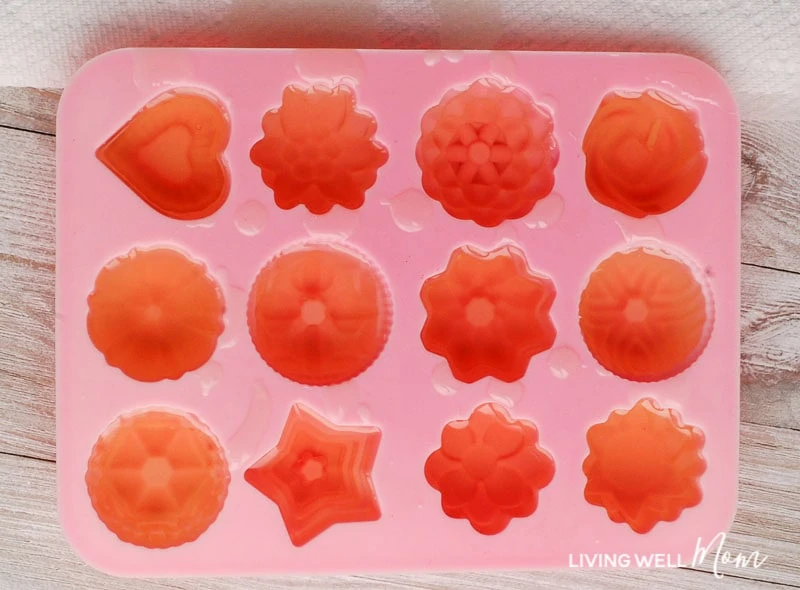
Then, pour the melted wax into each cavity of the silicone mold. Two cups of melted wax and essential oils just about perfectly fills up this silicone mold to make 12 wax melts.
Step #6: Allow to Harden
Let them sit for a few hours and cool completely before you pop them out of the mold.
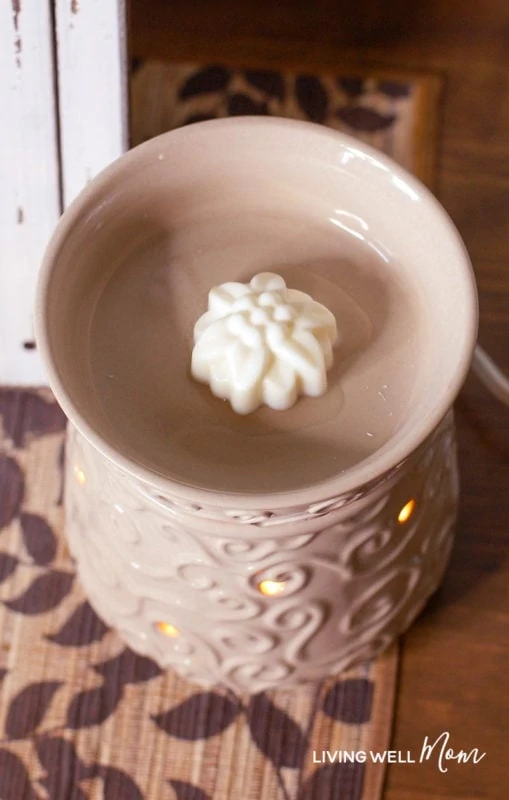
How to Use the Wax Melts
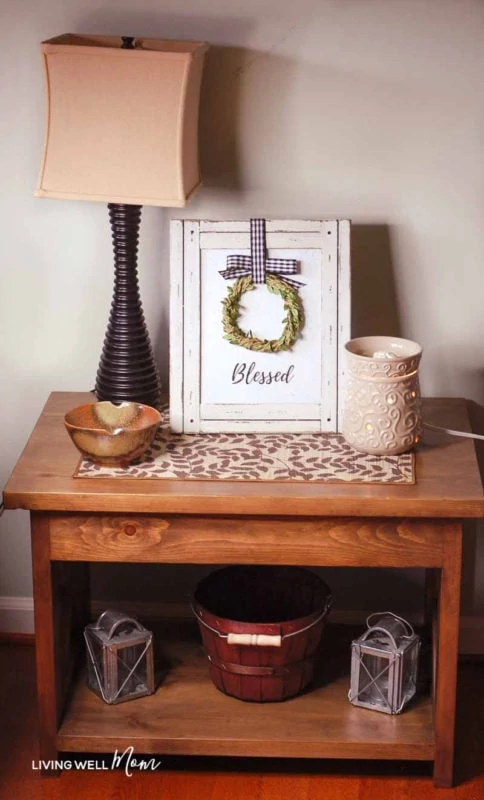
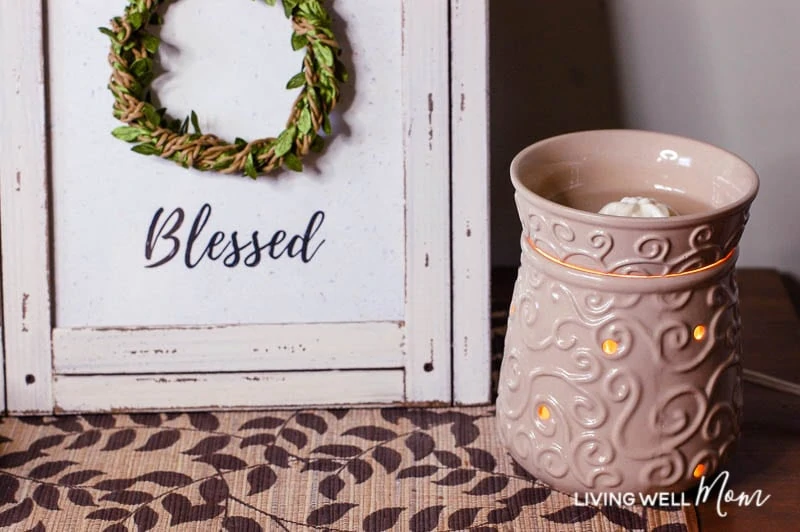
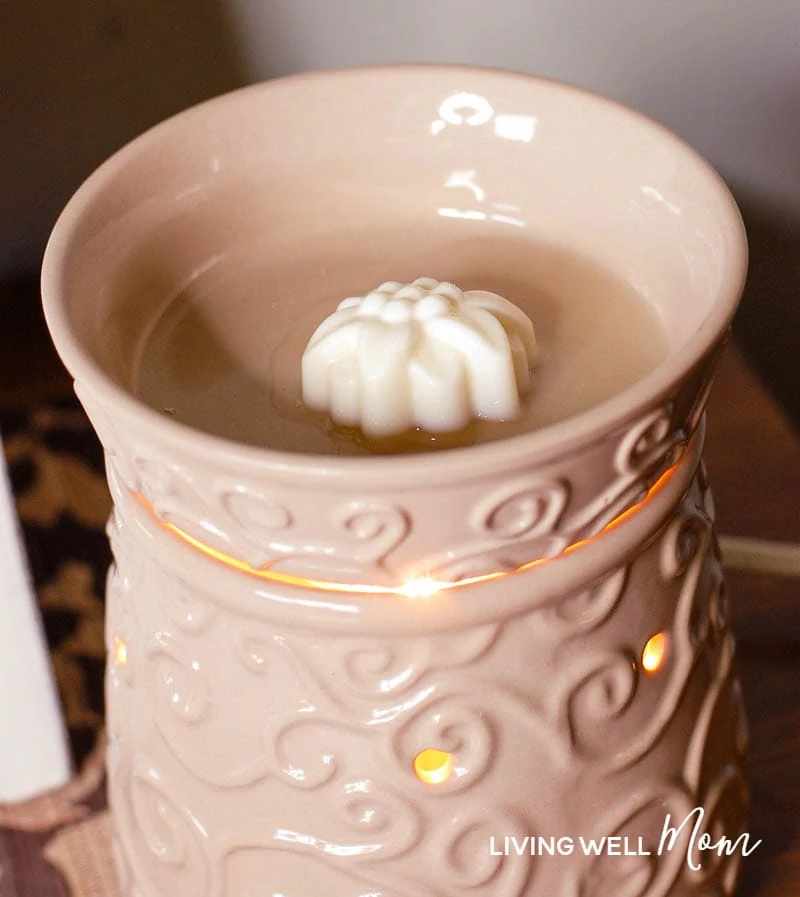
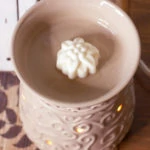
After your wax melts are cooled, you can now use them in your wax warmer! This particular waxwarmer can easily hold 2 wax melts.
There are different kinds available, but this is an electric wax warmer. Because of that, you will need to plug it in and wait a few minutes for the wax to start melting. Soon, the aroma will be diffusing and smelling wonderful!
This particular blend is meant to enhance a calming aroma in your room. Enjoy the relaxing scent with a good book and a cup of tea!
FAQs About Essential Oil Wax Melts
How do I make strong wax melts?
I mentioned in the above recipe that I used almost 100 drops of essential oils. For most people, this is plenty!
However, some brands have more scent than others. If you make yours and they don’t diffuse a strong enough scent for you, go ahead and add more drops of oil to your melted wax as it sits in the warmer.
How can I make my wax melts last longer?
One beautiful thing about this is that if your essential oils have evaporated off, and you aren’t getting a strong enough scent from your melted wax, you can easily fix it.
Simply add a few drops of each oil back into the melted wax. It will be “recharged” with scent, so to speak.
How to store homemade wax melts?
You should store these in a cool and dark place in an airtight container. That way, they won’t lose any of their potency out in the air until you are ready to use them with your wax warmer.
What can I do with old wax melts?
As I mentioned above, you can “recharge” your melted wax by adding more essential oils to it and make them strongly scented again.
Or you can stick the top of your wax burner in the freezer, just so the wax shrinks just enough that it will pop out. You can save that wax, remelt it, and even make some candles out of it if you’d like.
Which Essential Oil Brand is Best?
For the best results, you will want to choose a high-quality essential oil brand that is 100% pure and offers third-party testing for quality control. Read this post for more info on how to choose essential oils that work for you and your family (beyond the brand.)
How to make DIY wax melts using natural ingredients including essential oils. This easy 2- ingredient recipe has a strong scent for a lovely aroma with no chemicals.
Line your slow cooker with a liner, and pour in 2 cups of soy wax pellets. When the wax is completely melted, add 40 drops lavender, 30 drops cedarwood, and 20 drops vetiver essential oils and stir together.
Gently remove the slow cooker liner holding the melted wax, and place it inside a glass measuring cup.
Fold the plastic liner over the lip of the glass measuring cup so that you have easy pouring of your wax into your molds.
Pour the melted wax into each cavity of the silicone mold. Two cups of melted wax and essential oils just about perfectly fills up this silicone mold to make 12 wax melts.
Let them sit for a few hours and cool completely before you pop them out of the mold.
After your wax melts are cooled, you can now use them on your wax warmer!
Store your homemade wax melts in a cool and dark place and in an airtight container.
Pin the image below to save the recipe for later.
Dear Mom, Join the Living Well Mom Insiders
You’ll get exclusive content, “Sunshine for Your Day,” and more stuff Erika doesn’t share anywhere else!
About Maura
Maura, her husband and 2 daughters live in upstate NY. She is a former high school biology teacher turned into a work at home mom. She loves to have fun and find a great deal. As well as writing for Living Well Mom, she shares her frugal tips and DIY projects on happydealhappyday.com.
I’m looking to make my own wax melts, as I find the ones sold in the stores more and more unsatisfying. I have a question, though. How long does one melt with essential oils usually last? I’ve seen others saying that it’s best to use fragrance oil rather than essential oil because they last longer and smell stronger. What is your experience or opinion with this?
I think you are right in that the synthetic chemical scents probably do last longer, but if you are trying to go more natural, essential oils are the way to go. And once the scent wears off, you can just add more essential oils to your warmer and it smells great again!


and a slow cooker liner
Safiya Adra says
Looks very nice
Katrina says
I’m looking to make my own wax melts, as I find the ones sold in the stores more and more unsatisfying. I have a question, though. How long does one melt with essential oils usually last? I’ve seen others saying that it’s best to use fragrance oil rather than essential oil because they last longer and smell stronger. What is your experience or opinion with this?
Erika says
I think you are right in that the synthetic chemical scents probably do last longer, but if you are trying to go more natural, essential oils are the way to go. And once the scent wears off, you can just add more essential oils to your warmer and it smells great again!