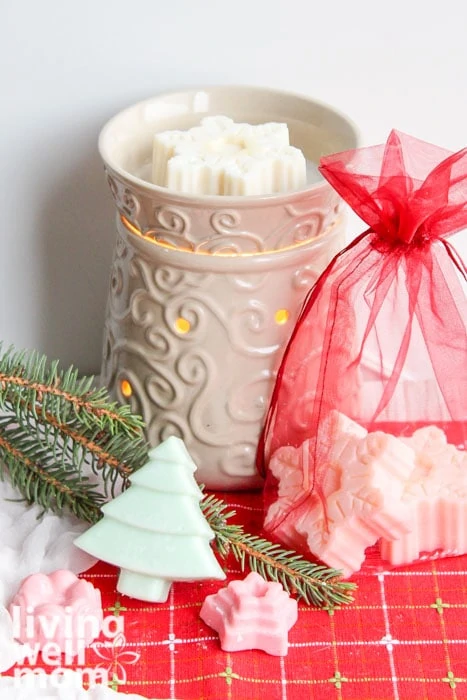
Looking for a simple way to enjoy all the yummy smells of Christmas? Look no further than these amazing Christmas wax melts!
If you aren’t sure what wax melts are, you’re in for a treat. These are a total game changer! The scented wax slowly melts thanks to either a lightbulb or a tea light in the warmer, leaving a lovely scent behind.
Even better? You can easily make them at home using all-natural ingredients, including essential oils, and avoid the chemicals found in store-bought wax melts and candles.

Homemade Christmas wax melts
You can find the original easy homemade wax melt recipe here if you are interested. But today, I’m putting a spin on the original and showing you how to make Christmas scented wax melts.
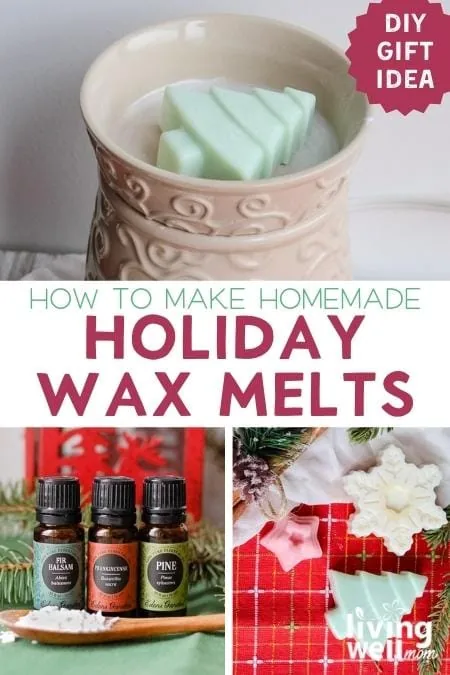
With a soy wax base, wax dye, and different essential oil blends, DIY scented wax melts are simple to make and are a perfect Christmas gift idea that you can give to friends, family, neighbors, and teachers!
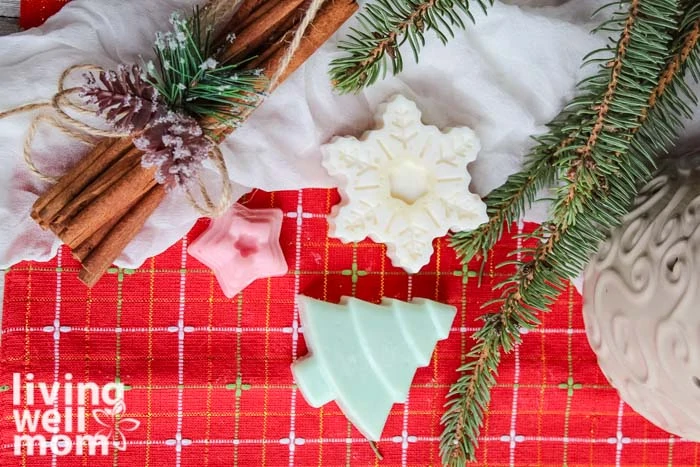
I’ve got three different Christmas scented wax melt varieties for you, including my favorite Christmas tree version. I’ll admit it was hard to choose a favorite, though, because they are all so yummy!
Why are these Christmas-scented wax melts so great?
- Easy to make
- All-natural ingredients
- Use the scents I suggest, or customize your own
- Use a variety of shapes and colors to bring out your own creativity
- A lovely homemade essential oil gift idea
DIY Christmas wax melts video tutorial:
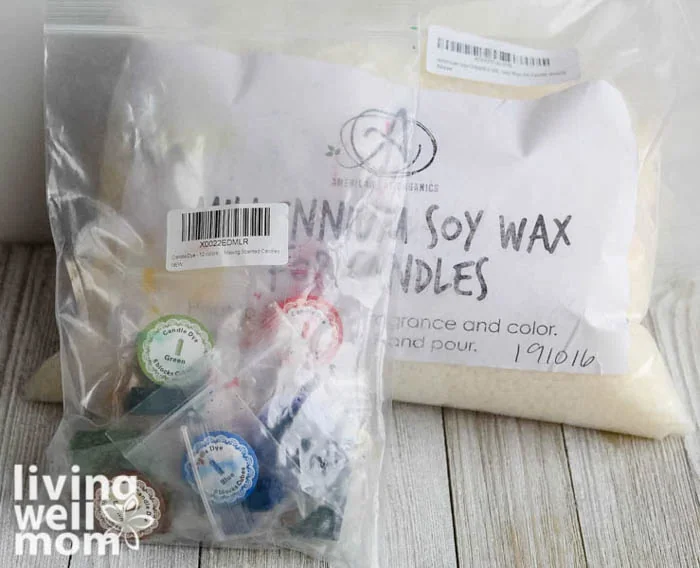
Supplies needed
- 3 cups of natural soy wax
- Approximately 3 blocks soy wax dye
- Essential oils (see below for ideas)
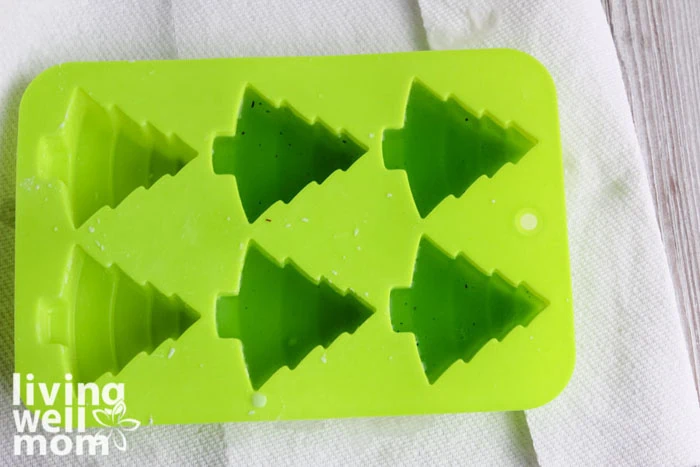
- Silicone mold – the exact ones I used are:
- Stars from this mold
- Snowflake mold
- Christmas tree mold
Note: The number of wax melts this makes depends on the size of your molds. It should be anywhere from 6-12 wax melts.
Essential oil blends for Christmas wax melts
Here are some of my all-time favorite scents for these wax melts.
1. Candy Cane Lane
If you’re a fellow peppermint fan, you’ll love this blend!
- 10 drops peppermint
- 10 drops spearmint
- 5 drops cinnamon
2. Joyful & Calm
Need a little breather from the hustle and bustle of the season? This scent will help get you there!
- 10 drops frankincense
- 10 drops orange
- 5 drops fir balsam
- 5 drops myrrh
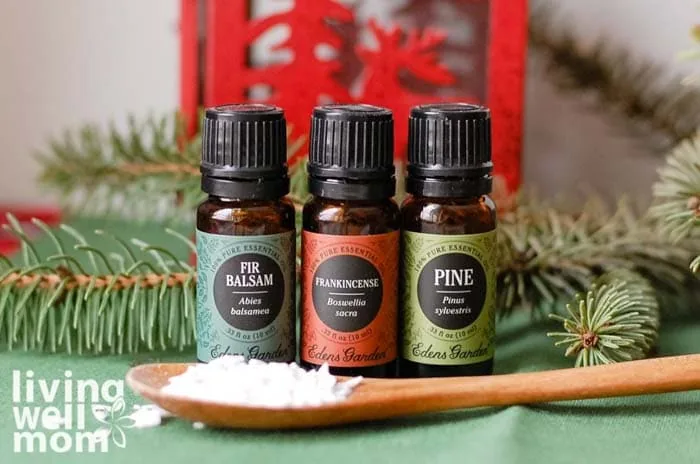
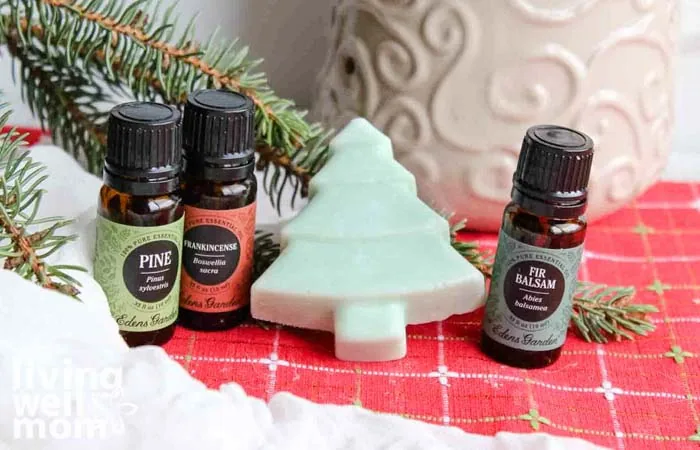
3. Christmas Tree
Use a blend of pine, balsam fir, & frankincense for this DIY Christmas tree essential oil blend.
Add 5-10 drops of each essential oil into your melted wax, followed by a cube of green soy wax melt dye. I only used half of a cube and wish I used a full cube for a deeper green color.
For even more holiday fragrance ideas, check out my post on Christmas Essential Oil Diffuser Blends.
Instructions
One of the easiest ways I have found to make the best Christmas scented wax melts is to use a crockpot and a plastic crockpot liner to melt the wax. But I’ll also show you how to make these on the stovetop so you can choose which method works best for you
Crockpot wax melts
- Line the crockpot with a plastic crockpot liner.
- Add 3 cups of natural soy wax.
- Cover the slow cooker and turn it on high. Then allow the wax to melt (about 20-30 minutes).
- Add 25-30 drops of essential oils and stir.
- Add the soy wax dye. I use about 1/2 to 1 cube, depending on how it looks. If you want it to be really vibrant, use 2 cubes.
- Allow the wax dye to melt, then stir again.
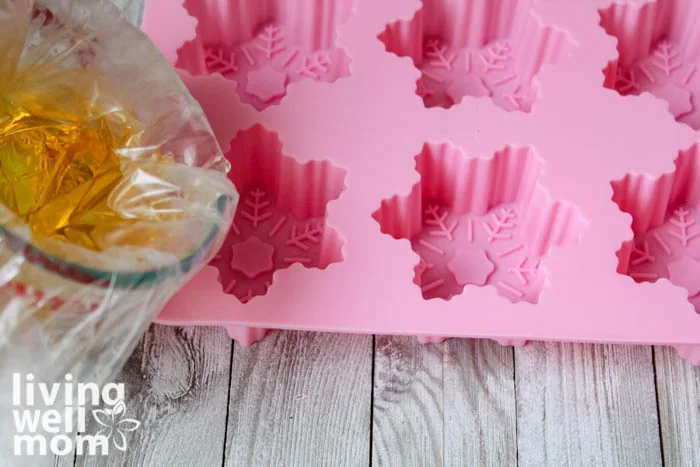
- Pour into the silicone molds. The best way to do this is to remove the plastic liner and place the whole thing – crockpot liner with the melted wax mixture – into a glass measuring cup. Then carefully pour the wax mixture into your silicone molds.
Stovetop wax melts
- Use a large saucepan with a double boiler. Add 3 cups of soy wax. Then, heat over medium-low heat, and allow it to melt slowly while stirring regularly.
- Add 25-30 drops of essential oil, and stir.
- Add the soy wax dye. Use 1/2 cube if you want a more muted color, and use 1-2 cubes if you prefer a bolder color.
- Allow the dye to melt and stir well.
- Pour the scented, dyed wax into a glass measuring cup. Then carefully pour into your silicone molds. Wait a few hours for your freshly made homemade wax melts to cool, and they are ready to use in your wax warmer!
Tip: For easy clean-up, put the double boiler in the freezer for a few minutes. That should help you peel off the wax from the pot.
How to store homemade wax melts
You can store your homemade Christmas scented wax melts in a sealed Ziploc bag, large mason jar, or sealed container. It’s best to store them in an airtight container to prevent losing the essential oil scent.
For the best results, I recommend using your homemade wax melts within a year, but they don’t really go “bad” in my experience.
Tips for making DIY Christmas scented wax melts:
- If you are looking for easy cleanup when using wax, use the plastic crockpot liner, and use plastic silverware or wooden compostable skewers to stir so that you can discard them easily.
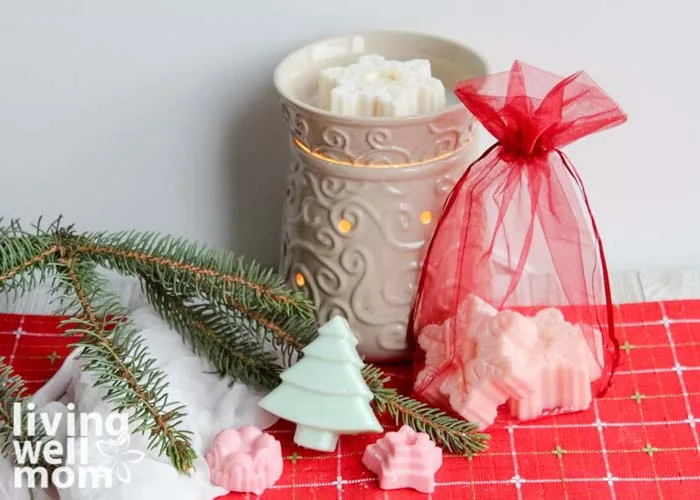
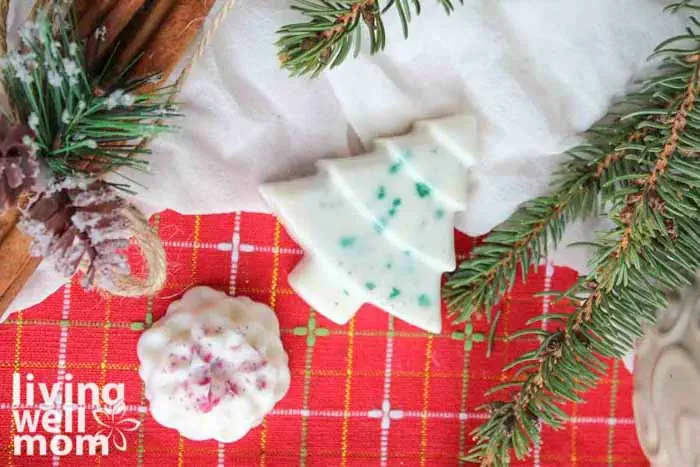
- For bold colors, use a full cube of wax color or even 2 cubes. For the Christmas tree wax melt below, I only used 1/2 cube wax color, and you can see that it’s very light. I will use 1 cube or more for my next batch.
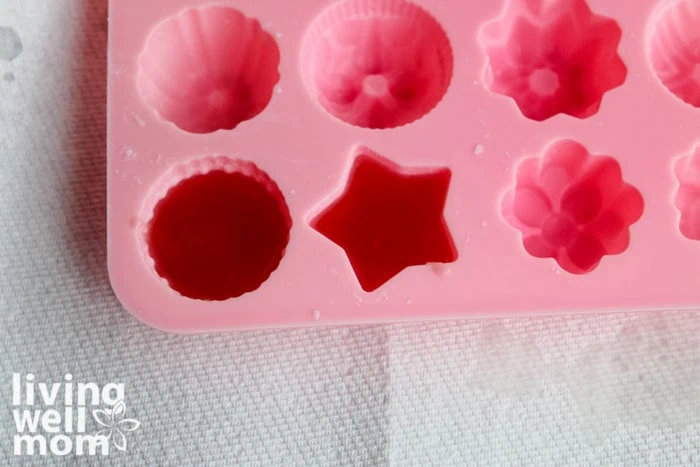
- I also learned that food coloring and soap coloring do not mix with wax! However, if you do have food or soap coloring on hand, it won’t be a complete waste. Check out the images below of how the wax melts turned out with food coloring. The speckled look actually gives the melts a unique appearance.
Go ahead and experiment with different dyes for each of your wax melt designs! These would look pretty with half of a wax dye cube sprinkled with some food coloring for colored speckles!
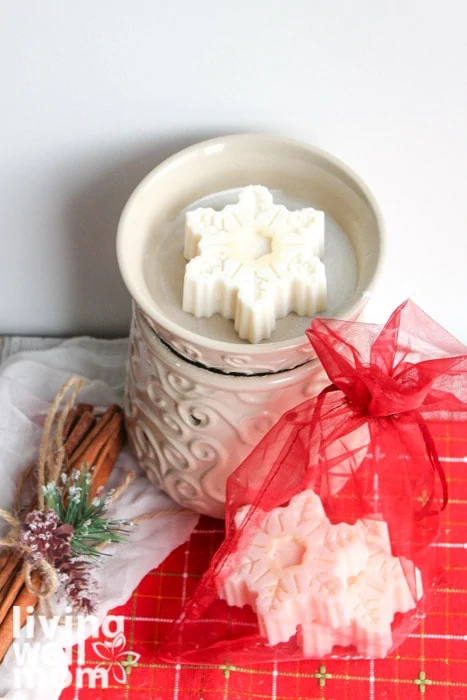
- If you want to use these as a gift idea, grab some red organza bags to put your wax melts in. Then add a gift tag, and you have yourself a great gift idea. Maybe even include the actual bottle of essential oils to go with the melts!
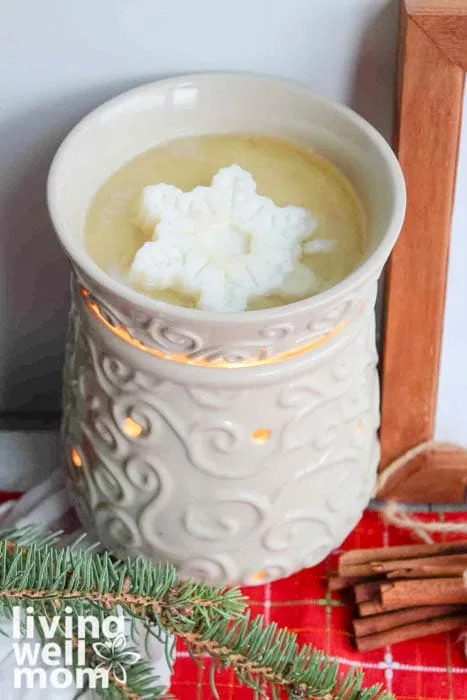
Tips for using DIY Christmas wax melts
When you add your wax melt to your warmer, you will need to wait 15-20 minutes for it to heat up, for the wax to start melting, and for the aroma of your essential oils to diffuse throughout the room.
Using essential oils rather than synthetic fragrance oils will decrease the amount of time the aroma stays strong. Add more essential oil drops as you need them to keep the scent alive.
Just add 1-2 drops into the melted wax mixture in your warmer, and you’ve refreshed the scent!

Tip: After you have used this wax in a wax warmer, you can go ahead and repurpose your wax and make homemade Christmas candles with it!
Whether you want your house to smell like candy canes or a Christmas tree, these three varieties of easy DIY Christmas wax melts are sure to help bring the spirit of Christmas into any home!
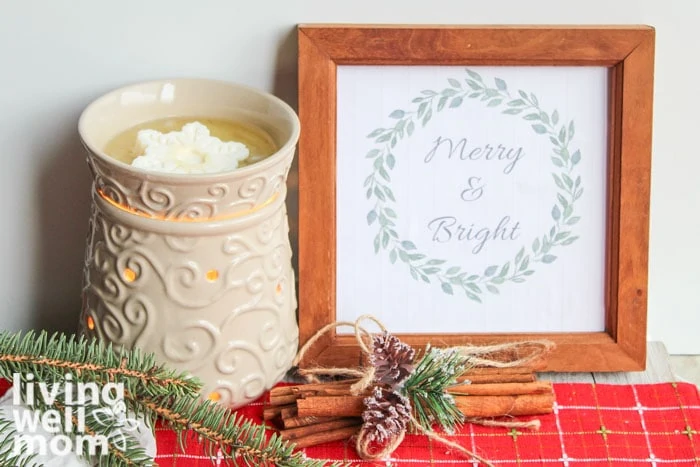
This also creates a fantastic decor item for any mantle or end table, along with some evergreen branches or framed holiday wall art. Your wax warmer will come in handy for sure to help celebrate the most wonderful time of the year!
More Christmas essential oil ideas:
- How to Make Homemade Scented Wax Melts with Essential Oils
- The Best 25 Homemade Christmas Essential Oil Gift Ideas
- DIY Air Freshener Spray with Christmas Essential Oils
- DIY Christmas Candles with Essential Oils
- DIY Essential Oil Diffuser for Your Christmas Tree
- Christmas Essential Oils Blend
Easy DIY Christmas Wax Melts (3 Varieties)

How to make easy DIY Christmas scented wax melts with essential oils – perfect homemade gifts! Includes 3 festive scents – Candy Cane Lane, Joyful & Calm, and Christmas Tree.
- Prep Time: 10
- Cook Time: 20
- Total Time: 30
Ingredients
- 3 cups of natural soy wax
- Approximately 3 blocks of soy wax dye
- 25-30 drops of essential oils:
- Candy Cane Lane – DIY blend with peppermint, spearmint, & cinnamon
- Joyful & Calm – DIY blend with orange, frankincense, orange, fir balsam, & myrrh
- Christmas Tree – DIY blend with frankincense, pine, and fir needle or balsam fir
- Silicone mold:
- Stars from this mold
- Snowflake mold
- Christmas tree mold
Instructions
- Line your crockpot with a crockpot liner for easy clean-up. (Or use a large saucepan over the stove.)
- Add 3 cups natural soy wax pellets into your slow cooker or sauce pan.
- For the crockpot, melt on high for 20-30 minutes. For stovetop, melt on low-medium heat stirring often.
- Once the wax is melted, add 25-30 drops of your preferred essential oil blend.
- Add the soy wax dye and allow it to melt. Use 1/2 cube for soft muted colors or 1 cube, even 2 cubes for a bright bold color.
- Mix everything together.
- For the crockpot, remove the plastic liner with the melted wax mixture inside and place it into a glass measuring cup. For the stove, pour the mixture into a glass measuring cup (you can line it with a gallon ziploc bag for easier clean-up if you prefer.)
- Pour the melted wax mixture into your silicone molds.
- Cool for a few hours.
- Use in your wax warmer.
Notes
Tip: Because the essential oils are natural, the scent does not last as long as the synthetic fragrances do. You may want to add 2-4 extra drops of your desired essential oil blend to the warmer to renew the scent.


Leave a Reply