School memory boxes are a great way to organize papers and store precious keepsakes from your child’s school years. This free set of printable grade sheets and labels makes this DIY kid’s memory box one of the best ways to store school memories in one convenient location.
When kids go back to school, it doesn’t take long before their school papers, artwork, newsletters, and other documents come pouring in. While you can read and toss a lot of things, there are many more you’ll want to save and cherish as memories for a long time to come.
Sure, you could buy one of those adorable school memory books. But purchases like those quickly become impractical because they don’t hold enough. You could set up an elaborate file system for each child. Or you could toss everything into a box in the attic.
Believe me, I’ve tried them all!
An Affordable School Keepsake Box Idea
And what I’ve discovered is that there’s a better way to store things like:
- kid’s artwork
- certificates
- report cards
- school work
- and more!
Today, I’ll show you how to store school papers and memories in an organized and simple way.
Making your own school memory box using this system will easily store school memorabilia from pre-k all the way through 12th grade in a space-efficient manner.
And you won’t have to buy fancy organizing file folders or bins because chances are you already have what you need!
Note: this system is about storing memories over the years. If you need help keeping day-to-day school clutter organized, check out my system for organizing daily school papers.
Supplies Needed to Make a School Memory Box
Here’s what you’ll need to implement this system:
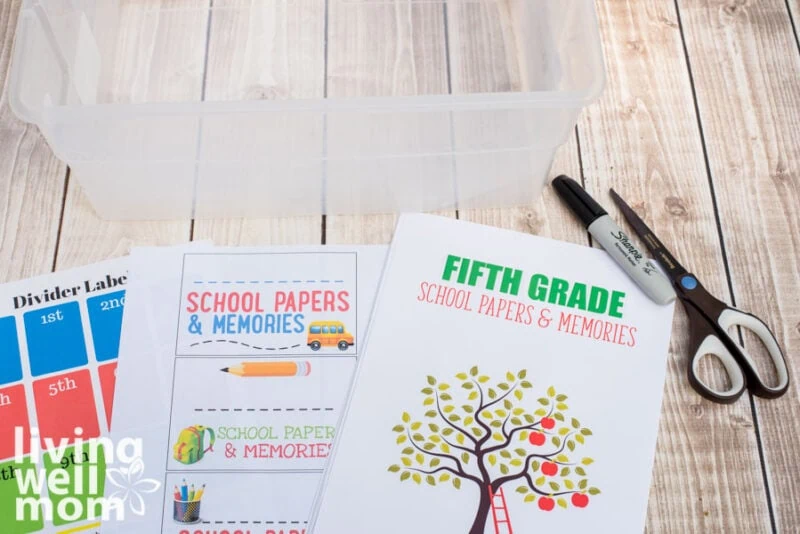
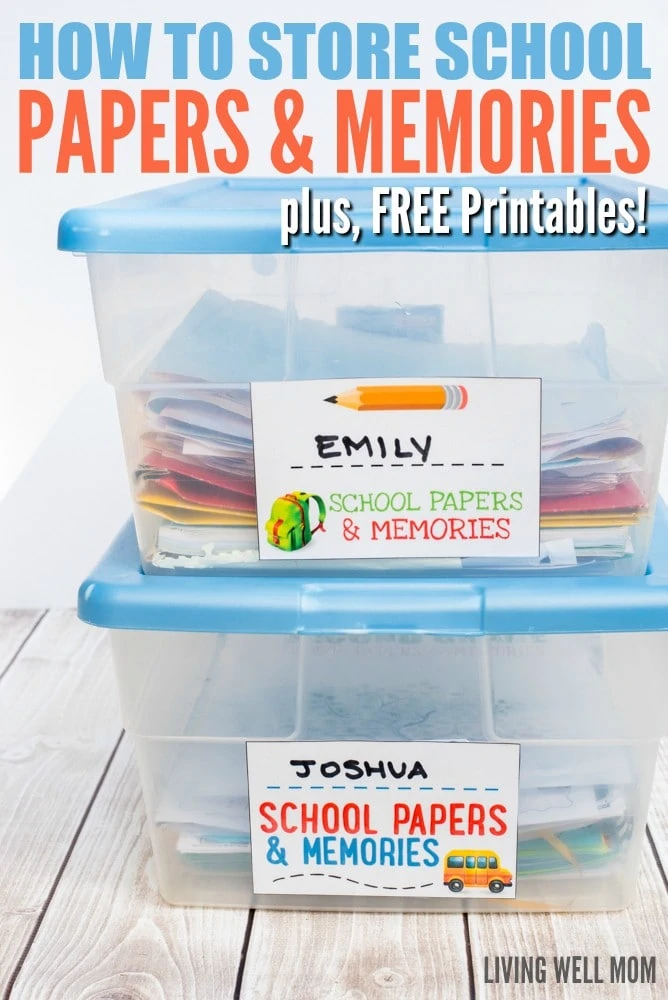
- 1 medium-sized bin for each child – I use the inexpensive 6-quart Sterilite bins
found at Walmart, Target, or Amazon.
- Scissors
- Marker
- Laminator
(optional)
- Laminating pouches
(optional)
- Hot glue gun
and glue stick
And, of course, you’ll need our Free Printable School Papers Labels & Dividers! 👇

Note: you might need more than one bin for each child as they progress through their grades. It just depends on how many papers, art projects, and memories you save each year. For example, my oldest still had plenty of space in his school papers storage bin after finishing 7th grade.
Free Printable School Keepsake Box Set
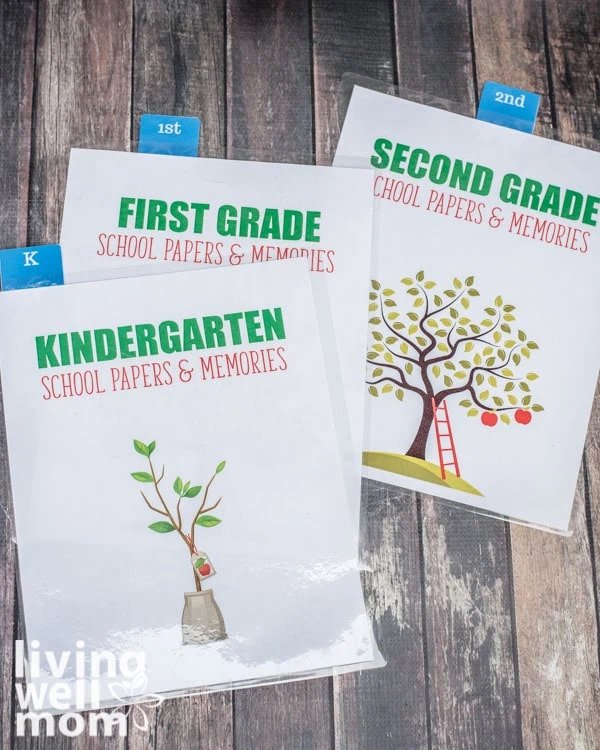
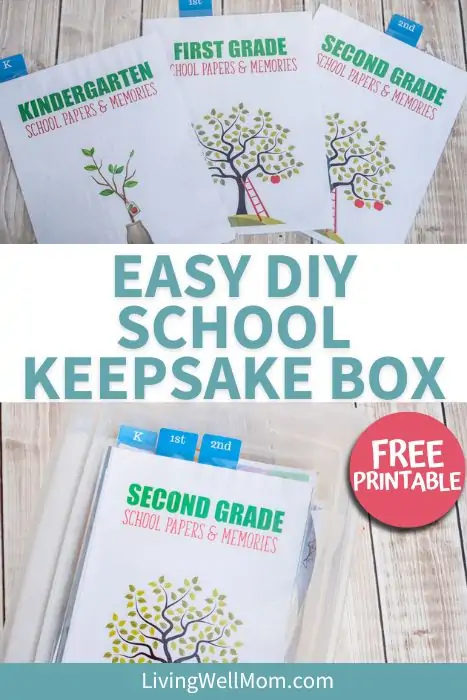
My amazing designer, Christine, created a beautiful set of printables for this organizing project. It includes two different sizes of school memory box labels to use on the outside of your containers, a page for each grade, and a page of divider tabs.
We designed these free printables to keep all your kids’ school papers organized easily and efficiently throughout their early years and entire school journey.
It’s a great way to preserve your child’s school memories and record their milestones so you never forget them!
I love how this school memories storage set looks because it begins with a tiny apple sapling for preschool and kindergarten and progresses to a big apple tree with a corresponding number of apples for each grade. Isn’t it fitting as our kids move through school?
How to Use School Year Memory Boxes
The process for creating your school year memory box is super simple. Here’s how to do it.
Step 1
Download and print what you’ll need for this project. You can print everything now or just the grades your children have finished or are entering.
I chose to print only what I needed because, with four kids, it would be a lot of printing and laminating to do everything at once!
Step 2
This is totally optional, but I highly recommend using a laminator for this simple organizing project.
It will help these pages and labels last longer over the years. If you haven’t already gotten a laminator, they’re not expensive and so much fun and practical to use!
Step 3
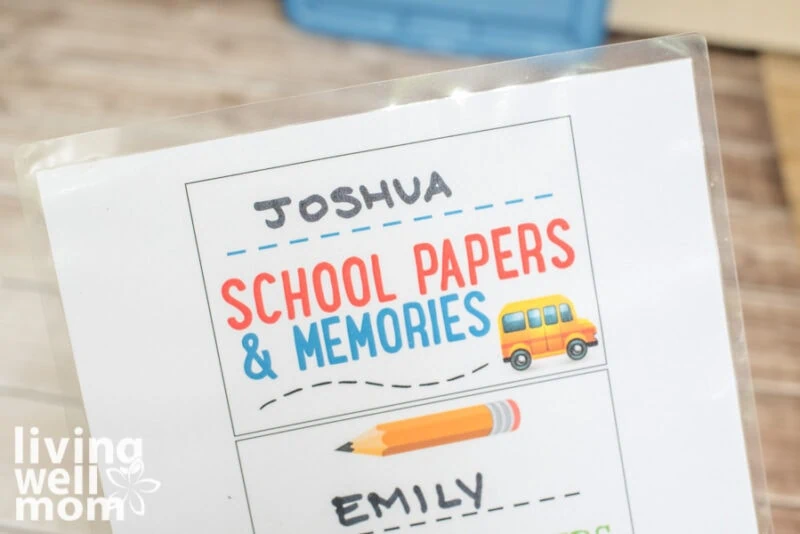
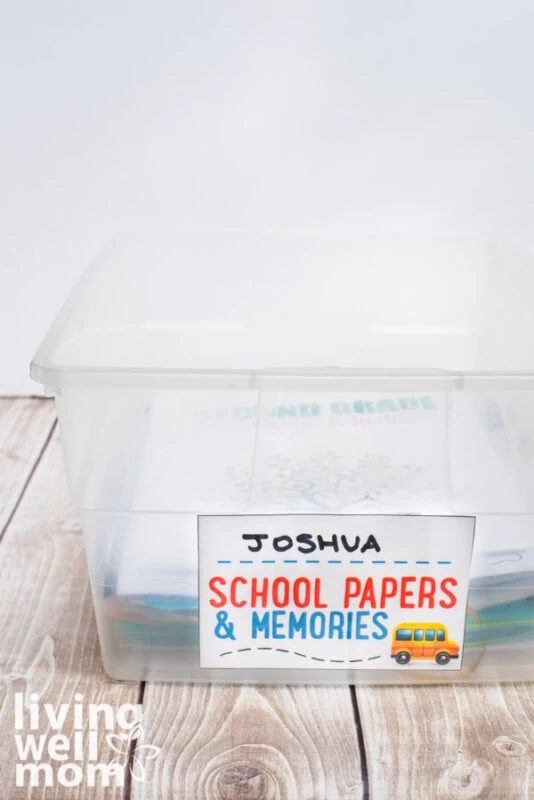
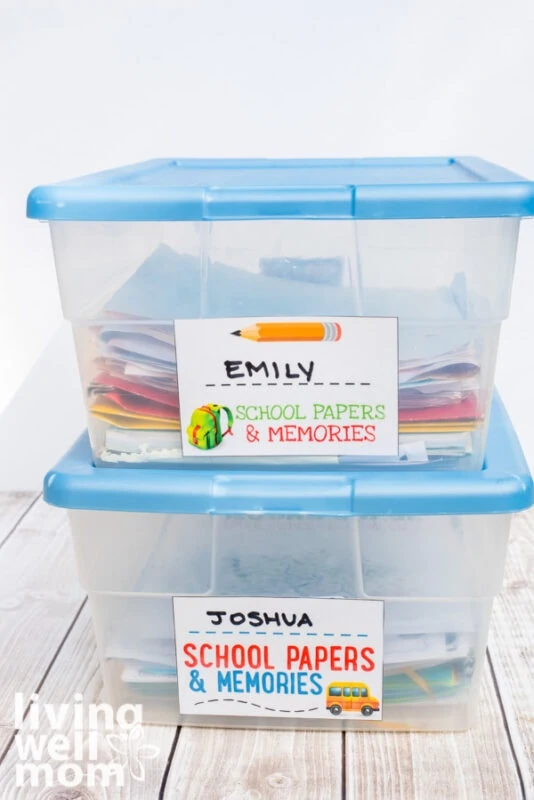
Choose which size label you’ll need for the outside of the container. Write your child’s name on it, then laminate the sheet for durability.
Step 4
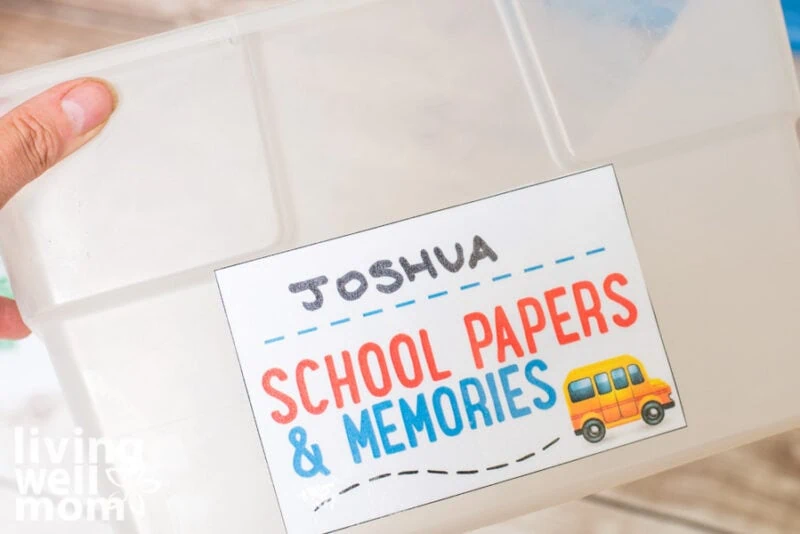
Cut out the labels and attach them to the outside of the container with tape. I used a little packing tape on the back of each label to adhere it to the bin.
Step 5
Next, laminate the divider page. If you only laminate one page, do THIS page.
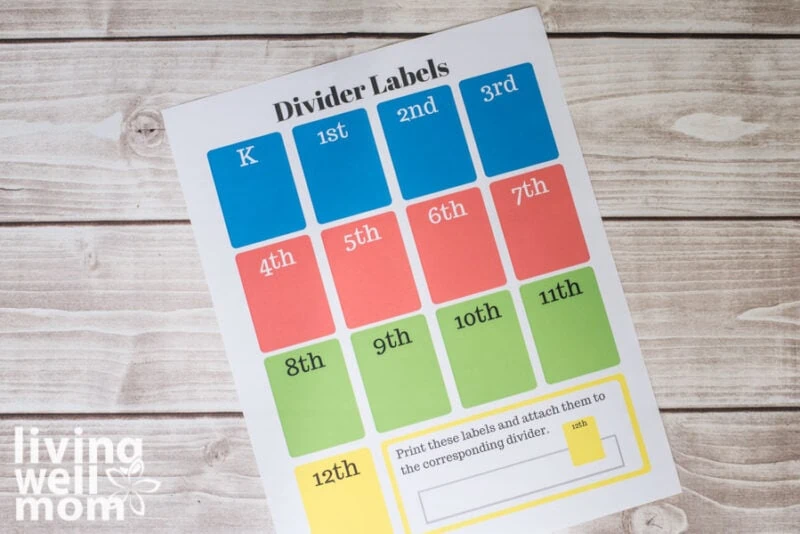
Step 6
Cut out the divider tabs you’ll be using.
Note: If you don’t want to do all 14 grades now (preschool, kindergarten, and 1st-12th), you can store this divider page at the bottom of the container until you’re ready for the next one.
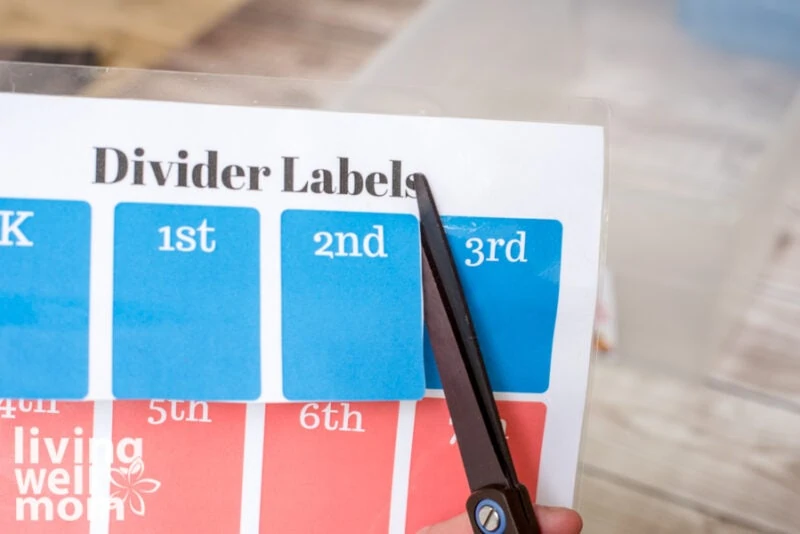
Step 7
Laminate the grade pages you’ll need.
Step 8
With a small hot glue gun, attach the divider tabs to the corresponding grade pages.
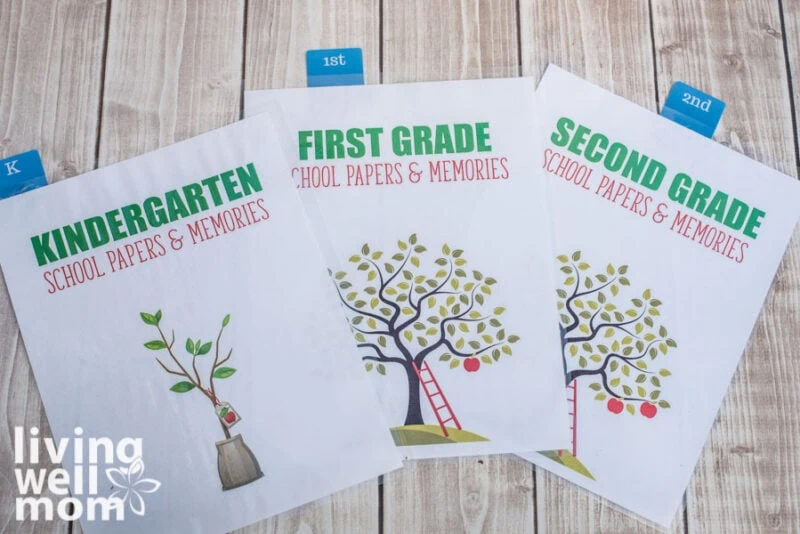
Step 9
Now add your children’s papers to the bin, beginning with the earliest grade (preschool or kindergarten).
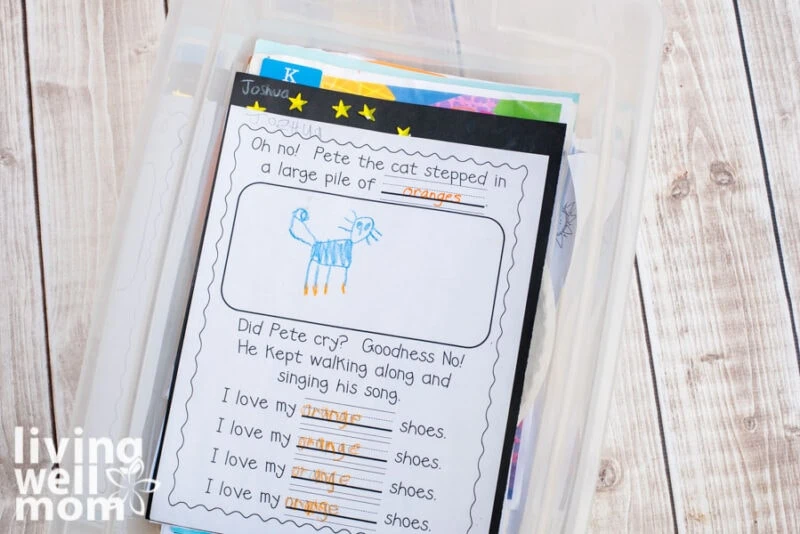
Then, place the corresponding grade page on top and add more papers. Continue this process until you reach your child’s current grade.
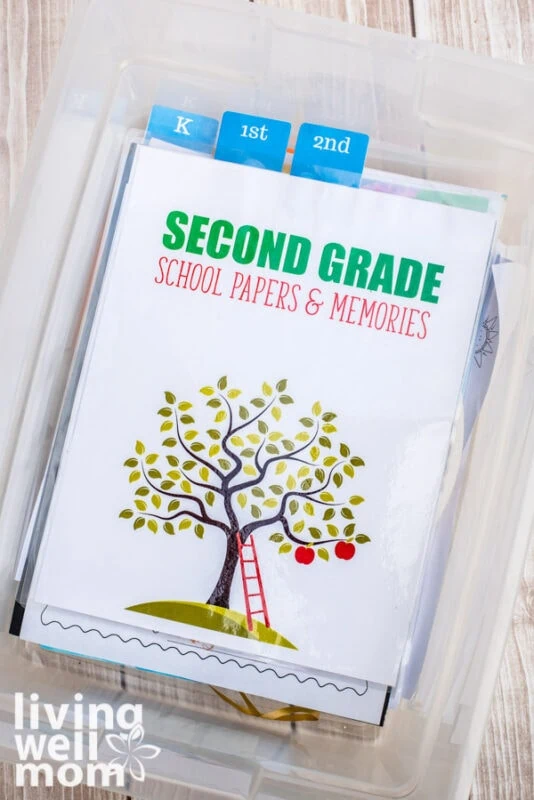
And that’s it. This is how to store school papers and memories the easy way!
School Memory Box Faqs
Here are the answers to a couple of questions that I see readers frequently ask about my system for storing your child’s school papers each year.
What should you put in a child’s school keepsake box?
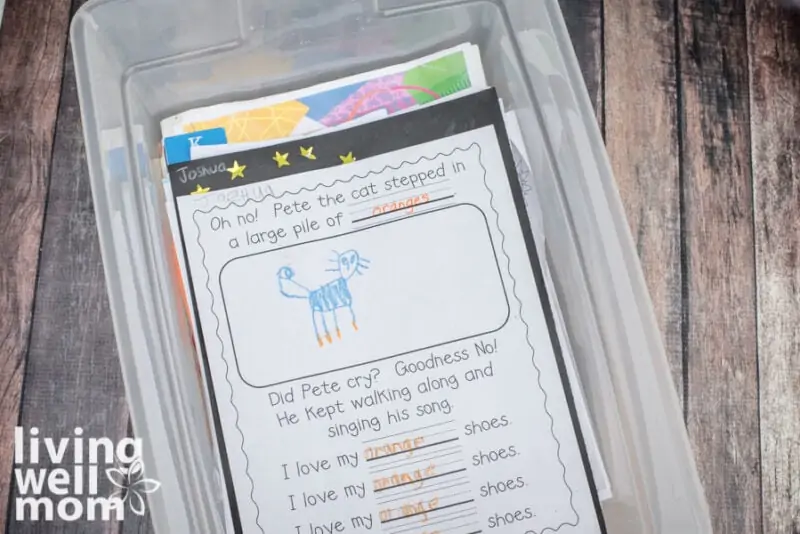
Anything you want that pertains to your child’s school year! It could be your child’s artwork, tests that they scored really well on, school pictures, report cards, special projects they completed, and SO much more!
I would say that anything that is meaningful or has sentimental value should be included.
How do you make a school memory box?
The process is simple (because why complicate it?). Get a good-sized bin, print out these free grade pages, divider tabs, and labels, laminate everything, and stack it all up in the bin. Then add the labels to the front of the box, so you know which box belongs to which child.
With our kids off to a fresh school year, this is a great time to get their school papers organized so you don’t get overrun this year! Putting this off until the end of the school year will just make it take longer to get everything organized (and declutter your home)!
Don’t forget to grab the free printable!

More Posts to Get Your Home Organized
- 4 Smarter Ways to Organize Your Medicine Cabinet (with Stuff Around the House)
- How to Organize Spices the Simple Way
- How to Organize Paperwork Once and For All in 3 Simple Steps
- The Easy Way to Organize Kids’ Clothes

Scott says
We also have made nice labels for our totes. But…never thought about laminating them! Such a ‘duh’ idea!
Vera Sweeney says
What a great idea!! I am always wanting to keep every piece of paper possible of the kids school work!
Sarah says
This looks SO much easier then what i’m trying this year! lol this will be better for the next years lol
diane says
Each of my kids has what we call ‘the special box’. It is a large plastic container with lid and it has everything from art projects to report cards to flyers from plays they were in. They will have plenty of memories to look through when they get older!
Ellen LaFleche-Christian says
What a great way to save memories. They grow up so fast!
Michael Hannah says
A great idea. It would be very interesting if the latter themselves open and remember the wonderful memories. Thank you for sharing.
Dana Barker says
The laminator link is not working. Can you reply with a working link? Thanks!
Erika says
Here you go. Thanks for letting me know, Dana. https://amzn.to/2q7xPCV
Vanja says
Hi Erika,
I just came across your page and the free printables for the school papers and memories. Thank you very much for doing those, they are perfect!!!
I would like to know if your designer Christine (or you) by any chance would have those for the 4 years of college???
Thank you very much!!!
Erika says
Hi Vanja, we don’t have any for college now, but I will keep that in mind for when I update this post soon. Thanks for the tip. And thank you for the kind words – I’m glad you like these!
Sarah Cummings says
Hi Erika! I just discovered your blog. This post is wonderful. I tried to download the fifth and tenth grade printables, but got an error- PDF failed to load. Are the links still good?
Thank you!
Erika says
Hi Sarah, I fixed it. You are right both the 5th and 10th grade PDFs were corrupted. No idea why or how – gotta love technology! Thanks for letting me know. 🙂
Stephanie Mahlberg says
Hi Erika!
I just wanted to say I love this idea it is so Cute!!
I was however wondering if there was a way to just change the colors of each grade and have each one a different color?
Thanks
Stephanie
Erika says
Hi Stephanie, I’m so glad you like this. We don’t have a way to change the individual grade colors right now but I’ll keep that in mind for the future.
Asia says
Hello! I loved your article and am trying to implement all these great ideas. But I have a doubt: the containers you linked on Amazon say they’re 8 1/4” in width, letter sized paper is usually 8.5”, is your school using different sized paper or is the link to a different product? Thanks!
Erika says
We definitely use standard-sized papers, so it looks like the product changed. So frustrating! Sorry about that. I’ll see if I can find an alternative product and link to that. Thanks for catching this.