These coconut bath bombs are a wonderful skincare DIY to tackle on the weekend. They are simple and formulated with only natural and non-toxic ingredients, making them safe for the whole family.
Even the little ones can enjoy a calming bath with these “bombs”.
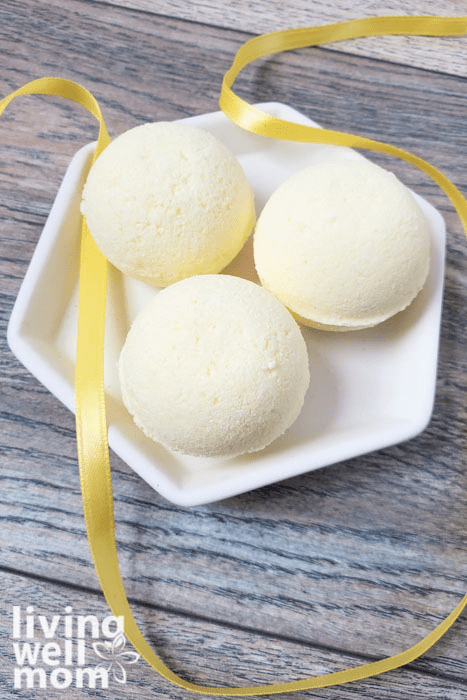
Plus, these make excellent gifts for friends and family—everyone is a fan of a relaxing soak that also nourishes your skin!

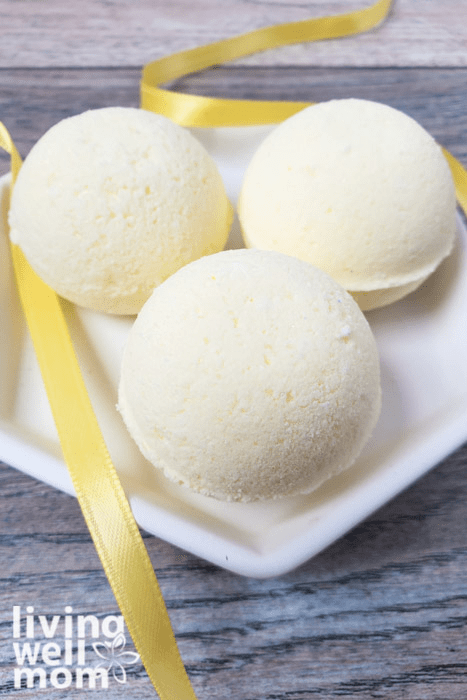
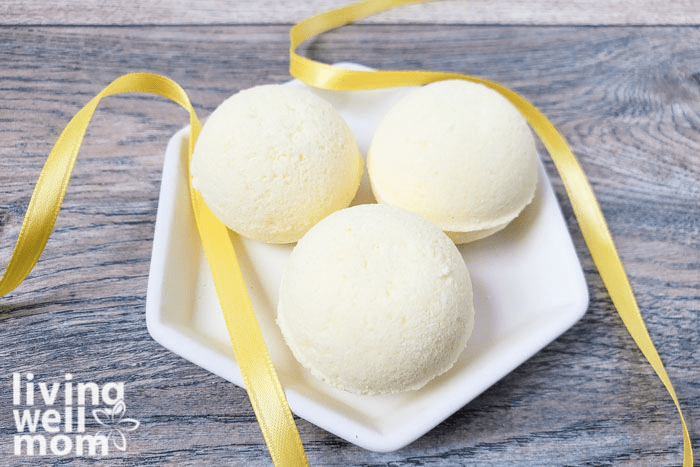
Coconut Oil Bath Bombs
This recipe is a real treat for your skin as it is made with rich fractionated coconut oil, which helps to moisturize away any dryness or dullness.
Even better? These bath bombs only have eight ingredients, all of which are all-natural and non-toxic. Unlike some other bath bombs, this recipe does not contain any glitter, preservatives, or other toxic ingredients.
You can enjoy these bath bombs knowing that they are made with ingredients that are safe—and beneficial—for you and your family’s skin while still being super fun to use!
What Is A Bath Bomb Good For?
Bath bombs are truly a treat for your body after a long, hard day. The ingredients provide great benefits for you and your body.
Moisturizes Skin
These bath bombs are wonderful for your skin, especially if you are prone to dryness. The coconut oil is moisturizing and can counteract the drying effects of the hot bathwater.
Bath bombs are a great way of making your soak more calming and gentle on the skin. This is particularly true when they incorporate skin-loving ingredients as this recipe does!
Relieves Stress
Baths are an amazing way of relaxing muscles, calming your mind, and relieving stress and anxiety. We all have those days where a bath is the only thing that will make us feel better.
Bath bombs create another stress-relieving element by providing aromatherapy for an extra bit of self-care. You’ll love the subtle coconut scent. It truly feels like a mini trip to the beach…minus all that annoying sand!
How To Use Bath Bombs
To use these bath bombs, begin by running a warm bath. You can put your bath bomb into the water at any time, either during or after the tub is filled. When I’m running a bath for the kids, they always want it added after the tub is filled so they can watch it fizz away.
Note: if you add the bomb before you climb in, make sure you carefully step into the water. Coconut oil can be slippery, so be cautious when getting in and out of the bath.
Coconut Bath Bomb Ingredients
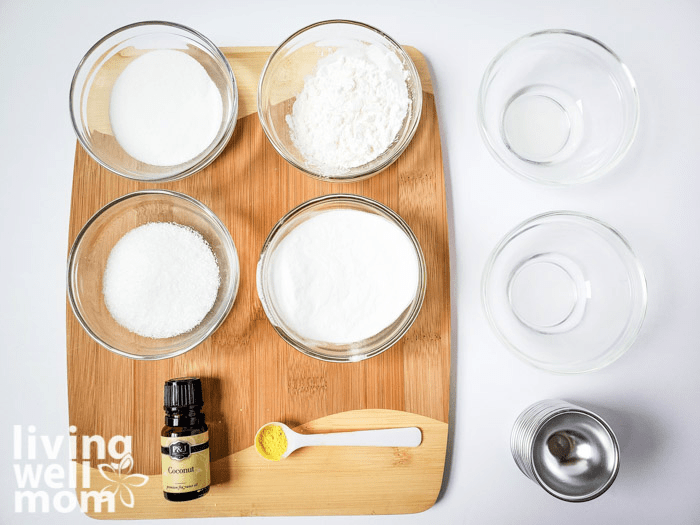
- 2 oz Epsom Salt
- 2 oz Citric Acid
- 2oz Corn Starch
- 4 oz Baking Soda
- 1 tbsp Fractionated Coconut Oil
- ½ tbsp Water
- ¼ tsp Yellow Mica Powder
- 20 drops Coconut CO2 Oil
- Bath Bomb Molds
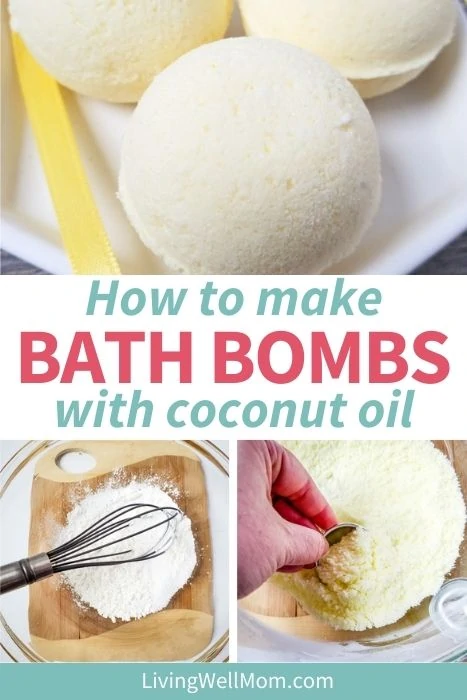
How To Make Bath Bombs With Coconut Oil
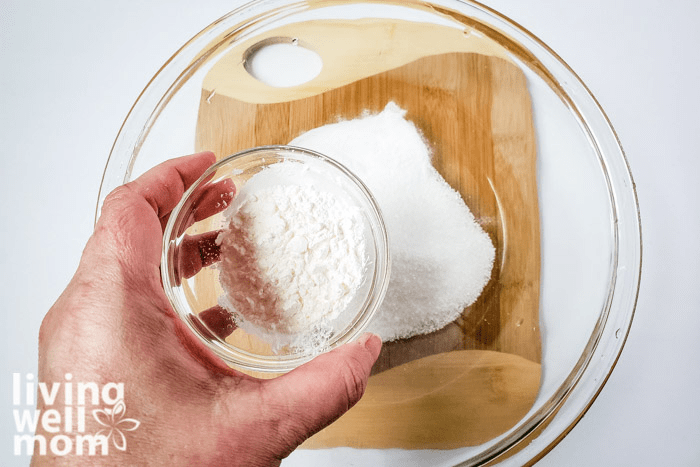
Add Epsom salt, citric acid, corn starch, and baking soda to a large bowl.
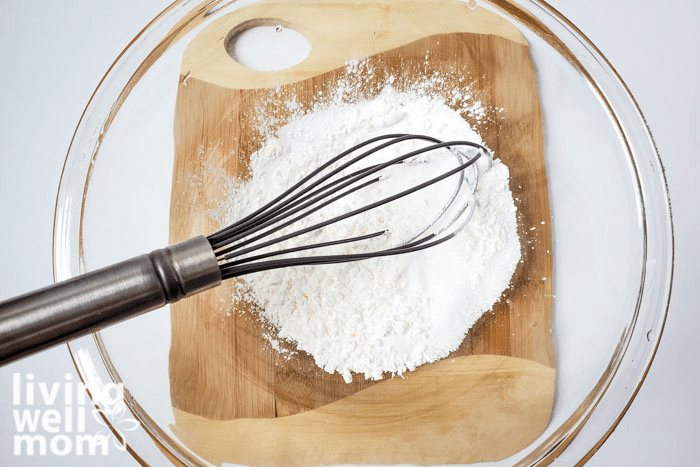
Using a whisk, stir very well for a few minutes until all of the ingredients are completely combined.
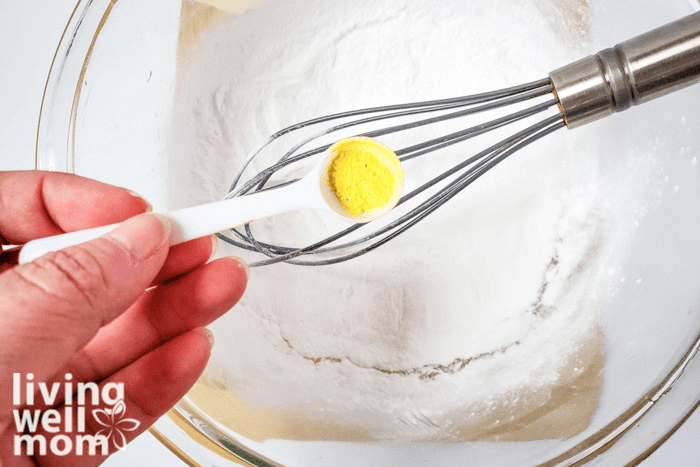
Add mica powder, and stir until color is combined.
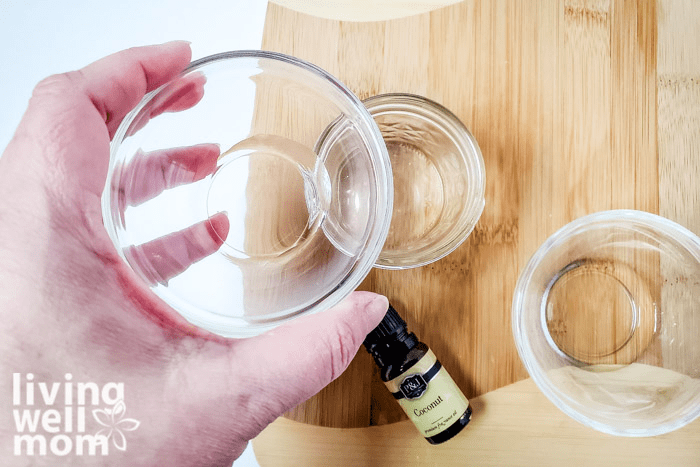
Add carrier oil, water, and coconut C02 oil to a jar, secure the lid and shake well.
Very slowly, one drip at a time, add the liquid mixture to the dry mixture, whisking the entire time. Whisk well until it’s all the same texture.
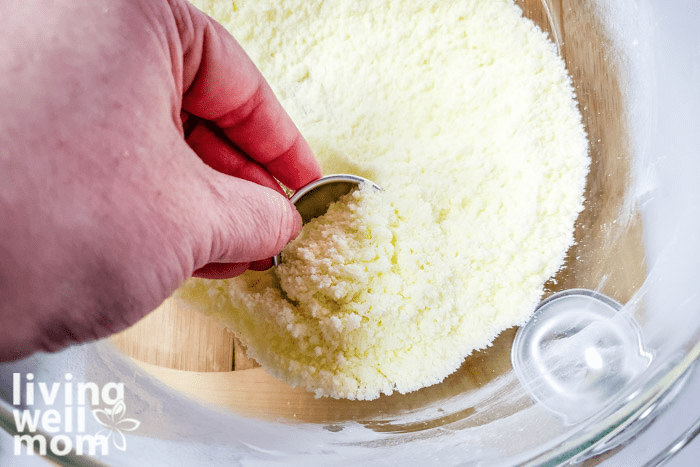
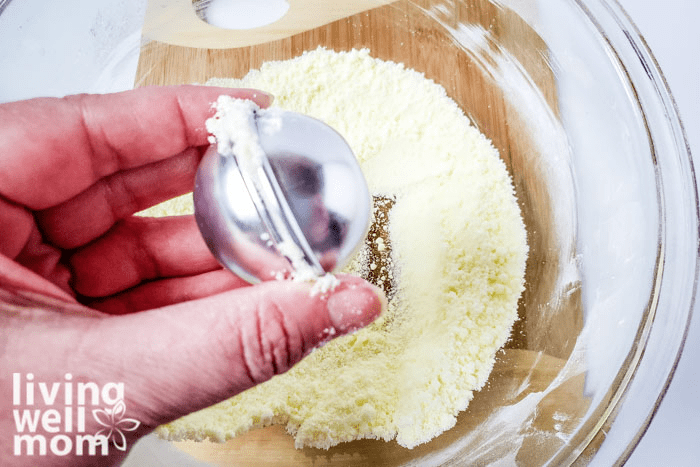
Add mixture to two halves of the bath bomb molds, overfilling each of them. Press together and give a quick twist to secure.
Allow bath bombs to set in the molds for about 6 hours, then remove them to finish drying. If it doesn’t easily release, tap the bottom with a spoon. See more tips below about how to de-mold!

How To Store DIY Bath Bombs
To safely store your bath bombs, make sure to seal them in a plastic bag or an airtight container. This keeps them from being exposed to any moisture so that they don’t begin to fizz and melt before you can use them.
Store away your bath bombs in a cool, dark area like a cabinet or drawer for the best results.
FAQs About This DIY
What does coconut oil do in bath bombs?
Coconut oil adds moisture to a bath bomb so that they require less water. Additionally, the oil is also very moisturizing to the skin. This nourishing property helps counteract any drying effects of the hot bathwater.
How long should you soak with a bath bomb?
Taking a bath with a coconut bath bomb is no different than taking a normal bath. You can enjoy your bath for as long as you like, or as long as the water remains comfortable.
Bathwater typically begins to cool down after 30 to 40 minutes, and of course, your skin will eventually start to get pruny!
How can I get my bath bombs out of the mold without breaking them?
The best way to remove DIY bath bombs from their mold is to tap them with a spoon, against the counter, or against the wall lightly. When removing the bomb, gently twist it to the side to help it release from the mold more smoothly.
If that doesn’t work, you could put the bath bombs in the freezer for a few minutes. This might shrink them slightly, making it easier for them to slide out. Or you could try to use the tip of a cutting knife to gently release the edges.
If nothing works and the bath bombs will not come out without breaking, your measurements may have been slightly off.
Don’t worry…they are still totally usable in pieces, though!
Will bath bombs ruin my bathtub?
The simple answer to this question is no., they will not ruin your bathtub -especially not these all-natural coconut bombs.
Sometimes ingredients in bath bombs can be hard on plumbing, but there are a few things that you can do to prevent this.
After getting out of the tub, take a towel and wipe off the inside of your bathtub to remove any additional coconut oil. If you want to, you could even use a natural tub cleaner to ensure that all of the oil is gone.
More DIY Bath Recipes You’ll Love
- Homemade Bubble Bath With Essential Oils
- Calming Bath Salts For Kids
- Homemade Coconut Shaving Cream
- DIY Natural Lavender Milk Bath
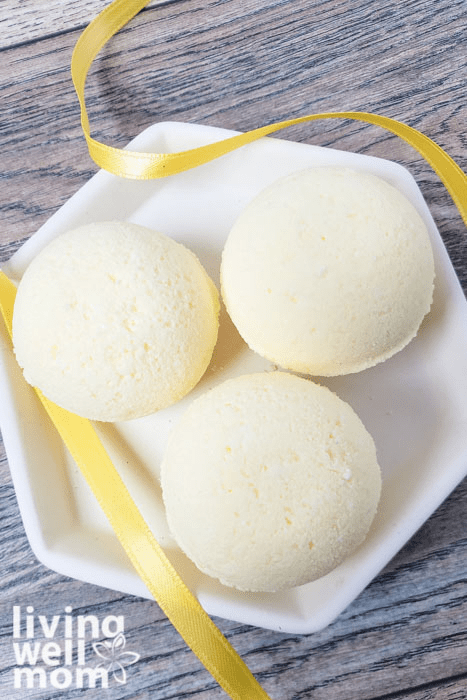
Pin the image below to save the DIY recipe for later.
Leave a Reply