Erika Bragdon is a Certified Essential Oil Coach from the Essential Oil Institute.
Shower melts are a wonderful way to start or end your day with soothing essential oil vapors while you enjoy a relaxing shower.
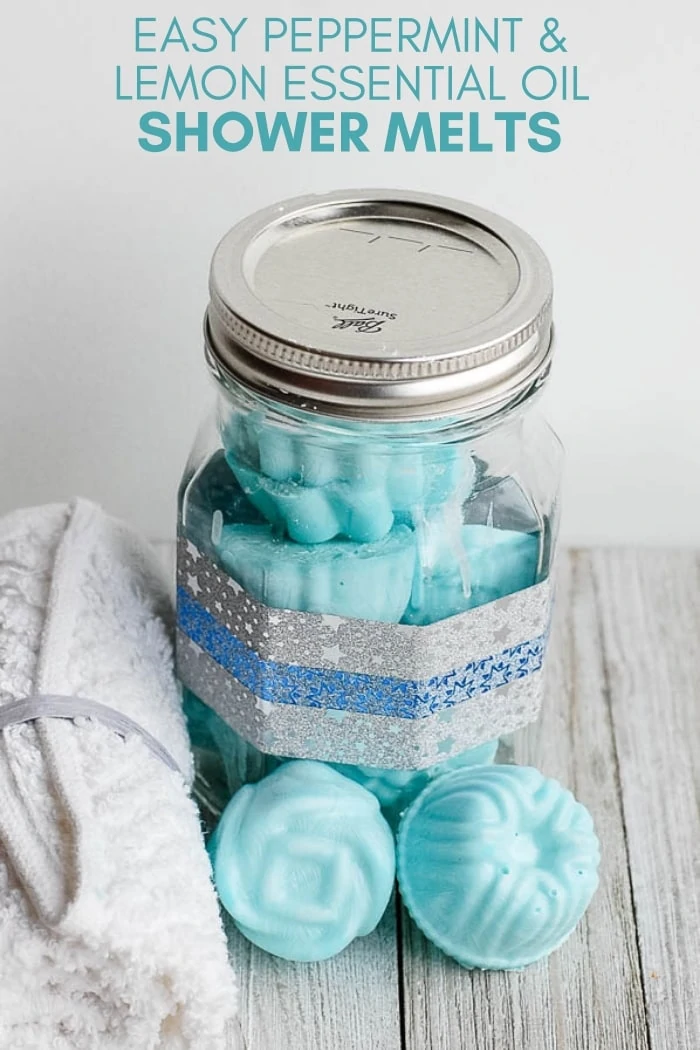
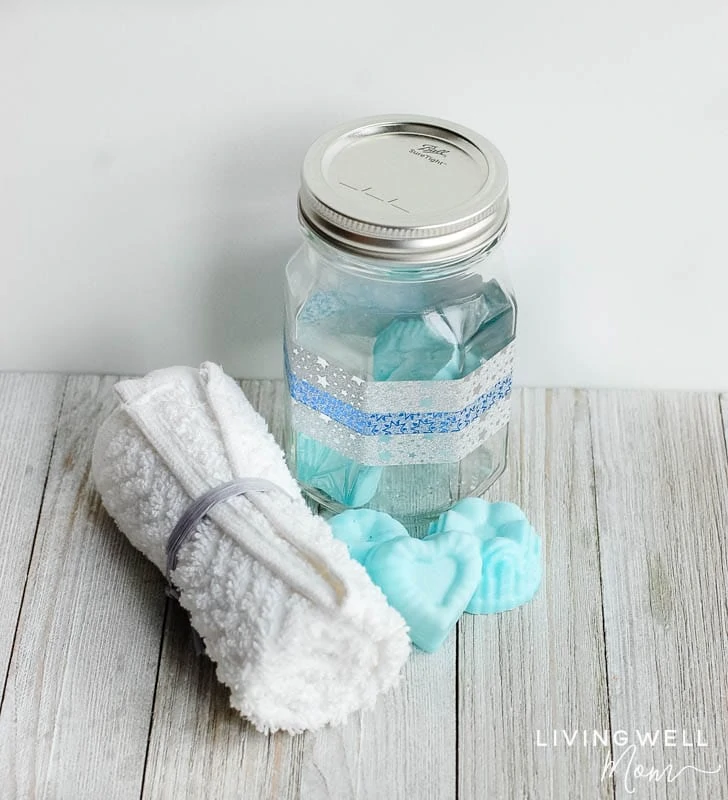
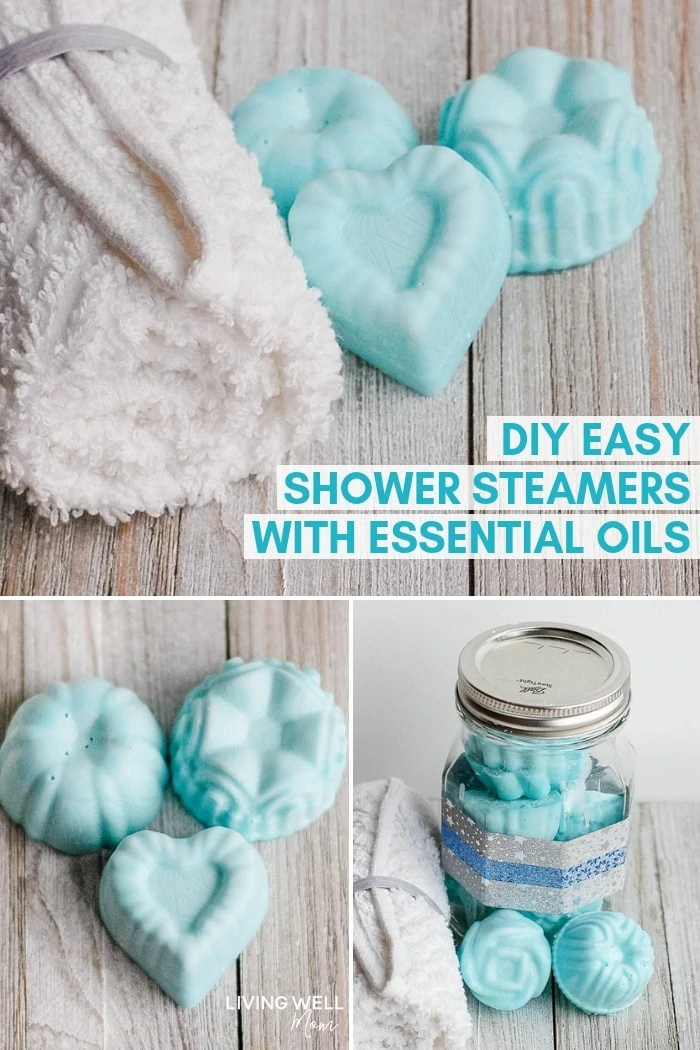
Today, I’m going to show you how easy it is to make homemade peppermint & lemon essential oil shower melts. Some people like to call them shower steamers, because a hot shower will steam and melt these DIY discs and release the essential oils into the air.
I came up with this particular DIY essential oil shower melts recipe as a way to help support during the cold winter months when we can be prone to stuffy noses and all those nasty winter bugs. If you’re looking for a recipe to wake you up in the mornings, try this DIY Energizing Aromatherapy Shower Steamers.
The essential oils included in this blend can be great for supporting some of these common ailments.
DIY Essential Oil Shower Melts
What You’ll Need:
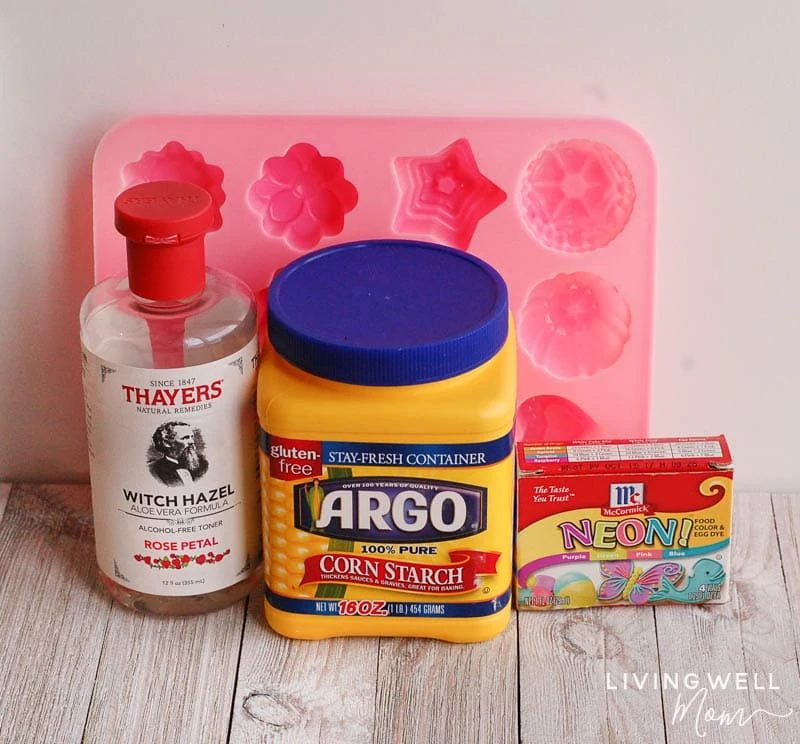
Supplies – water, silicon molds or ice cube trays, medium bowl, mixing spoon
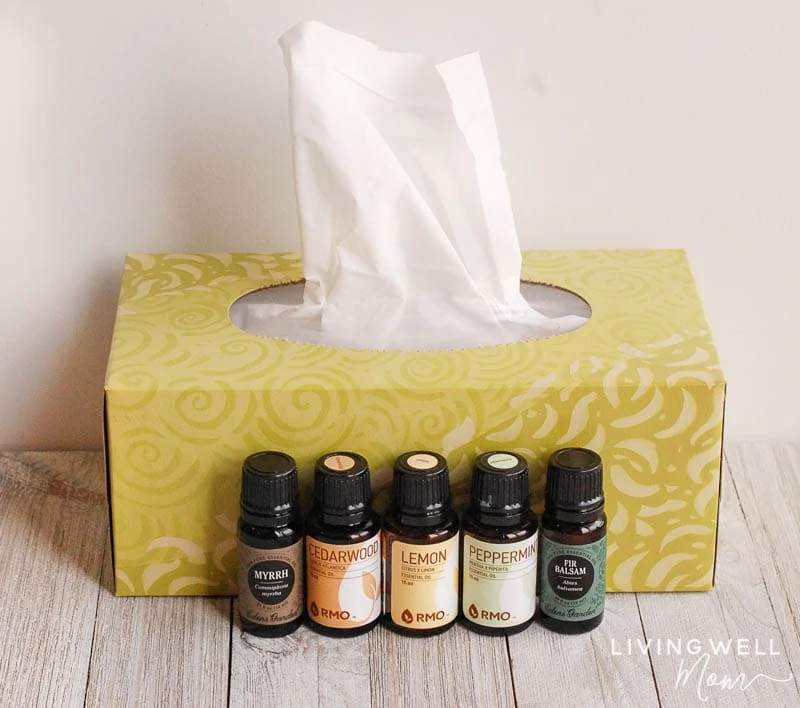
Ingredients – cornstarch, witch hazel, food coloring (optional), and peppermint, lemon, cedarwood, myrrh, and fir balsam essential oils.
(Scroll down to see the full instructions with a printable version.)
How do you make shower melts with essential oils?
You’ll find the complete instructions below in a printable recipe card for your convenience and I will also walk you through with step by step photos here.
You’ll begin by adding corn starch to your mixing bowl, then stir in the witch hazel.
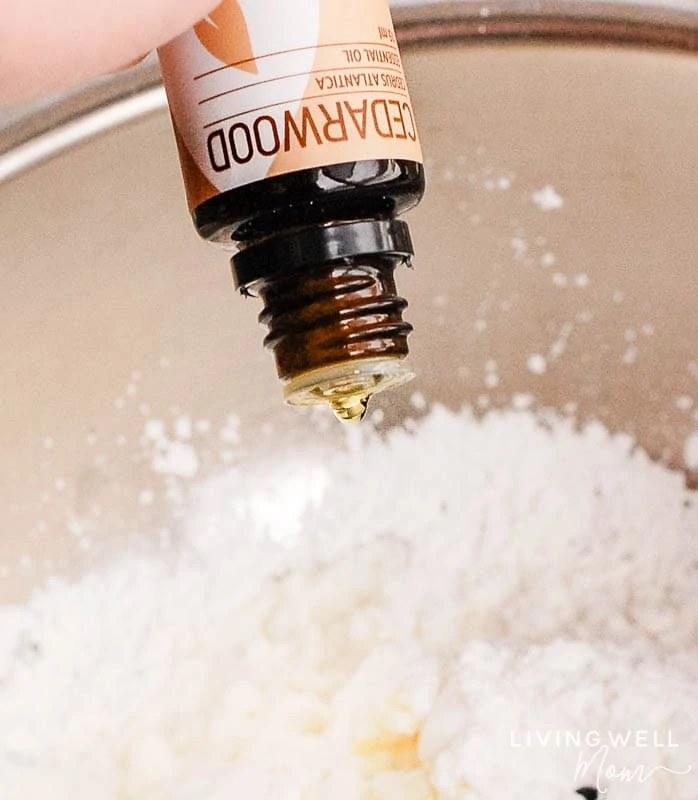
Next, you’ll want to stir in your essential oils.
I chose the following essentials oil because they each have their own unique benefits that can help support us.
Essential Oils for DIY Shower Steamers
Peppermint is a cooling essential oil and great for supporting the nose and lungs. It’s also great for waking you up in the morning!
Lemon can also be supportive for nose and lung health and has a lovely fresh clean scent!
Myrrh is wonderful for supporting the immune system.
Fir Balsam has a lovely pine scent and can be supportive for the nose.

Cedarwood is helpful for supporting the nose and lungs.
You will want to add a total of about 50 drops of essential oils to this DIY recipe.
After you add the essential oils, whisk them well into your corn starch.
Optional: if you want to make your peppermint & lemon essential oil shower melts more fun, you can add some color to them!
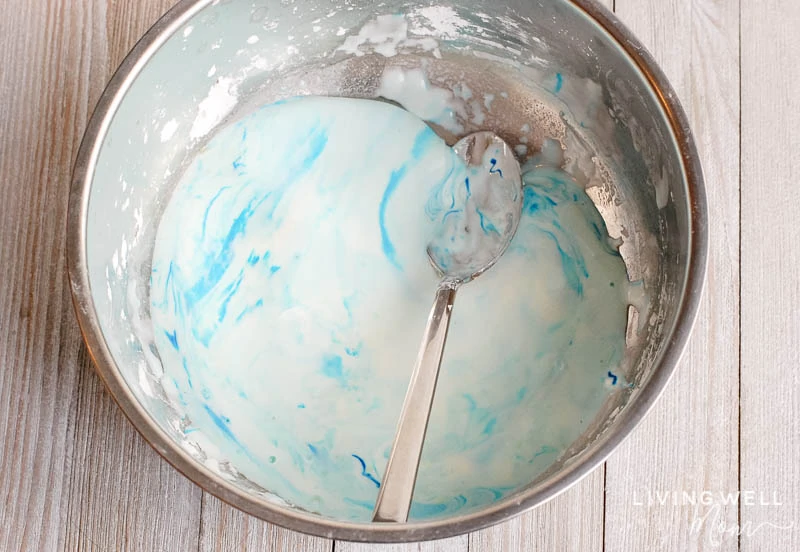
I decided on blue for our peppermint & lemon essential oil shower melts. Add a couple drops of food color.
Then you’ll want to add the water.
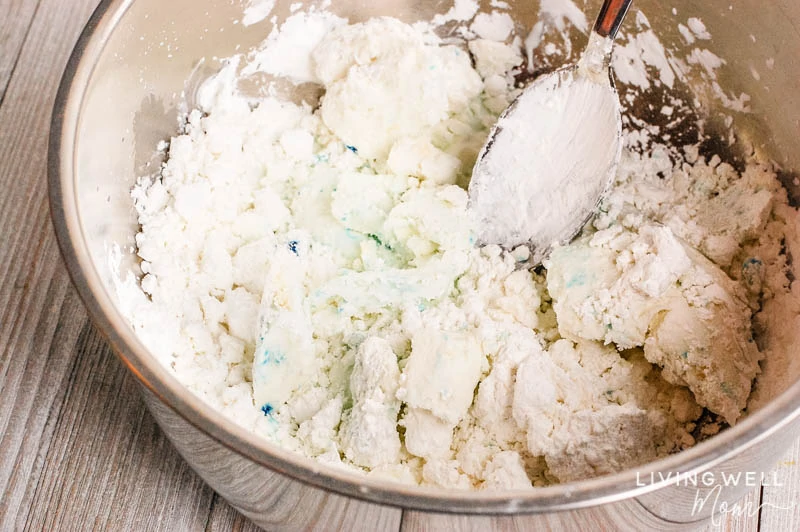
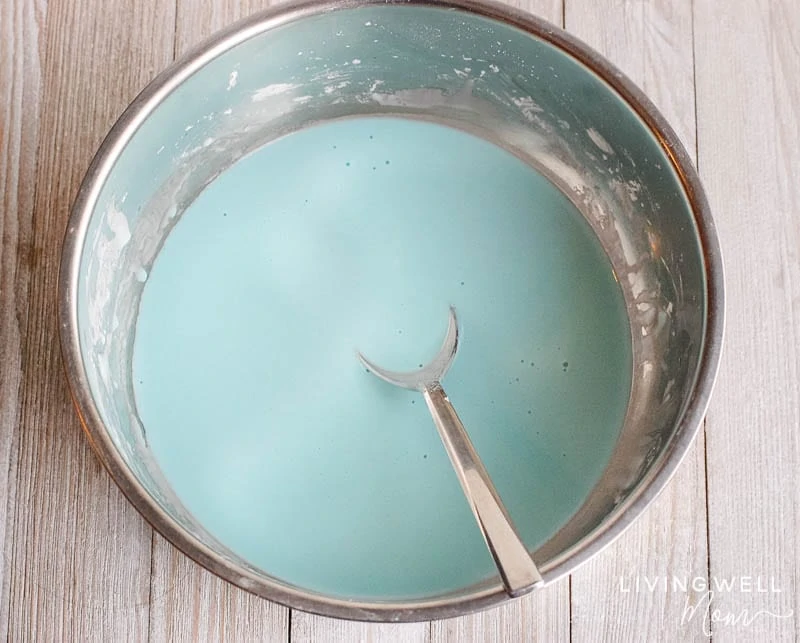
It will start as a dry, crumbly mixture. Add water a few drops at a time and mix well. Then a few more drops and mix some more. Repeat until you get JUST past the crumbly point and the color is mixed in.
If the mixture gets too wet, add a little more cornstarch.
Have you ever made Oobleck with your kids? (I used to be a science teacher and I personally LOVE making the stuff! Check out our easy DIY Oobleck kids activity recipe here. ) It’s just cornstarch and water! When you mix water in with cornstarch, the combination turns into a “dry liquid” that is super fun to play with.
This homemade shower melts recipe is very similar to oobleck and you may find yourself having more fun with it then you expected!
You can pour it, but then break off what pours. You can jam a spoon on it and it won’t go through, but a spoon will gently fall to the bottom of the bowl. The starch molecules are so big that they have a hard time mixing with the water and you get these really cool properties of both a solid and a liquid. Your mixture cannot be too wet or you won’t be able to see what I’m talking about. The cornstarch has to be just wet enough to stir with effort. If you get it too wet, that’s ok – just add more cornstarch.
Back to making our shower melts…
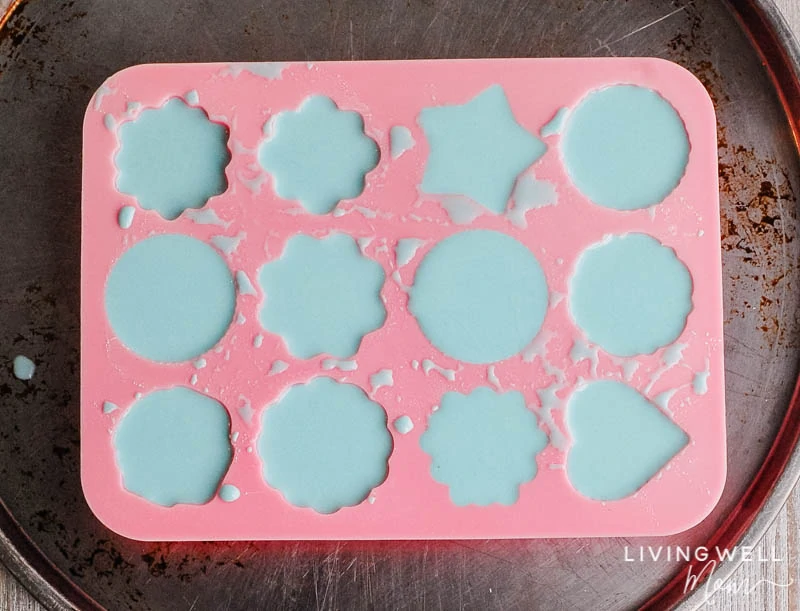
When you are done mixing your shower melts “oobleck”, go ahead and pour it into your silicone mold.
Then put it in the freezer for a few hours. I had to use my chest freezer as this wouldn’t fit in my side refrigerator freezer.
Once you take them out of the freezer, they will pop right out of the mold. Or you can let them sit for a few days until they are fully dry, then pop them out of the mold.
After they are out of the mold, store them in a jar in a cool, dry place.
How to Use Peppermint & Lemon Essential Oil Shower Melts
Put one or two essential oil shower melts in the bottom of your bathtub where the stream of water from your shower will fall. As you shower, the warm water will melt them away as you benefit from the lovely aromatherapy that steams toward you.
Because these are all natural and we prefer to be more conservative with not using too much essential oils, these may not have a very strong smell so if you have a strong smelling body wash (try our natural homemade body wash here!) or shampoo, you may be less likely to smell them. So don’t use strong smelling products while using these shower melts.
Or the next time you make a batch of this DIY recipe, you may choose to increase the number of drops of essential oils.
Either way, I hope you will enjoy these easy DIY essential oil shower melts as we much as my family does!
Here are some other easy self-care ideas for stress relief.
Stay well!
Looking for more ways to use essential oils to help fight cold symptoms? Check these out:
- DIY Essential Oil Roller for Immune Support
- DIY Immune Boost Foaming Hand Soap
- 12 Essential Oils for Fighting the Flu Naturally
- Essential Oil Infused Tissues
- DIY Essential Oil Bracelet for Cold Relief
- My Favorite Natural Cold and Flu Remedies for Kids That Really Work
Easy DIY Peppermint & Lemon Essential Oil Shower Melts
DIY shower steamers with essential oils – easy to make and great for soothing during the cold winter months, this homemade recipe smells amazing!
Ingredients
- 1 1/2 cups cornstarch
- 10 drops peppermint essential oil
- 10 drops lemon essential oil
- 10 drops cedarwood essential oil
- 10 drops myrrh essential oil
- 10 drops fir balsam essential oil
- 1 Tablespoon Witch Hazel (I prefer Thayers Rose Petal Witch Hazel<img id="amznPsBmPixel_8187330" style="border: none !important;margin: 0px !important;padding: 0px !important;height: 0px !important;width: 0px !important" src="https://ir-na.amazon-adsystem.com/e/ir?source=bk&t=livingwellmom-20&bm-id=default&l=ktl&linkId=4711c17d2e40e942a672bfc0b98de9d9&_cb=1547236987800" alt="" width="0" height="0" border="0" />
)
- Food Coloring
(optional)
- Water – 3 to 4 tablespoons to start, more will likely be needed
- ice cube tray or silicone molds (I used this one
I got on Amazon)
- medium size bowl
- mixing spoon
Instructions
- You’ll begin by adding cornstarch to your mixing bowl, then stir in the witch hazel.
- Next, you’ll want to stir in your essential oils.
- You will want to add a total of about 50 drops of essential oils to this DIY recipe.
- After you add the essential oils, whisk them well into your corn starch.
- Optional: if you want to make your peppermint & lemon essential oil shower melts more fun, you can add some color to them!
- I decided on blue for our peppermint & lemon essential oil shower melts. Add a couple drops of food color.
- Then you’ll want to add the water.
- It will start as a dry, crumbly mixture. Add water a few drops at a time and mix well. Then a few more drops and mix some more. Repeat until you get JUST past the crumbly point and the color is mixed in.
- If the mixture gets too wet, add a little more cornstarch.
- When you are done mixing your shower melts “oobleck”, go ahead and pour it into your silicone mold.
- Then put it in the freezer for a few hours. I had to use my chest freezer as this wouldn’t fit in my side refrigerator freezer.
- Once you take them out of the freezer, they will pop right out of the mold. Or you can let them sit for a few days until they are fully dry, then pop them out of the mold.
- After they are out of the mold, store them in a jar in a cool, dry place.
Copyright © Living Well Mom. All content and images are copyright protected. Please do not use my images without prior permission. If you would like to republish this recipe, please re-write the recipe in your own words. Alternatively, you may link back to this post for the recipe.
Which Essential Oil Brand is Best?
For the best results, you will want to choose a high-quality essential oil brand that is 100% pure and offers third-party testing for quality control. Read this post for more info on how to choose essential oils that work for you and your family (beyond the brand.)
My favorite essential oil company is Rocky Mountain Oils, followed by Eden’s Garden, and Ancient Apothecary by Dr. Axe.
Mary Brice says
Hi I fell in love with essential oils about three years ago. I am trying to learn how to help all myself, along with cleaners for my home. I am definitely going to make my own diffuser.
Josi says
Hello. Can 99% alcohol be substituted for the witch hazel?
Thank you so much. I love living well mom!
Erika says
Yes you can use isopropyl alcohol instead. I haven’t tried it personally but it’s supposed to work. I’m so glad you love my site! =)