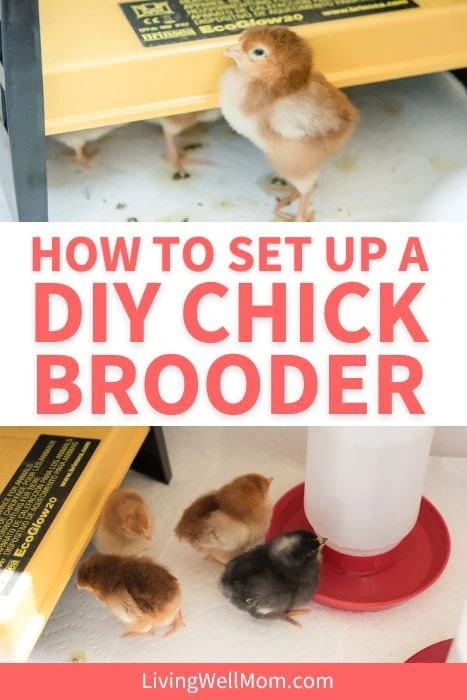
A chick brooder is a perfect place for your new chicks to spend time. This DIY chick brooder is stocked with all they need: food and water, disposable bedding, and a heating plate to help chicks regulate their body temperatures. This setup will help your baby chicks thrive until they’re ready to move to the coop.

I love animals, and for the longest time, I wanted to raise chickens. Not just for the fresh eggs, but I wanted the whole experience. Moving into our new home (with lots of land) last summer gave us the opportunity to finally start our own little homestead.
Adding baby chicks to our brood
Things were a little crazy at my house when we got our first set of chicks because Nate was completely remodeling my kitchen. As in, I didn’t even have a kitchen sink for a few days. C-R-A-Z-Y. But totally worth it. My new kitchen is almost twice as big as the old one, and it’s AWESOME.
But even with that going on, spring is the time of year when you get baby chicks. We decided to go for it, so we ordered a dozen chicks from our local feed store that were due to arrive around May 17th.
Of course, the kitchen remodel ramped up in the few weeks before they were due. When it rains, it pours, as they say! But at least it was all good things pouring!
Well, here’s another wrinkle: I got the phone call that our chicks had arrived – EARLY!
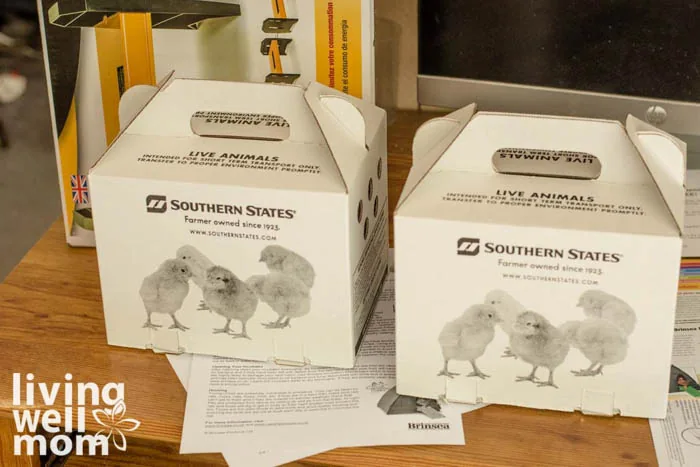
Setting up a chicken brooder
Since our baby chicks were coming early, I needed to set up our simple little brooder for them (that’s what they call a heated chick home).
I managed to catch the chicken math bug early on (no surprise for me) and came home with 14 chicks instead of 12. Ha!
What can I say? They had “plenty of extras,” and when you already have 12, what’s 2 more?

In full disclosure, I was a complete newbie to raising chickens when we got this set. But I had done a LOT of research and knew we could give our little chicks the best home possible.
NOTE: My favorite blog is The Chicken Chick because she has AWESOME info and tips that would have taken me forever to figure out myself!
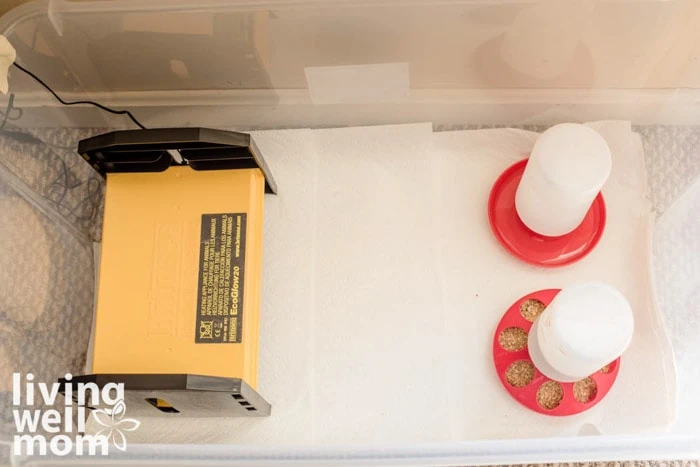
Here’s how I put together our little chick brooder so that we were ready to bring home our brand-new chicks. It’s not nearly as complicated as I once thought because I always envisioned a big construction project with wood and all that. This is way easier.
Raising baby chicks has been far simpler than I imagined too!
Supplies needed to make a chick brooder
This is what you’ll need to have on hand to make a DIY chicken brooder:
- Large plastic tote – The bigger, the better!
- Heat lamp or heating plate – This is ours.
- Waterer or saucer – This can be one made for chicks or a simple saucer (see waterer notes below).
- Feeder – You can use a designated chick feeder, a saucer, or a small pet food bowl.
- Poultry Nutridrench – I recommend adding a little of this supplement to the water for new chicks as it helps support them during any stress as they adjust to their new home.
- Paper towels – Get a lot because these are for bedding and cleaning!
- Pine shavings – For when they move on from paper towels.
- Hardware cloth – This would be for a protective lid, and it’s optional.
How to make a chick brooder
Here’s what I did – the process is super easy!
Step 1
I started by picking up the largest tote I could find to use as our brooder box. I found mine at Walmart, but you can find them pretty much anywhere!
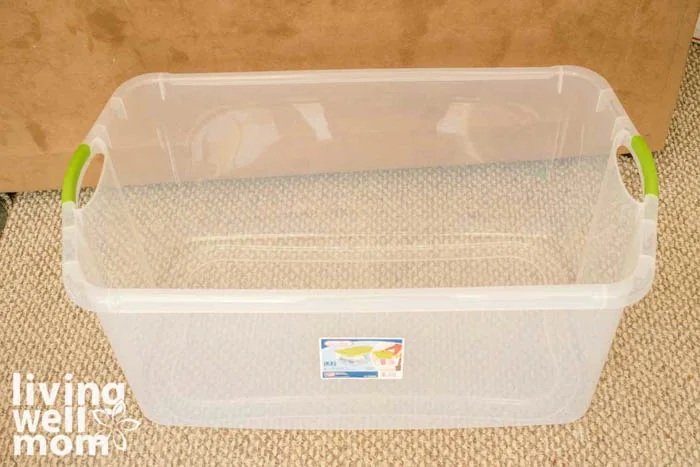
As you can probably see, it’s way too small to last for long with the number of chicks we had, but it worked for the first few weeks.
Note: The Chicken Chick recommends 2 square feet of space per chick to prevent overcrowding and fighting from close quarters.
Step 2
Next, Nate fashioned a protective cover out of hardware cloth. He covered the edges with electrical tape (you can use duct tape) and cut a few corners so it stayed on the brooder pretty well.
Note: If we had planned to use this particular brooder for longer than a few weeks, he would have cut a big hole in the plastic lid that came with the bin and attached the hardware cloth.
(Sorry, there’s no picture of the lid.)
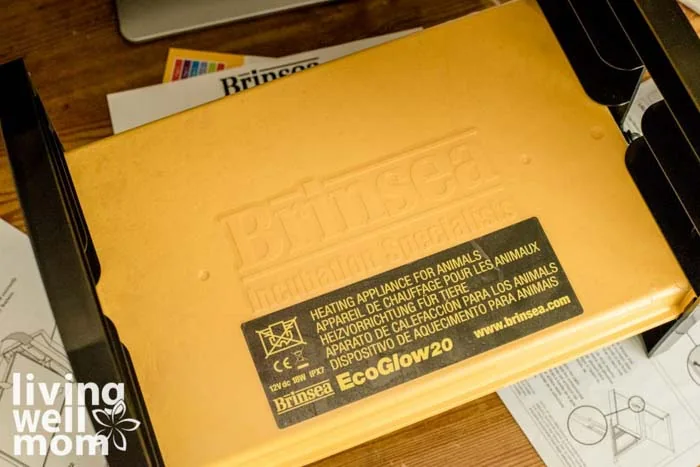
Step 3
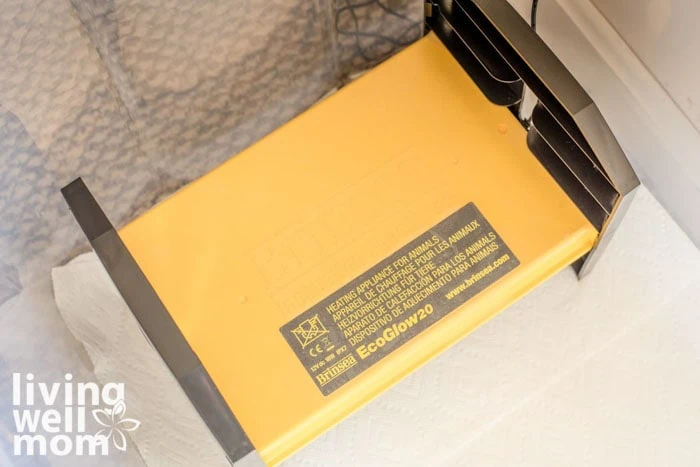
Next came a heating plate or heat lamp to keep the chicks warm.
Note: I’m super paranoid about things catching on fire, so I purchased a heating plate so there’s no danger that it will fall over and catch fire like there is with regular heat lamps.
The heating plate is more expensive, but well worth the money (in my opinion!) for the peace of mind. Plus, I didn’t need to worry about the temperature being too high, etc.
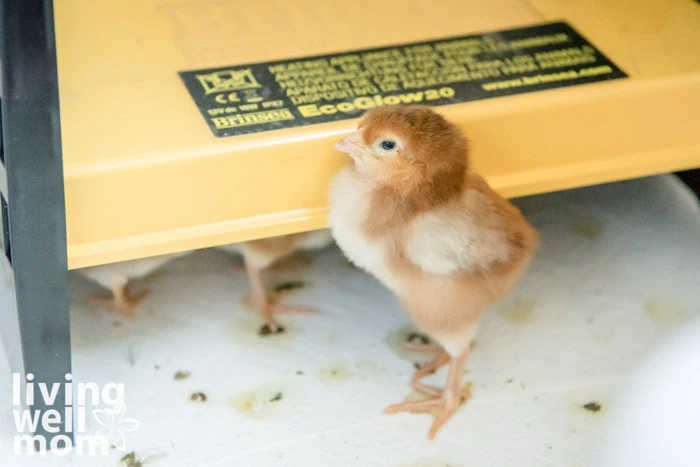
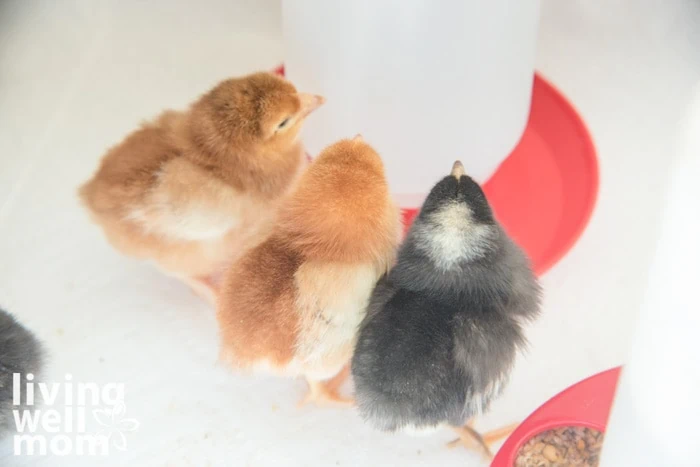
Our chicks LOVED the heater, too, because they crowded underneath it at night and at various times during the day. Then they hopped out to eat, drink, and play before going back under the warmth.
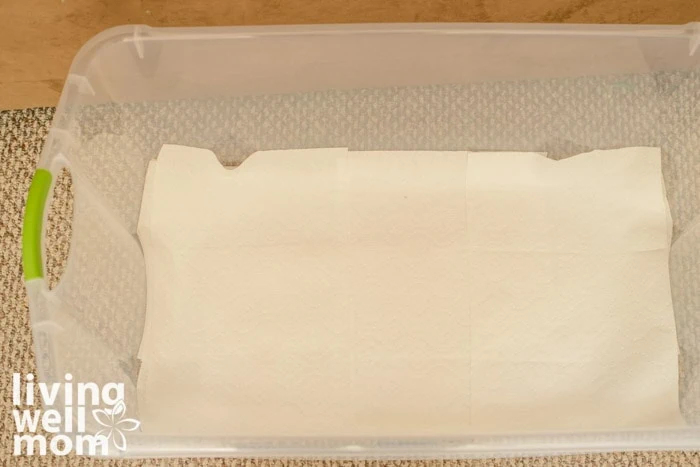
Step 4
Next, it was time to add the bedding. For the first few days, we used a thick layer of paper towels on the bottom of the brooder. That made it easier for the chicks to see their food with white paper towels in the background at the beginning.
Pro Tip: Never use newspaper or anything slippery because it could injure your babies and cause splayed legs.
Step 5
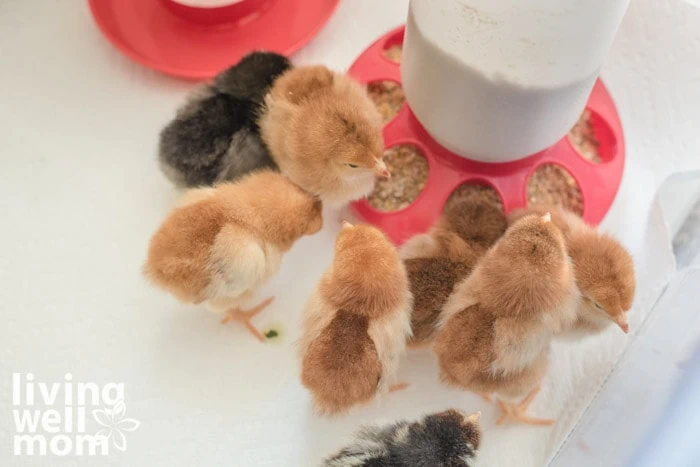
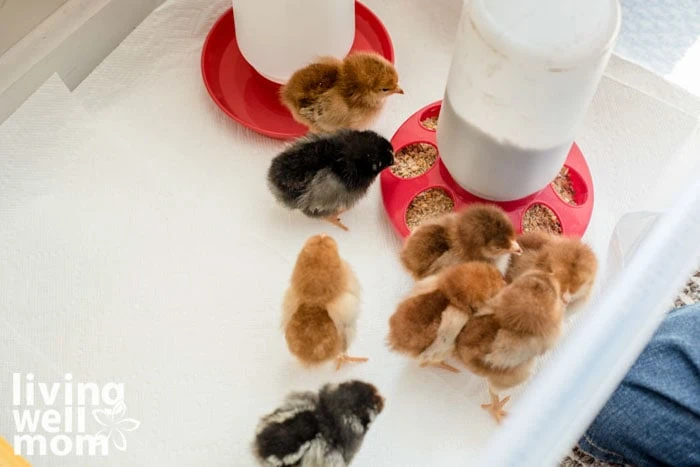
Lastly, we added food and water.
We purchased a feeder and waterer designed for chicks from the feed store, but you don’t need to do that if you have small, stable saucers or bowls you’d like to use.
Step 6
Finally, it was time to add the chicks!
And that’s how to make a chick brooder. Not hard at all, right?
Chick brooder essentials: Notes and tips
Here are a few notes and tips to help you as you successfully create your first brooder.
Lid for your chick brooder
Having a cover on your brooder is essential for a couple of reasons:
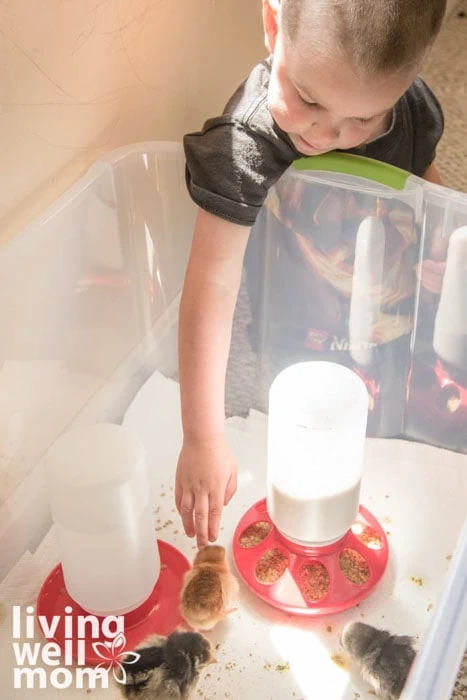
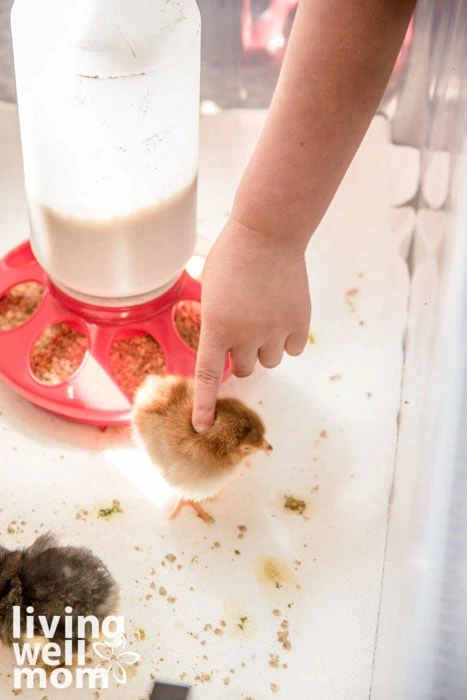
- It protects the chicks from playful dogs, naughty cats, and curious kids.
- It keeps the chicks from escaping. It doesn’t take long at all before they start exploring and trying to stretch their wings! We saw our chicks climbing on the top edge of the warmer as early as day 3!
Heating Plate
If you go the heating plate route, do yourself a favor and cover the top with contact paper before you get your chicks. I learned this handy trick from the Chicken Chick, and I’m so glad I did!
Chicks love to climb and will waste no time hopping on top of the warmer. And wherever chicks go, they poop. It gets messy fast.
The contact paper protects the top of the warmer and makes it easier to wipe clean. Believe me; it’s well worth the few dollars for clear contact paper. You’ll thank yourself later.
Bedding
You MUST put something down as bedding because if they try to walk on the smooth plastic of the bin, they will slip and end up with life-long leg issues.
Use paper towels for brand new tiny chicks because it’s easier for them to get around on them than it is on shavings or some other type of bedding.
After 2-3 days, you can swap out the paper towels for pine shavings. We have used pine shavings for a long time, and they are the best economical option, in my opinion.
Pro Tip: When using paper towels for bedding, use thick paper towels, like Bounty. Don’t skimp out and go cheap because you’ll need twice as many if you do (so you won’t save anything).
Food and water dispensers
Make sure the waterer (or saucer) isn’t too tall because when they are really tiny, the chicks may not be able to reach the water! And you also want to make sure you use one sturdy enough that they don’t tip it over as they lean over it, climb in it, etc.
The chick waterer is a challenge because the chicks don’t hesitate to walk in it and poop all over it. This problem seems to be even worse when using a saucer.
It’s important that chicks always have clean water to drink because they can get sick if they’re left to drink nasty water. We definitely don’t want that!
So we changed out their water several times a day to keep it clean. It only takes a quick minute, but it’s still not ideal. Just remember – it’s temporary!
The last thing is food. The Chicken Chick has a great article about what to feed chicks that you can definitely check out.
One of the reasons we raise our chickens is so we’ll have fresh, healthy eggs, so it’s important to me that we feed them a good diet.
I found an organic, non-GMO, non-soy chicken feed with awesome reviews, so we fed our chicks Scratch and Peck Feeds Chick Starter Feed.
The chicks seemed to love it too!
Bottom line: Always make sure chicks have food and clean water.
Cleaning
Chicks are super cute and SUPER messy! You’ll need to clean their brooder and change bedding frequently.
To give you an idea of how often, I changed their paper towel bedding twice a day (morning and night). Otherwise, it was just too messy and stinky. Yep, it uses a lot of paper towels, but it’s only for a few days.
If you have fewer chicks, you might be able to just change it once a day, but go into the process expecting twice-a-day cleanings.
Outgrowing the DIY chicken brooder
Depending on what kind of chicks you are raising, they will quickly begin outgrowing their brooder and even fly out if you don’t have a way to keep them in. They can (will!) make quite a mess… FAST.
If you have the option to put them in a mudroom or bathroom to help contain any mess, that helps.
Over the years, we have tried a number of different options and have found this basic brooder setup works well for 4-6 weeks. Then, we transition them outside to our shed (or even to a part of our big chicken coop) using this type of dog exercise pen to contain them and keep them safe from bigger chickens picking on them.
They will likely need a heat source, so make sure you can bring their heat plate outside and use it safely. If you can’t, you’ll need to keep the chicks inside until they are ready to go without heat. This also depends on the time of year and how warm it is where you live.
Chick Brooder FAQs
Do you have some questions about raising chicks and making your own brooder? I did too! Here are a few I see from readers frequently.
How do you know when chicks no longer need heat?
People have varying opinions on this. However, I’ve learned not to rely on their age by the number of weeks and instead pay attention to the chicks themselves and look for 3 main factors:
1) Are they getting feathers? Once you start to see the chick fluff disappear and little feathers come in, they are much more capable of going without a heat source.
2) What’s the temperature outside? If it’s July and 90 degrees outside, they will rarely need heat unless they are brand-new tiny chicks. However, if it’s April and 55 degrees (keep in mind I live in New Hampshire), they will need heat for a longer period of time. Often there are varying temperatures (maybe 60s during the day but 40s at night). This means they will still need access to heat, but they may rarely use it.
3) Watch their behavior. Do they go under the heat plate at all? Often, I find them just sleeping in a pile together for warmth at night and avoiding the heat plate. This is a good indicator they will be fine without heat.
Can I use a cardboard box as a chick brooder?
Yes, I have heard of people doing that with great success. The downside is that if you don’t place enough bedding in the bottom, the chicks’ pee will ruin the box and make it smell horrible. Plus, if you have a leaky waterer, your box will be ruined.
I prefer (and recommend) using a plastic bin because it’s more durable and makes for easier cleanup. Plus, the sides are often higher, so it will contain your chicks longer.
Can you use cat litter in a chick brooder?
Cat litter is great for absorbing moisture but is too dusty for the brooder and bad for the chicks’ lungs.
Once the chicks are big enough to move on from paper towels, you have the option of using pine shavings, sand, or straw.
Safety Tip: Do NOT use cedar shavings, as the odor isn’t good for their lungs.
Meet our Chicks
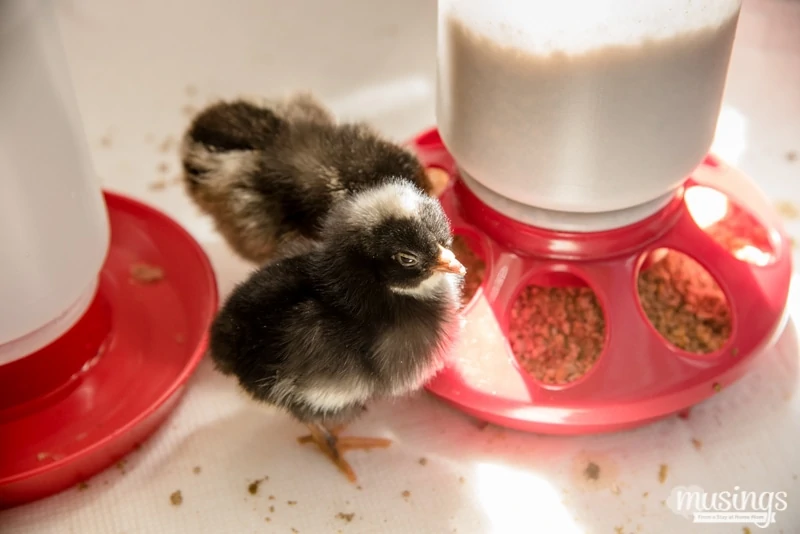
We got 14 sweet chicks – 6 Rhode Island Reds (they’re orangish/reddish), 6 Plymouth Barred Rocks (black), and 2 Silver-Laced Wyandottes.
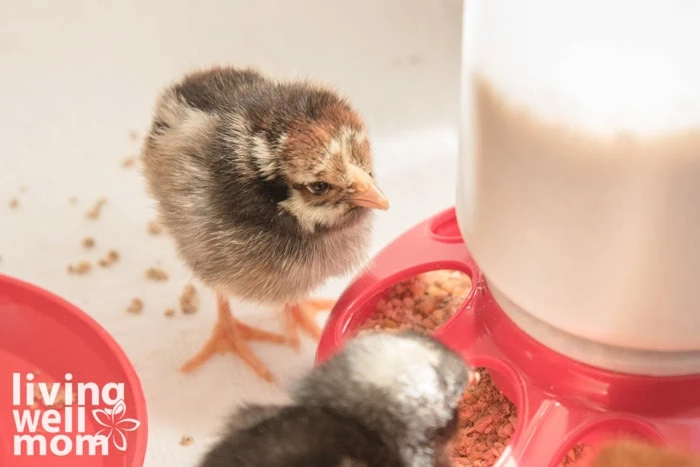
Here’s one of the Silver-Laced Wyandotte chicks:
We chose these breeds because they’ll do well in our cold New Hampshire winters and are good egg layers. (The Rhode Island Reds and Plymouth Barred Rocks are excellent layers, while the Wyandottes are good layers.)
Here’s one of the Plymouth Barred Rock chicks:
And yes, we’re raising chickens for practical purposes – their eggs – but also for the experience. And they are most definitely our pets! We’ve named each of them!
Cuteness overload, right?
More Posts About Chickens
- 20+ Reasons You Might Be A Crazy Chicken Lady
- 5 Reasons Raising Chickens Is Perfect For Families
- How To Make A Dropping Board For Your Chicken Coop
- How To Tell Hens And Roosters Apart: Rooster vs. Hen Differences
Beth Hill says
Adorable, that is the only word! We did this last spring, but we only have 3, or should I say “my teenage son”! He have 2 amber links and 1 buff orphington. He built his own coop out of recycling pallets! We had a LONG COLD winter here in Michigan and they did great, no heat, no electricity in our coop, but we did have to run an extension cord to heat the water for a couple of months, but still no heat. We get 2 or 3 eggs everyday and that is way more than we eat so he likes to sell a dozen here and there. He researched it all online and we have a local guy that we bought the chicks from that will do anything to help you. One wasn’t acting normal 2 days before we were to leave for vacation ( of course, right!), so we ran it over there and he agreed, so he gave us an antibiotic to give her and also told us to worm all of them. He wouldn’t take any money for the medicine or his time, just likes to teach people how to take care of them. Went home and gave the chicken the medicine with a syringe in her mouth (new one for me!), and she was absolutely better the next day! Anyways, sorry I rambled, but have fun with them, and TRY NOT TO get too attached!!!! We lost one and I was very sad, I had named them, and my son says “do not name them, do not get attached”, but boy it is hard. By the way, the buff orpington is lovingly named “buffy” 🙂 I also raised a couple bobwhite quail in the same coop with them. They are so neat!
Erika says
What fun, Beth! Thanks for sharing! And I know, I know about not getting too attached, but I can’t help myself!
Nicole B says
How fun! We got chicks for the first time this year too. We started in March so they had to live indoors until about 2 weeks ago. We ended up having to cover their temporary container with chicken wire because once they get feathers, they can hop/fly up and out! haha
They are now outside in their permanent cozy coop. I can’t wait for them to start laying eggs, but it will be July probably before they are old enough to start doing that.
ROYSFARM says
Thanks for the great post. Now it seems very easy to make a simple chick brooder.
Kirstie Glover says
How long do you keep them on paper towels before moving them to a different type of bedding?
Erika says
Usually 3-5 days.